Saturday 31 December 2016

Hot Ice Cream Pudding


As I was sitting here today trying to decide which recipe I wanted to end the year on, I have had a great time thinking over all of the wonderful things I have cooked over this past year.  Of course I could do a rehash of my favourite recipes . . . or even a rehash of YOUR favourite recipes, but that is only showing you what I have already shown you and I didn't want to end the year in this way.  Instead I wanted to end the year showing you something fantastically different.  Hot Ice Cream Pudding was my choice.

Friday 30 December 2016

Cheesy Turkey Mac


I needed to use up the leftover turkey from Christmas today and so I created a skillet supper with it.  I used turkey, but you could use any leftover cooked poultry actually.  Its a one pan dish that is not only simple and quick to make but also quite delicious!

Thursday 29 December 2016

Gingersnap Glazed Ham

Gingersnap  Glazed Ham

Growing up in Canada New Years always meant my mother would be cooking a Ham.  We had turkey for Thanksgiving and Christmas and we had Ham for Easter and New Years.   I don't know if there is a religious reason for this, or if it is just a family tradition, but it is something I still do.  Ham for New Years.


My mother never did anything fancy with it.  It would be boiled and then roasted.  She usually had a bone in ham, but you never see those over here.   
 
It would be served cold with mustard.  We would have mashed potatoes and green beans with it and a special dessert.  If we were really lucky it would be a Lemon Meringue Pie.


I don't ever remember her glazing it.  Not ever.   I do remember seeing photographs of glazed hams in the magazines . . .  the fat glistening and cut into diamonds and crusted on the edges with a sweet sugary crust . . .  each diamond studded with a clove or a cherry.  
 
They looked so very pretty, and tantalizingly delicious.


This year I bought a boneless cooked ham.  Over here uncooked ham is called Gammon and you have to boil it before you can eat it.  
 
However once it is cooked and called a ham it is always edible right out of the pack.  I like to heat it through though and glaze it.  It just makes something quite simple that little bit more special.


This glaze was absolutely brilliant.  Nice and spiced with ginger, both from the gingerale and from the ginger jam, a tiny bit spicy from the Dijon mustard and tabasco, sweet also from the ginger jam and some brown sugar and a smidgen tart from the  addition of apple cider vinegar.


Those ingredients get heated together until the ginger jam melts and then all whisked together.  I cut diamonds in the ham so that some of the  mixture would go down into the ham. 
 
 I rolled it in it all over and then I baked it in a moderate oven, basting it every ten to fifteen minutes with the glaze.


 Now here is where it gets really special.  I crushed gingersnaps for even more ginger flavours and sprinkled them over the top of the ham and basted it again.   
 
Baked for a short time longer it forms a nice gingery crust.  I probably basted it two more times before it was done.


The end result was a lovely flavoured ham with a gingery crust and the juices in the roasting dish thickened up from some of the crumbs to make a sauce that was just gorgeous spooned over the warm ham.  
 
All in all this was a real winner!  We loved it.  Oh, I do love it when an experiment or an idea turns out to be every bit as delicious as I had envisioned it to be!  I hope you will give it a go!


*Gingersnap Glazed Ham*
Serves 4 to 6 with leftovers 


This is delicious.  Simple to make. The oven does all the work.  The leftovers are delicious sliced and served cold with cheese and pickle. 


1 kg cooked ham (about 2 1/4 pounds)
120ml gingerale (1/2 cup)
60ml apple cider vinegar (1/4 cup)
1/2  (454g)jar of ginger preserves (about 1/2 cup)
2 TBS French Dijon mustard
100g soft light brown sugar
dash tabasco sauce
Crumbled gingersnaps to finish (about 6) 
 

Preheat the oven to 180*C/350*f/ gas mark 4.   Melt the ginger preserves in a  flameproof casserole dish large enough to hold the ham.  Add the gingerale, apple cider vinegar, mustard, brown sugar and tabasco sauce.  Whisk well together.  Cut slashes in top of the ham.  Place it into the casserole dish, top first and rolling it around to coat it in the mixture.  Roast in the preheated oven, basting every 20 minutes or so for about 45 minutes.  Sprinkle the crumbled gingersnaps over top.  Baste again.  Roast for about 15 to 20 minutes longer, basting at least one more time, until heated through. 
 

Let stand for 10 minutes before cutting it into thin slices and serving, with some of the pan juices spooned over top if desired.


I really do hope you will try this out.  I can promise you, you won't be sorry.  If you cannot find the ginger jam, use some orange marmalade with a tsp of ginger powder added.  It will be every bit as good.   Happy New Year!!


This content (written and photography) is the sole property of The English Kitchen. Any reposting or misuse is not permitted. If you are reading this elsewhere, please know that it is stolen content and you may report it to me at: mariealicejoan at aol dot com Thanks so much for visiting. Do come again! 


 Follow my blog with Bloglovin 

Wednesday 28 December 2016

Magic Cheesecake


This is a deliciously simple cheese cake that I have been making for years that your family will really love.  Its as simple as blitzing a few ingredients together and pouring them into a pie dish.  Seriously. 


You cannot get much easier or tastier than this delicious dessert!


It magically bakes into a delicious dessert that is a LOT less trouble than making a regular cheese cake.  I think the original recipe came from a box of baking mix but I make my own baking mix these days and just use that. 
 
 
You can find that recipe here.    It, too, is very easy to make.  I always have a plastic container of it in my cupboard.  It comes in handy for all sorts.


Once you blend everything and pour it into the pie dish, you simply bake it and then presto chango you end up with a delicious cheesecake that went together in a flash and tastes fabulous! 


I love desserts like this. Quick, easy and delicious.


I like to make a sour cream topping for it.  This not only tastes nice, but helps to hide the inevitable crack which appears in the centre of the cheesecake.  (The sign of a great cheesecake I might add!) 
 
You can also hide it by adding a fruit topping. Cherry Pie filling comes to mind. Very nostalgically retro.


I like to serve it with a simple fruit topping which I create by mixing together some fresh fruit and jam and heating it gently together until the fruit softens.  This day I used blueberries, but fresh raspberries or strawberries and jam also work very well.  


About 1 cup of fruit with several spoonfuls of jam and a tiny bit of water does the trick.   Altogether this is quite, quite delicious!  And a real doddle to make!


*Magic Cheesecake*
Serves 6 


This is as simple as measuring everything into a blender or food processer and blitzing.  Pour into the pan and then bake.  It separates magically into a sorta crust and cheesecake filling. Your family will love this.  Its delicious.  I make a tasty topping by cooking some fresh blueberries with a couple of dessertspoons of blueberry jam and 1 TBS water until the berries start to pop.  It is fabulous. 
 

180ml of whole milk (3/4 cup)
2 tsp vanilla
2 large free range eggs
190g sugar (1 cup)
70g of baking mix (1/2 cup)
(See my recipe for my homemade mix)
455g of cream cheese (1 pound)
For the Topping:
2 TBS sugar
2 tsp vanilla
120g dairy sour cream (1 cup)


Preheat the oven to 180*C/350*F/ gas mark 4.  Butter a 9 inch pie tin really well.  Set aside.

Place the milk, vanilla eggs, sugar and baking mix into a blender.  Beat on high speed for about 15 seconds.  Cut up the cream cheese and drop it in.  Blend for about 2 minutes longer on a high speed.  Pour into the prepared pie dish.


 Bake for 40 to 45 minutes until the centre is set.  Cool completely.

Mix together the topping ingredients until smooth.  Spread on the centre of the cheesecake.  Chill to set.  Serve cut into wedges with pie filling or your favourite fruit topping. 


Easy and delicious can't be beat! 


This content (written and photography) is the sole property of The English Kitchen. Any reposting or misuse is not permitted. If you are reading this elsewhere, please know that it is stolen content and you may report it to me at: mariealicejoan at aol dot com 


Thanks so much for visiting. Do come again! 


Follow my blog with Bloglovin 

Tuesday 27 December 2016

Crispy Chicken Wings


I confess to being a huge fan of chicken wings.   Back home at the local Chinese buffet the chicken wings were always my favourite dish on the menu, and I think everyone else's as well because between them and the sweet and sour chicken balls it was always hard to get any because the dish would empty almost as soon as it was filled!

Monday 26 December 2016

Post Christmas Turkey Casserole

 photo SAM_4561_zpsb062710e.jpg

This delicious casserole is the perfect way to use up some of the leftovers from your Christas dinner, using up some of the turkey (of course) stuffing, mashed potatoes, cranberry sauce, etc.   It's delicious and there is also cheese in the mix.  Oh but it is some good!

Sunday 25 December 2016

Merry Christmas

 photo christmascookies.jpg 


Merry Christmas

From

The English Kitchen 

Many thanks for your loyalty over
the past year, your lovely comments, 
and 
your faith in my culinary abilities.
Thanks also for sticking with me throughout
the good, the bad and the ugly!

May your holiday be filled with lots of love,
family, great friends, good food, good health
and 
more blessings than
your cup can hold.

Catch you on the flip side!

Saturday 24 December 2016

Scrambled Eggs Benedict


I love Eggs Benedict.  Its such a simple dish and yet at the same time it feels so special . .  toasted english muffin topped with some bacon, an egg and hollandaise sauce.  


Yum!  Normally it calls for a perfectly poached egg, but this version I am showing you today is simpler than that.  It uses softly scrambled eggs, and it is delicious!   

This is the perfect holiday morning breakfast!


Toasting English muffins beneath a grill  . . .  simple.  Check.


Grilling some back bacon . . .  simple.  Check.


Topping the bacon on the muffin  . . .  delicious softly scrambled eggs.  


So simple to do, and so very tasty.  It's easy to do the whole lot all at once.  Check.


A final gilding of Hollandaise sauce . . .  not so simple to do, unless of course you buy it ready made.  I had some lovely ready made pouches from Christian Potier and they worked very well.  


But if you want to make an easy hollandaise from scratch, blender hollandaise is the way to go.  There is a great recipe on Simply Recipes.  This is the one I use.  Its easy to follow and always turns out.  Check.


If you like Eggs Benedict as much as I like Eggs Benedict you will be in Eggs Benedict heaven with this.   Your family will love this and you will love the ease of creating it.  


It makes the perfect Christmas morning holiday breakfast.  Or any special occasion breakfast for that matter! 


Elegant, delicious,  and yet . . .  so very simple.


*Scrambled Eggs Benedict*
Serves 4
 
 
A simple and yet special breakfast for a special morning that won't stress you out.  It tastes and looks like you spent all day, but is so simple.  Who knew elegant could be so simple!  

 
8 large free range eggs
120ml milk (1/2 cup)
1/8 tsp black pepper
2 TBS butter
1 jar (7.5 ounces) prepared hollandaise sauce
8 slices back bacon
4 English muffins, split and toasted, kept warm
paprika and chopped parsley to garnish if desired 
 
Scrambled Eggs Benedict


Beat the eggs, milk and pepper together in a bowl until well blended. 

Melt the buter in a large nonstick skillet over medium heat.  Once it begins to foam, pour in the egg mixture.  Let set just until it begins to set on the bottom and around the edges, then begin to lie the cooked portion with a wooden spatula so that the uncooked portion can flow underneath.  Repeat until the eggs are softly cooked.  No stirring needed.  They will be thickened through and yet still moist and fluffy.  

 
Keep warm. 

Grill the back bacon until cooked through.   Heat the hollandaise sauce in th microwave on high for about a minute. 

Lay two toasted muffin halves on each of four plates.  Top each with one slice of bacon.  Divide the scrambled eggs between each muffin half, about 1/3 cup on each.  Spoon the hollandaise sauce over top and garnish with a sprinkle of paprika and parsley if using.  Serve immediately.  Enjoy!


Scrambled Eggs Benedict


 Now where is my fork  . . . . mmmm . . . .  Bon Appetit!

Note:  If you can't find a jar of good Hollandaise sauce there is a really fabulous recipe to make your own quick and easy Hollandaise sauce here that I highly recommend!


Friday 23 December 2016

Italian Christmas Biscotti


The house is all spic and span for Christmas.  I have all of the food in that I am going to need for our dinner.  All my gifts are out and all that remains to do now is a few bits and bobs and last minute things.  Whew!  

I can relax, knowing that all is in hand.  With that in mind I took advantage of there not being any pressure on and baked a few goodies that I had seen on Pinterest or the web and had wanted to try for the holidays.  

Tasty goodies like these Italian Christmas Biscotti which I saw weeks ago on a blog called The Merchant Baker.  


I first saw them on Pinterest and they immediately caught my eye because of their name.   Biscotti.  But Biscotti are crisp dunking Italian biscuits are they not?  I love Biscotti!  

These are not those type of Biscotti.  I was intrigued and pinned them into my Italian Treats board with the idea in mind to make them one day.  Today was that day.  (As I am writing this on Thursday.)


These are very similar to a sugar cookie, but there is no rolling or cutting.  Well . . .  I say that, but you do have to roll the dough into ropes and cut it into lengths before twisting it into that lovely looking shape you see here.  

(If you check out the Merchant Bakers page she gives an excellent tutorial on how to do just that and there are videos.)


Another thing which impressed me was that they looked incredibly easy to make.   And I was not wrong.  

These are an easy cookie and they end up looking so pretty when they are done.  You just make the dough, shape and bake.


Once cooled you then dip them in a very simple vanilla icing glaze and sprinkle with coloured sprinkles.  

Easy peasy, lemon squeasy.  And they are so pretty, don't you think? 


Another plus . . .  the recipe was very easy to cut in thirds.  Since there are only two of us and we can only eat so much, I wanted to cook only a third of the recipe. 

 I got approximately 16 delicious cookies.  Little sweet pillows of Italian perfection.  The perfect cookie to bake at the last minute for the holidays!


*Italian Christmas Biscotti*
Makes 4 to 5 dozen 
These are not Biscotti in the sense of the crunchy dunking Italian Biscotti, but rather they are soft buttery vanilla pillows of scrumminess.  Adapted from a recipe found on The Merchant Baker.  These are simple, quick and delicious to make.
3/4 cup salted butter (175g)
1/2 cup icing sugar (65g)
1/2 cup white sugar (95g)
3 large free range eggs, beaten
3 cups plain flour (460g)
3/4 tsp baking powder
1/2 tsp vanilla
For the glaze:
2 cups icing sugar (260g)
2 TBS (or more) cold water
few drops vanilla
You will also need coloured sprinkles for decorating 
 
Italian Christmas Biscotti


Preheat the oven to 180*C/350*F/ gas mark 4.  Have ready several large baking sheets which you have lined with baking paper. 

Cream the butter and both sugars together until light and fluffy.   Beat in the beaten eggs a bit at a time until completely amalgamated.  Beat in the vanilla.  Sift together the flour and baking powder.  Stir this in to make a soft dough.  

Scoop out the dough by half cup fulls and (on a lightly floured surface) roll into ropes roughly 1/2 inch in diameter or about the size of your pinkie.  Cut into 5 inch lengths.  Bring the ends together and twist lightly twice.  Place on the baking sheets leaving about 2 inches in between.  Repeat until you have used all the dough.   

Bake for 6 to 10 minutes until set and cooked through.  You won't want them to brown.  (Mine took 8 minutes just like the Merchant Baker's did)  Allow to sit on the baking trays for a few minutes to cool, then scoop off to wire racks to finish cooling. 

Whisk together all of the glaze ingredients until smooth.  You will want it thin enough for dipping.  Dip the top sides of each cookie into the glaze and then place onto a baking tray.  Sprinkle with sprinkles and continue until you have glazed and sprinkled all the cookies.  Leave to set the icing and then store between layers of kitchen greaseproof paper in airtight containers.  Will keep approximately 3 days.


To make one third of the recipe or only 16 cookies you will need:

1/4 cup butter (65g)
3 TBS icing sugar
4 TBS granulated sugar
1 large free range egg
1 cup plain flour (140g)
1/4 tsp baking powder
few drops vanilla

For the glaze:
3/4 cup icing sugar (98g)
1/2 TBS water
drop of vanilla

Italian Christmas Biscotti

This is a really, really nice cookie.  I can see all sorts of possiblities here.  I think another time I make them I might add a touch of lemon zest to the dough and some lemon juice to the glaze instead of water.  Then they would be lemon drizzle biscotti.   Yum!  Bon Appetit!

Thursday 22 December 2016

Almond and Custard Apple Dumplings

Almond and Custard Apple Dumplings


Todd loves cooked apples. If I bake anything with apples at all, my husband is one very happy camper. 


 He says his mother baked the best apple pies ever. I have never been able to make an apple pie quite like his mom's, but a gal can't be good at everything I guess!


Almond and Custard Apple Dumplings 


Even so, he enjoys the ones I do make, even if they are not quite as good . . . likewise the apple cakes, muffins, baked apples, applesauce, etc. that I make for him.


Almond and Custard Apple Dumplings


He really enjoyed these apple dumplings that I made this afternoon for afters. 


 If there's one thing that  he enjoys almost as much as apple desserts, if not more,  it's custard! This lovely recipe combines those two favourite things.


Almond and Custard Apple Dumplings


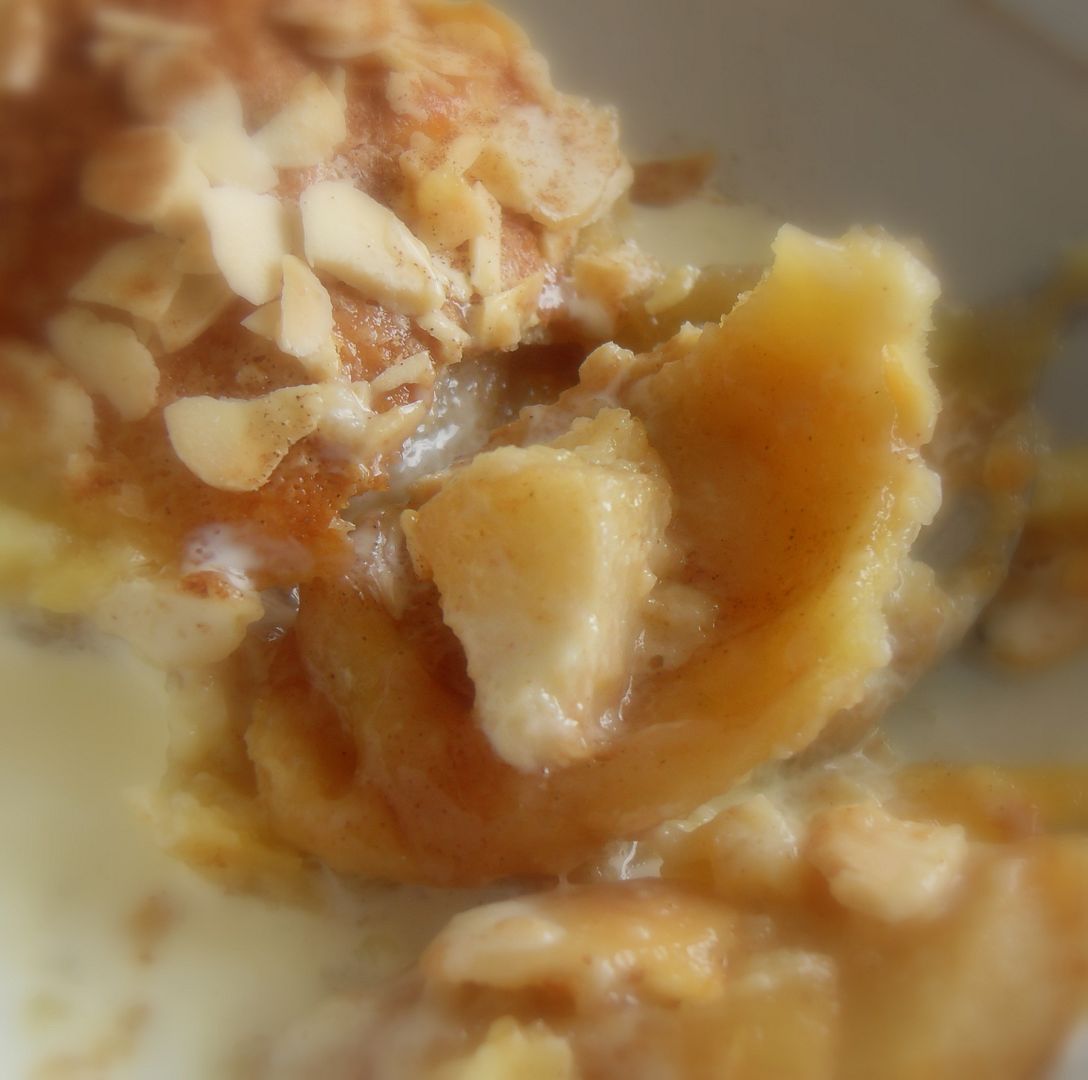
You get rich and flakey apple dumplings . . . a buttery crust spread with cinnamon sugar and wrapped around an apple quarter, then partially baked . . . but that's not all . . . no . . .


Almond and Custard Apple Dumplings


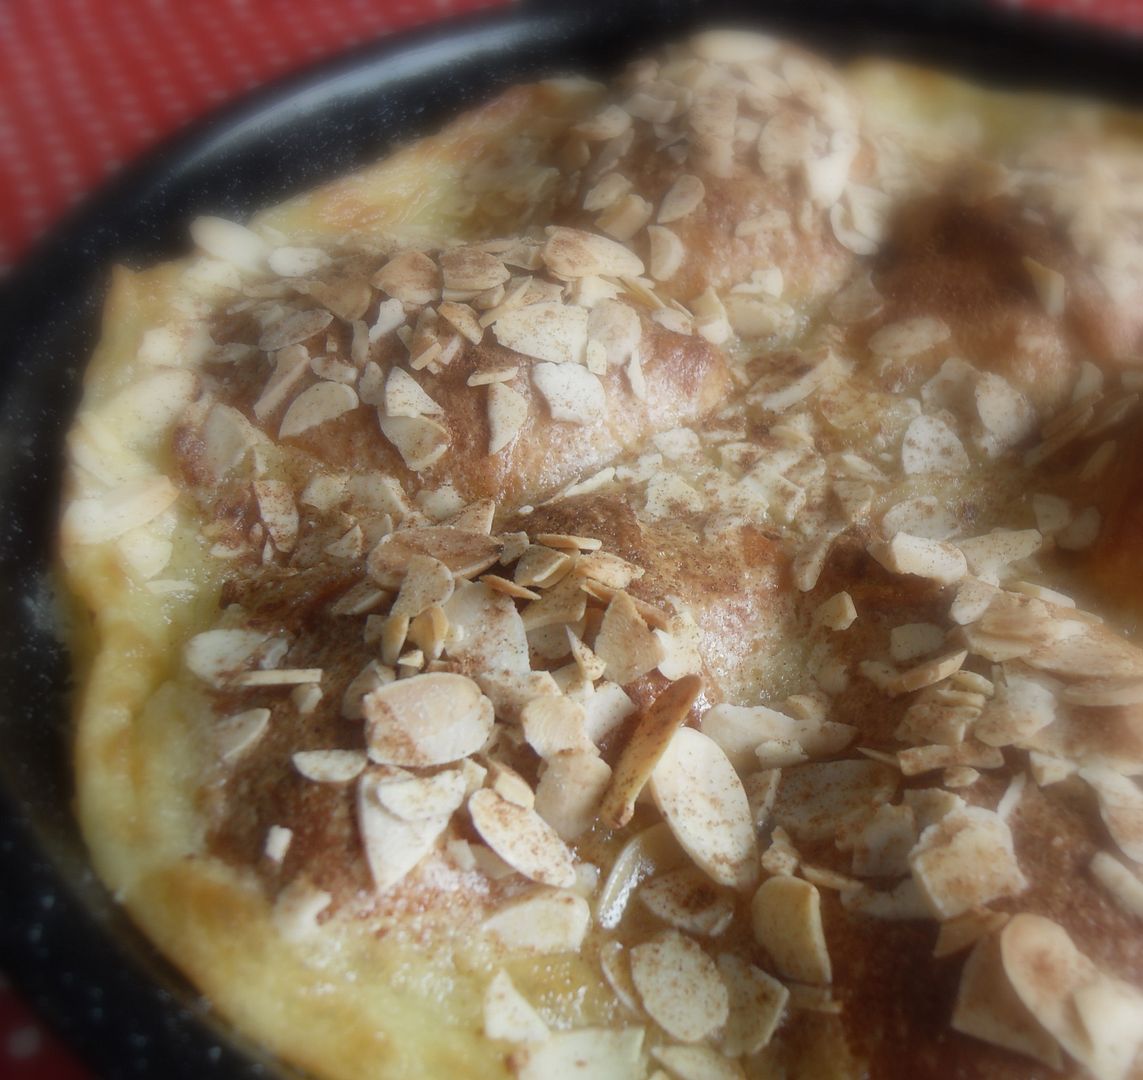
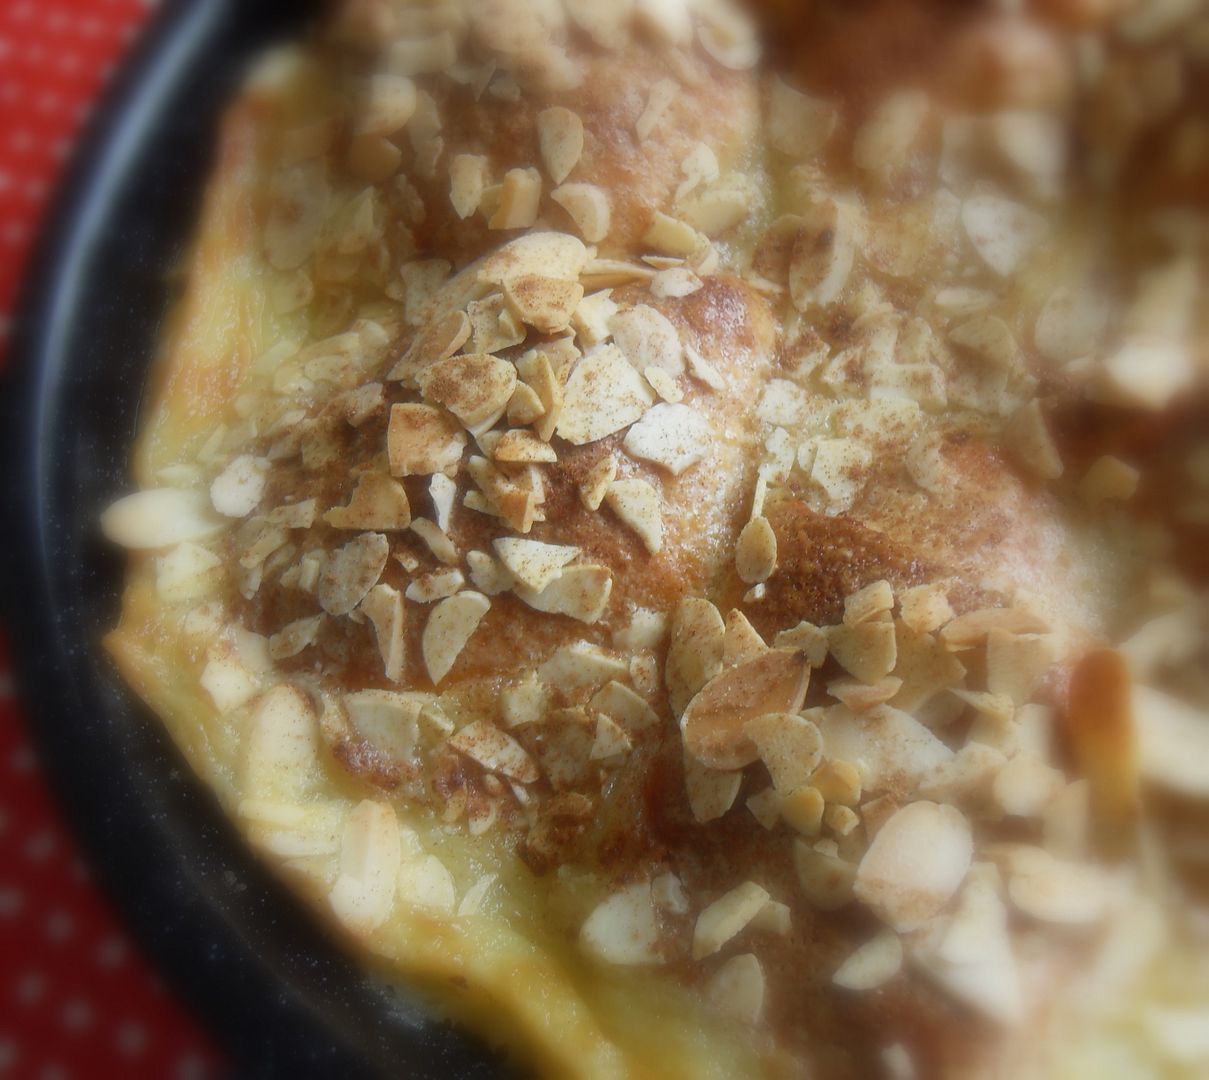
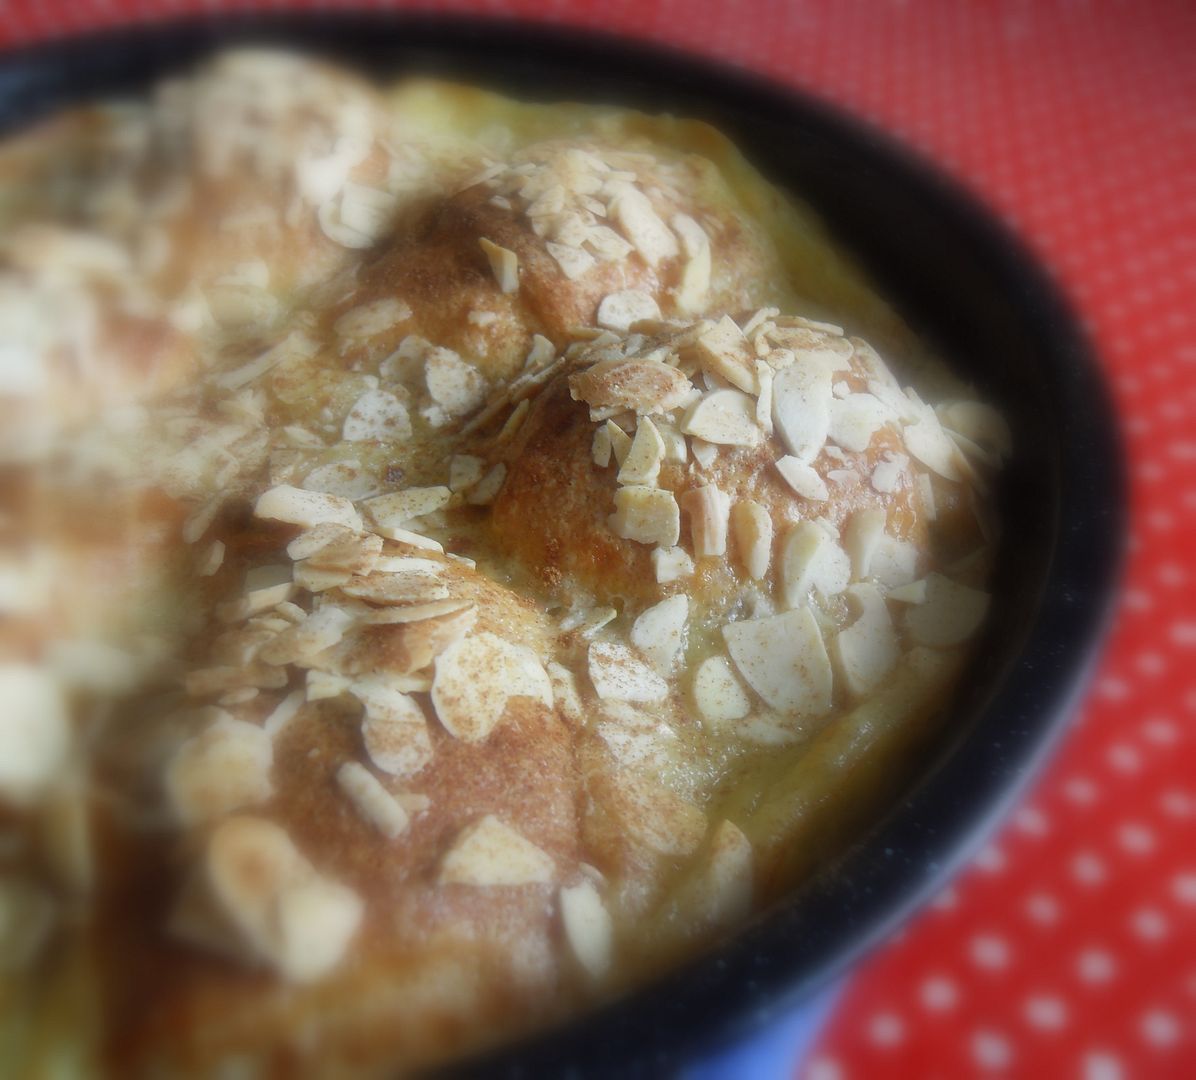
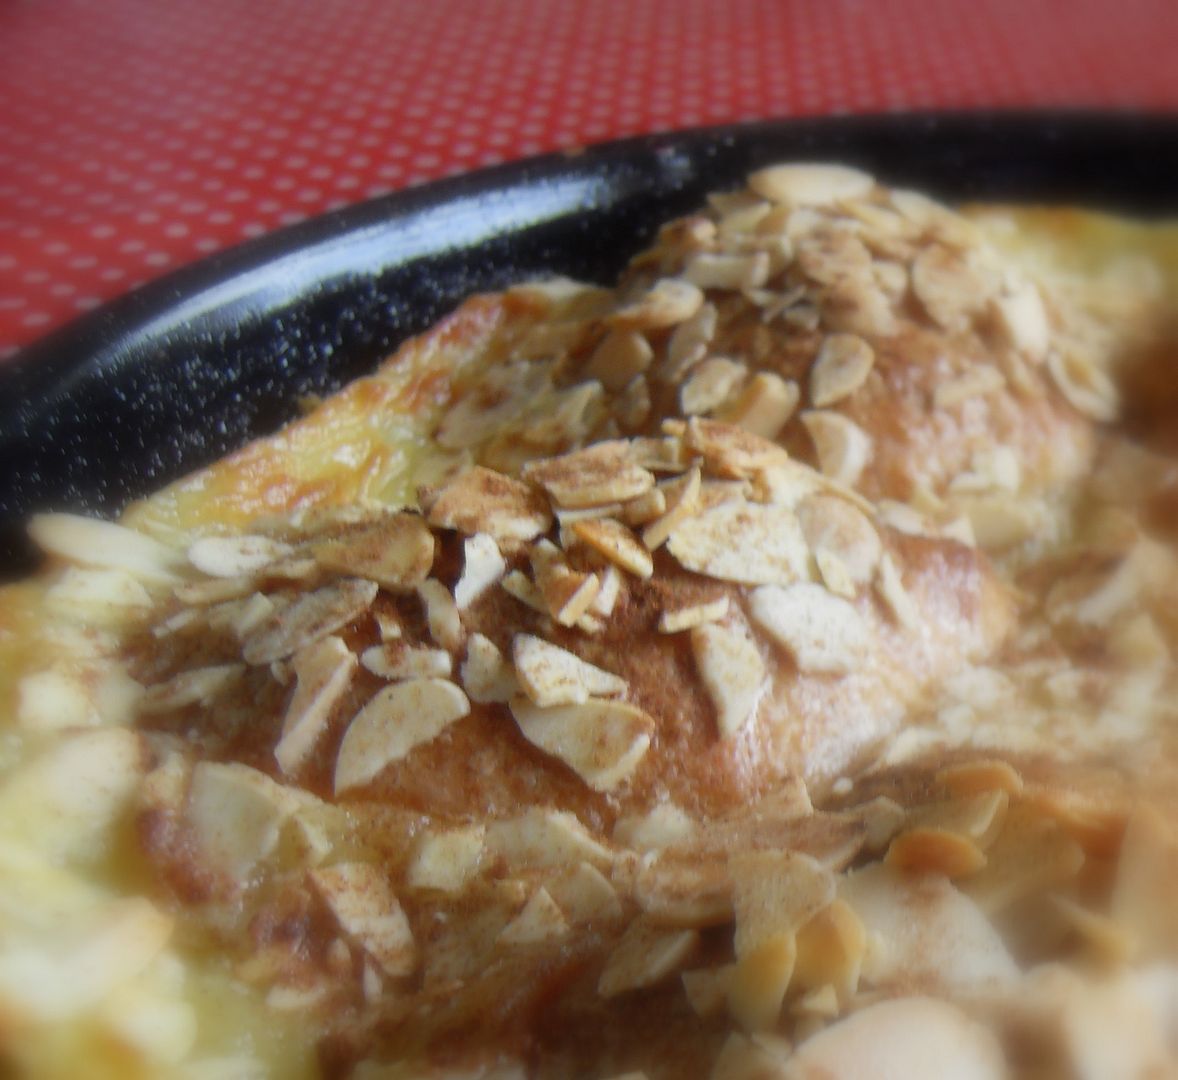
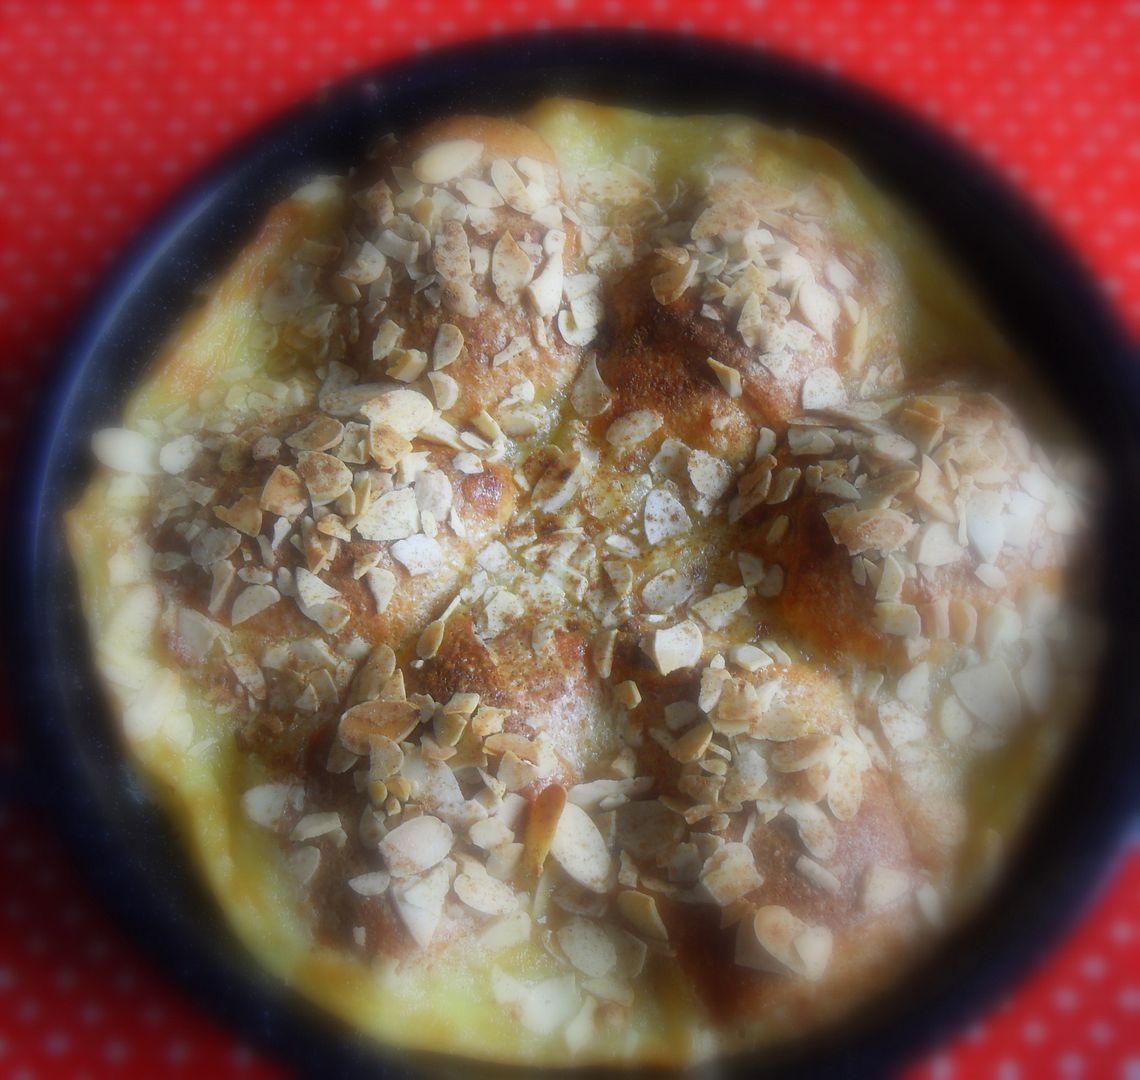
You then slather the partially baked dumplings with a rich and creamy almond custard, top them with some flaked almonds and some more cinnamon, and bake them until the dumplings are scrummily golden brown and the custard is puffed up all around them!!!


Almond and Custard Apple Dumplings


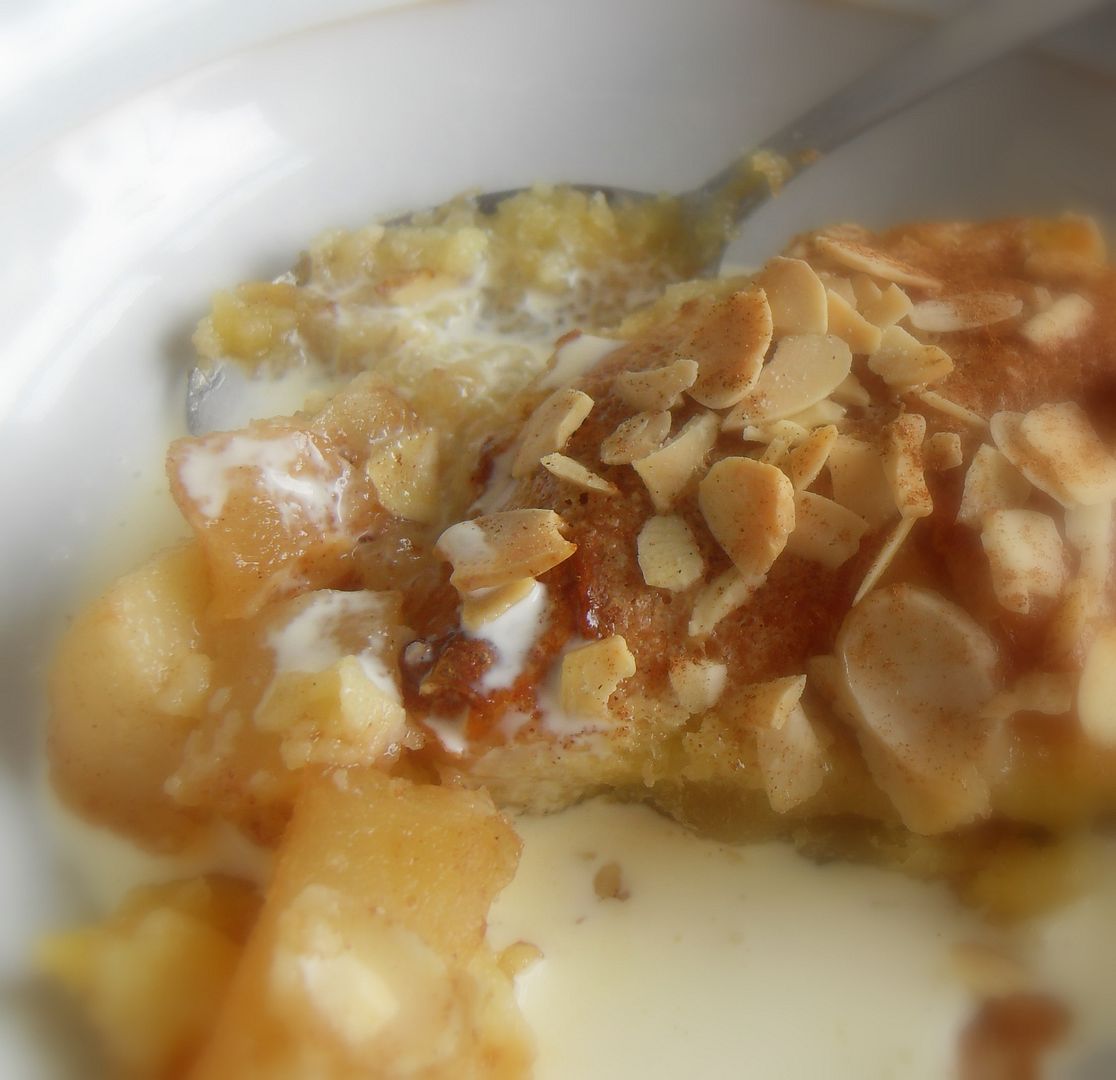
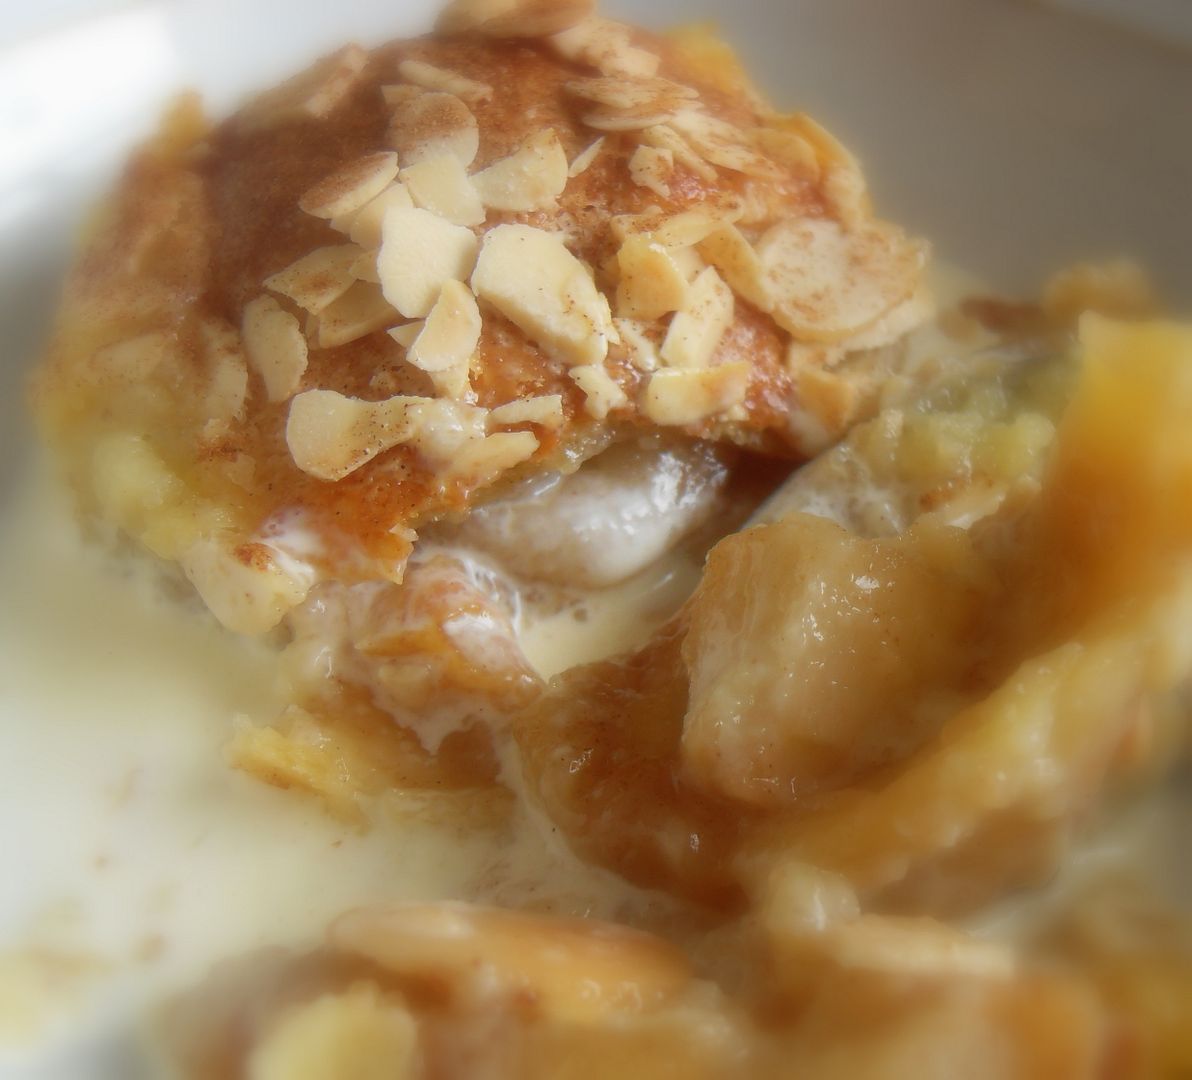
Oh my, but these did smell heavenly when they are baking and if the satisfied look on my husband's face was anything to go by while he was eating . . . they are also quite, quite decadently delicious to eat.


Almond and Custard Apple Dumplings


Of course he had his along with some pouring cream. It is the English way to do it, and why not!!


Almond and Custard Apple Dumplings


*Almond and Custard Apple Dumplings*
Serves 6
Printable Recipe

Delicious apple dumplings that bake in their very own almond custard. Easy and delicious!

For the Dumplings:
2 TBS golden caster sugar
1 tsp ground cinnamon
1 (250g) tin of refrigerated Croissant rolls dough
(separates into 6 rolls. Ready Roll makes them and the are in the
chiller section of the grocery store near the ready roll pastry)
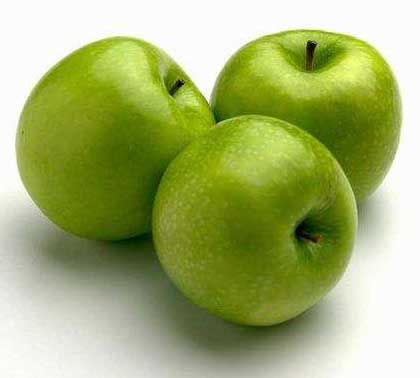
2 Granny Smith apples, peeled and cored

For the Custard:

3.5 ounces golden caster sugar (1/2 vup)
4 fluid ounces of double cream (1/2 cup)
1 large free range egg
2 tsp almond essence

To top:

1.5 ounces flaked almonds (1/2 cup)
ground cinnamon

Almond and Custard Apple Dumplings


Preheat the oven to 190*C/375*F/ gas mark 5. Butter a 9 inch round baking dish. Set aside.

Cut the apples into quarters. Stir together the 2 TBS of caster sugar and the 1 tsp ground cinnamon. Unroll the croissant dough, separating it into 6 triangles. Flatten each one somewhat and then sprinkle with the cinnamon sugar, gently pressing it in, and holding back about 1 tsp of the mixture. Put an apple quarter onto the wide end of each triangle. (You will have two leftover, but don't worry about that yet.) Tuck in the edges around the apple and then begin to roll it up, starting at the wide end and rolling to the opposite point. Place into the prepared baking dish, tip side down, in a circle. There will be some space between and in the middle. Cut the remaining apple quarters into chunks. Toss with the remaining cinnamon sugar. Put a few of these into the centre and several in between each filled croissant.

Bake in the preheated oven for 15 to 20 minutes until golden brown.

In the meantime whisk together the egg, sugar, cream and almond essence for the custard, making sure it is well mixed and the sugar dissolves.

At the end of the first baking take the dish from the oven. Pour the custard mixture evenly over top of the partially baked rolls. Sprinkle the flaked almonds over top and then dust with more cinnamon. Return to the oven and bake for an additional 13 to 18 minutes, until a deep golden brown. If you feel it is browning too quickly you can cover it with some foil.

Serve warm and store any leftovers in the refrigerator.

These are just fabulous.  Bon Appetit!