


A few years ago I picked up a little book at a garden center called Cookies in a Pan by Sabrina Fauda-Role. It was filled with delicious looking cookie recipes for cookies that all got baked on top of the stove in a skillet.
Skillet cookies. Pan Cookies. Easy to make cookies, and most importantly delicious looking cookies!

No fuss and no muss they are all mixed and baked right in the pan or skillet that they cook in. And all of the cooking happens on top of the stove.
All you need is a good heavy bottomed skillet, a burner you can regulate and about 30 minutes of time. Oh, and cookie ingredients as well. DUH!
.JPG "Peanut Butter Pan Cookie")
Each cookie mixes up completely in the pan, which means that there are not a lot of dirty dishes to wash. No bowls, no beaters, etc.
Which might be somewhat of a bummer for children who look forward to licking the beaters off and scraping the bowls.
Each cookie bakes into one giant cookie, right in the pan on top of the stove, without having to heat up your oven. That's a bonus in the summer months when we are all looking to keep our cool.
Each cookie cuts into six perfect wedges, which makes them the perfect dessert cookie, served warm from the pan with some ice cream or whipped cream.
.JPG "Peanut Butter Pan Cookie")
WHAT YOU NEED TO MAKE PEANUT BUTTER PAN COOKIE
I bet you have everything you need in the kitchen right now to make this delicious cookie. There is nothing out of the ordinary here.
For the dough:
- 1 cup (140g) plain all purpose flour
- 1 tsp baking powder
- 1/4 cup +1 TBS (60g) granulated sugar
- 1/4 tsp salt
- 1 tsp vanilla
- scant 1/4 cup (50g) butter
- 1 large free range egg
- 1/4 cup +2 TBS ( 80g) peanut butter
You will also need:
- 1/4 cup (50g) either chocolate covered peanuts or miniature peanut butter cups
- Ice cream to serve (optional)
.JPG "Peanut Butter Pan Cookie")
I used regular salted butter for this recipe. I only really keep salted butter in the kitchen. I cannot be bothered with buying two kinds of butter. I think its a bit pretentious. How hard is it to cut back on the salt in the recipe.
Oh how I miss Danish butter. Lurpak. It was such a beautiful butter. I could eat it in cold slivers from the tip of my knife quite easily. It was only lightly salted, but worked wonderfully in cooking, baking and eating.
.JPG "Peanut Butter Pan Cookie")
I used a commercial peanut butter. Kraft, smooth. Any commercial peanut butter would work. Just don't use natural unsweetened peanut butters.
This recipe is not meant to be used with those. Save the good stuff for something else. You want something like Kraft, Skippy, etc. Oh, how I miss Skippy peanut butter as well. Sigh . . . I used to buy it in the huge tub from Costco.
.JPG "Peanut Butter Pan Cookie")
Everything else is pretty self explanatory. Plain all purpose flour. Baking powder, PURE vanilla, egg, etc.
I use only large free range eggs. I am actually very lucky to be able to buy fresh free range eggs just around the corner from where I live, and they are as fresh as fresh can be!
.JPG "Peanut Butter Pan Cookie")
HOW TO MAKE PEANUT BUTTER PAN COOKIE
The hardest part of making these is making sure your burner isn't too hot. If it is too hot (you cannot rush a pan cookie) then the bottom of your cookie will burn.
Whisk the flour, baking powder, sugar and salt together in a bowl. Set aside.
Melt the butter over low heat in a 10 inch heavy bottomed non-stick skillet. Remove from the heat and whisk in the peanut butter and then the egg, whisking in vigorously. (Take care not to scramble the egg by having too hot a mixture of butter and peanut butter.)
.JPG "Peanut Butter Pan Cookie")
Whisk in the dry ingredients until very well mixed and evenly textured. Press them out evenly in the pan. Return the pan to the burner and cook over low heat for 10 minutes. The bottom should be set and the top looking puffy.
Scatter the chocolate covered peanuts or peanut butter cups over top. Cover tightly with a lid and cook for a further 5 minutes over low heat.
.JPG "Peanut Butter Pan Cookie")
Remove from the heat and let stand for 15 minutes, still lightly covered before serving. Cut into wedges to serve, with or without ice cream.
The chocolate covering the peanuts will slightly melt in that time as will the peanut butter cups. Altogether very scrummy yummy!
I like to use my cookie scoop to scoop out the ice cream. I just think three small scoops are a lot cuter than one big scoop.
.JPG "Peanut Butter Pan Cookie")
If you wanted to you could add some sundae sauce drizzled over the ice cream. I can't think of a one that wouldn't go, except maybe pineapple. Strawberry, Caramel, Chocolate fudge. All would work great! So would chopped peanuts!
Some other pan cookies on here that you might enjoy are:
CHUNKY CHOCOLATE COOKIE IN A PAN - A deliciously moreish pan cookie, made with brown sugar and topped with a variety of chocolate chunks. (Milk, Dark, White.)
WHITE CHOCOLATE, ALMOND & RASPBERRY PAN COOKIE - An almond pan cookie, studded with sweet berries and white chocolate bits. Delicious with whipped cream!
PEANUT BUTTER CHOCOLATE CHUNK SUNDAE COOKIE PIE - Your favorite cookie in a pie, served warm and topped with vanilla bean ice cream along with your favorite toppings.
Peanut Butter Pan Cookie
Yield: 6
Cook time: 30 MinTotal time: 30 Min
One delicious 10-inch cookie that cooks entirely on top of the stove and cuts into six servings. Delicious served warm with ice cream.
Ingredients
For the dough:
- 1 cup (140g) plain all purpose flour
- 1 tsp baking powder
- 1/4 cup +1 TBS (60g) granulated sugar
- 1/4 tsp salt
- 1 tsp vanilla
- scant 1/4 cup (50g) butter
- 1 large free range egg
- 1/4 cup +2 TBS ( 80g) peanut butter
You will also need:
- 1/4 cup (50g) either chocolate covered peanuts or miniature peanut butter cups
- Ice cream to serve (optional)
Instructions
- Whisk the flour, baking powder, sugar and salt together in a bowl. Set aside.
- Melt the butter over low heat in a 10 inch non-stick skillet. Remove from the heat and whisk in the peanut butter and then the egg, whisking in vigorously.
- Whisk in the dry ingredients until very well mixed and evenly textured. Press them out evenly in the pan. Return the pan to the burner and cook over low heat for 10 minutes. The bottom should be set and the top looking puffy.
- Scatter the chocolate covered peanuts or peanut butter cups over top. Cover tightly with a lid and cook for a further 5 minutes over low heat.
- Remove from the heat and let stand for 15 minutes, still lightly covered before serving.
- Cut into wedges to serve, with or without ice cream

This content (written and photography) is the sole property of The English Kitchen. Any reposting or misuse is not permitted. If you are reading this elsewhere, please know that it is stolen content and you may report it to me at: mariealicejoan at aol dot com
Thanks so much for visiting. Do come again!
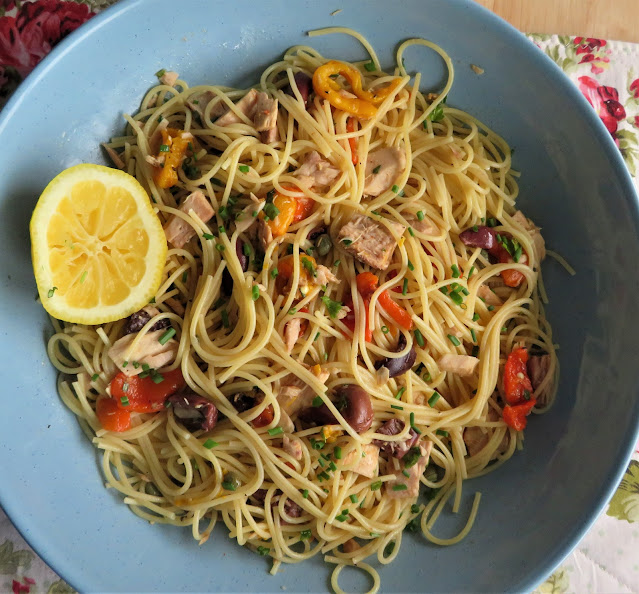
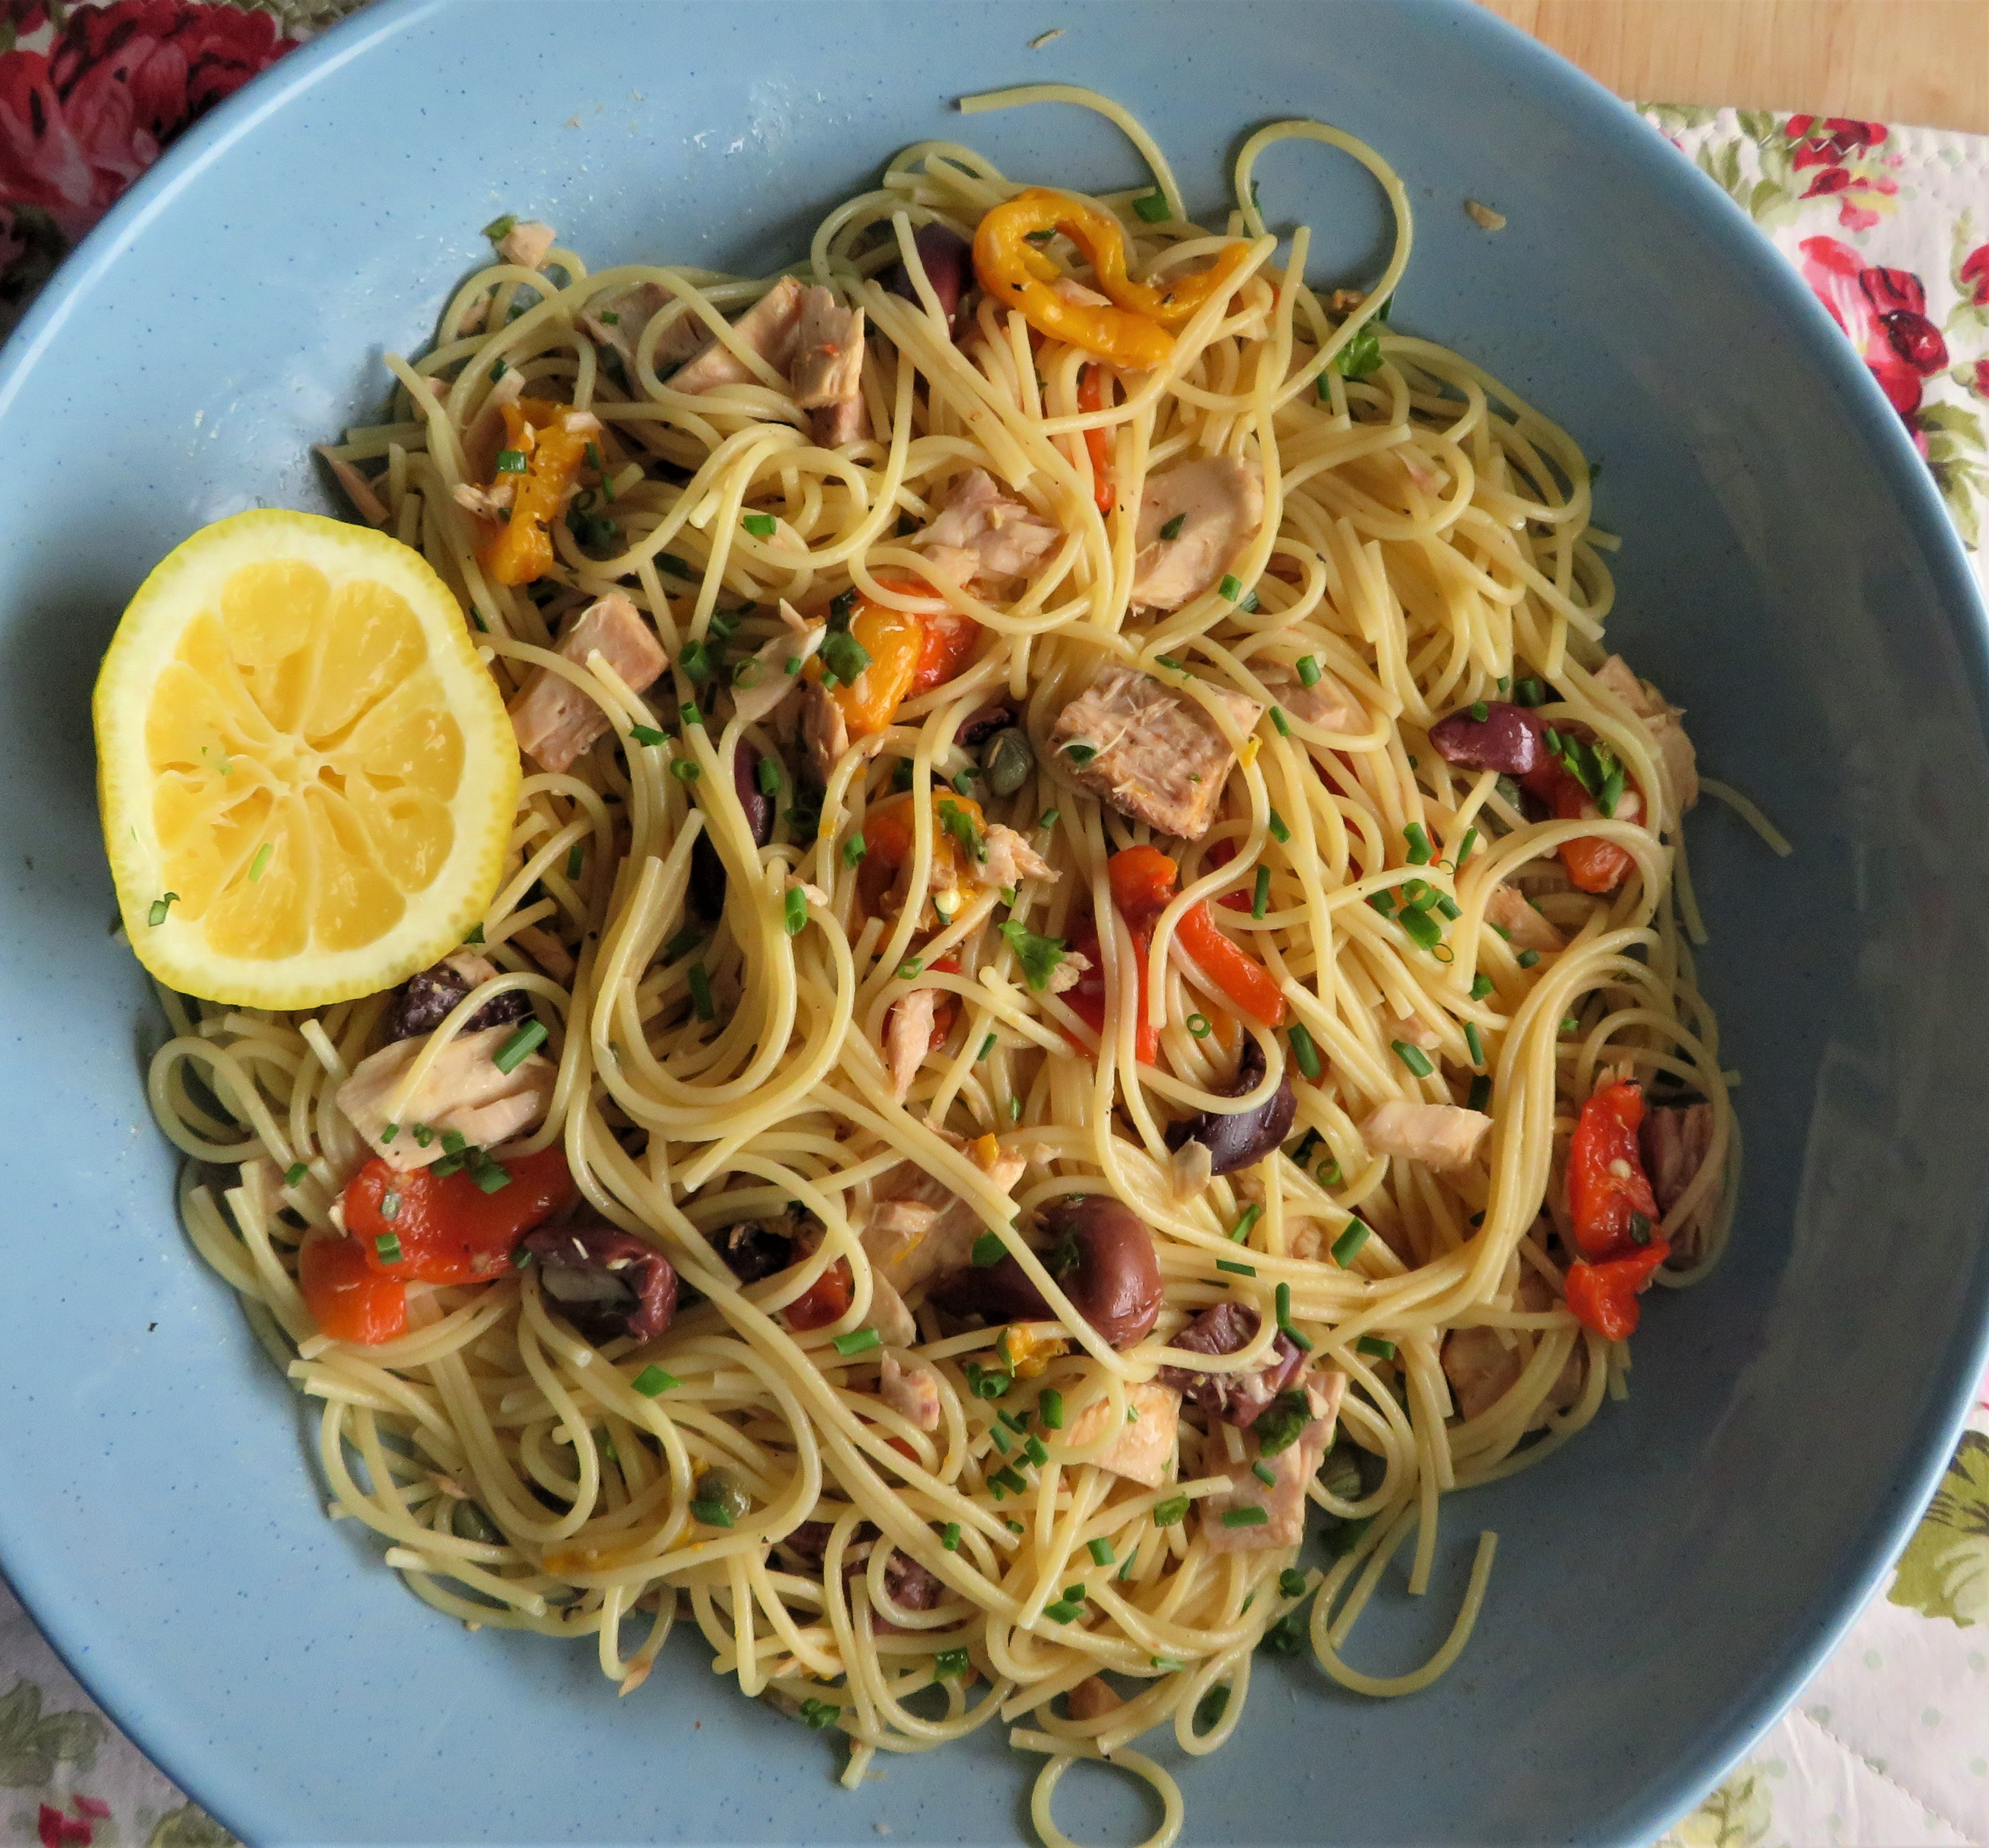
With the warmer weather comes the desire to eat lighter and to eat salads. Early summer/late spring has us all getting out of doors, working in the garden, and wanting to enjoy meals outside in the sunshine.
Picnics, BBQ's, etc. When you live in a temperate climate we want to make hay while the sun shines! We want to make the most of the warmer weather now that Winter has lost its grip on us because we know that all too soon it will be back knocking on our doors!
That's when salads such as this come in really handy!
.JPG "Spaghetti Salad with Tuna")
This is one of the best tuna pasta salads! You can use other pasta with it if you like, but I always enjoy eating this with spaghetti.
Its simple, quick and very easy to make as well.
.JPG "Harrowsmith Country Life")
It is a recipe that I have been making for many years. One of my tried and trues from a cookbook I managed to hang on to called The Best of Pantry.
For more than two decades, one of the best and most beloved departments of Harrowsmith Country Life was a food column named "Pantry."
I used to love watching Harrowsmith Country Life on the television back in the 1990's. I loved their focus on an organic country lifestyle. It was something which I always dreamed of living.
.JPG "Spaghetti Salad with Tuna")
All of the recipes in the book are tried and trues, based on simple, wholesome, good ingredients. The result is that many of them became my tried and trues.
Now I am on my own, I am downsizing many of my tried and trues. I small batched this almost Mediterranean tuna salad today to feed just two people generously. If you are wanting to feed more it is quite easy to double up on everything, or you could message me and I will give you the full sized recipe.
.JPG "Spaghetti Salad with Tuna")
WHAT YOU NEED TO MAKE SPAGHETTI SALAD WITH TUNA
Very simple every day ingredients. With the exception of the fresh herbs, I am sure that most of us already have most of these in our store cupboards.
- 2 TBS extra virgin olive oil
- 1/4 cup (65g) kalamata olives, pitted and quartered
- 2 TBS finely chopped fresh parsley
- 2 TBS finely chopped fresh basil
- 2 TBS finely chopped fresh chives
- 1 TBS drained capers
- pinch red pepper flakes
- 1/2 each roasted red and yellow peppers, peeled and torn into pieces
- 1 clove garlic, peeled and minced
- 1 can albacore tuna, drained and flaked
- 1 TBS good quality balsamic vinegar
- 1/2 TBS fresh lemon juice
- salt and freshly ground black pepper to taste
- 6 ounces (175g) dry spaghetti noodles
.JPG "Spaghetti Salad with Tuna")
It might look like a lot of ingredients, but really when you break it down it really isn't all that much. I always keep Kalamata olives and capers in my larder. They are key ingredients for a great many dishes.
You can easily roast your own peppers for this salad. I wouldn't buy already roasted peppers in brine for this. Roasting your own always tastes infinitely better, and its not all that difficult to do.
.JPG "Spaghetti Salad with Tuna")
HOW TO ROAST AND PEEL BELL PEPPERS
Preheat your broiler or grill to high. Place your peppers on a pan and roast them, turning them frequently, 4-inches from the heat until they are puffed and charred.
Alternately you can roast them on a baking sheet in an oven which has been preheated to 375*F.190*C/ gas mark 4 for half an hour until lightly browned.
Place the charred peppers in a paper or a plastic bag and seal. Leave to sit for 15 minutes to cool. At that time it should be very easy to remove the skins.
Peel and seed and then use as desired as your recipe directs.
.JPG "Spaghetti Salad with Tuna")
For this recipe I just torn them roughly into bits. I liked the more rustic feel that tearing them gave to the salad.
I also tore the olives into bits. Much, much prettier than cutting or dicing, but you do whatever makes you comfortable and happy.
I always only ever buy albacore tuna. It may be a bit more cost wise, but the quality and flavor is worth every extra penny.
.JPG "Spaghetti Salad with Tuna")
HOW TO MAKE SPAGHETTI SALAD WITH TUNA
Whisk the oil, olives, parsley, basil, chives, capers, red pepper flakes, peppers, garlic and tuna together in a serving bowl.
Sprinkle with the vinegar, lemon juice, salt and pepper. Leave to marinate at room temperature for half an hour.
Just prior to serving, cook the spaghetti in salted boiling water according to the package directions, just until al dente. Drain well and rinse. Drain again.
Toss the cooked spaghetti with the salad ingredients. Taste and adjust seasoning as required.
Serve slightly warm, or at room temperature.
.JPG "Spaghetti Salad with Tuna")
As you can see this salad differs a great deal from the usual mayonnaise tuna salad. It is light and fresh and incredibly tasty, with lots of salty tang from the capers and olives.
If you use tuna in olive oil, it will have even more flavor. There is a light sweetness from the peppers and the fresh herbs give the salad a lovely earthy touch.
Then there is the tang of the lemon juice and balsamic vinegar. Together with the garlic, this makes for one very delicious salad!
.JPG "Spaghetti Salad with Tuna")
If you are fond of tuna but not wanting a salad, you might enjoy some of my other tuna recipes:
CLASSIC TUNA MELT - Toasted sandwiches don't get much tastier than these delicious classic tuna melts. These are a real family favorite.
MOM'S TUNA CASSEROLE - This delicious casserole has been pleasing members of my family since I was a child. Tuna casserole at its very finest. Nostalgic tastiness with the crunch of potato chips on top!
TUNA LOAF WITH MUSTARD CREAM - Winner/winner chicken dinner. Well fish actually. Delicious served hot or cold.
Spaghetti Salad with Tuna
Yield: 2
Prep time: 35 MinCook time: 10 MinTotal time: 45 Min
This is a quick, warm weather supper salad with a delicious difference! You can use either oil packed or water packed tuna, depending on how health conscious you are.
Ingredients
- 2 TBS extra virgin olive oil
- 1/4 cup (65g) kalamata olives, pitted and quartered
- 2 TBS finely chopped fresh parsley
- 2 TBS finely chopped fresh basil
- 2 TBS finely chopped fresh chives
- 1 TBS drained capers
- pinch red pepper flakes
- 1/2 each roasted red and yellow peppers, peeled and torn into pieces
- 1 clove garlic, peeled and minced
- 1 can albacore tuna, drained and flaked
- 1 TBS good quality balsamic vinegar
- 1/2 TBS fresh lemon juice
- salt and freshly ground black pepper to taste
- 6 ounces (175g) dry spaghetti noodles
Instructions
- Whisk the oil, olives, parsley, basil, chives, capers, red pepper flakes, peppers, garlic and tuna together in a serving bowl.
- Sprinkle with the vinegar, lemon juice, salt and pepper.
- Leave to marinate at room temperature for half an hour.
- Just prior to serving, cook the spaghetti in salted boiling water according to the package directions, just until al dente. Drain well and rinse. Drain again.
- Toss the cooked spaghetti with the salad ingredients. Taste and adjust seasoning as required.
- Serve slightly warm, or at room temperature.

This content (written and photography) is the sole property of The English Kitchen. Any reposting or misuse is not permitted. If you are reading this elsewhere, please know that it is stolen content and you may report it to me at: mariealicejoan at aol dot com
Thanks so much for visiting. Do come again!
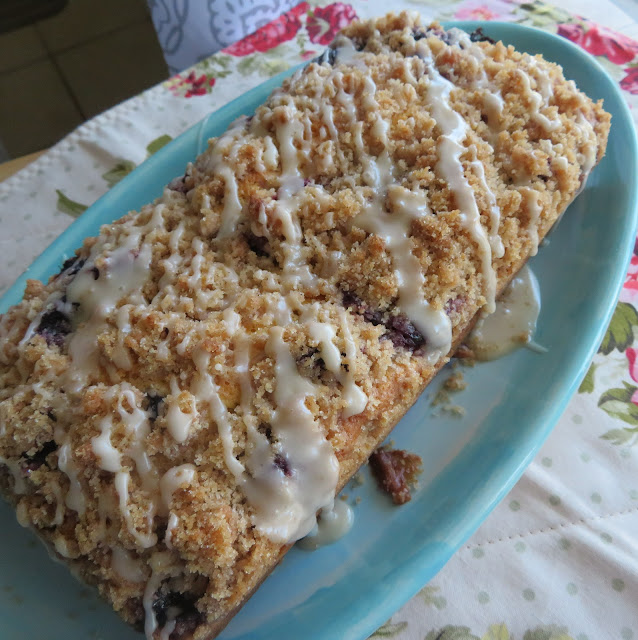
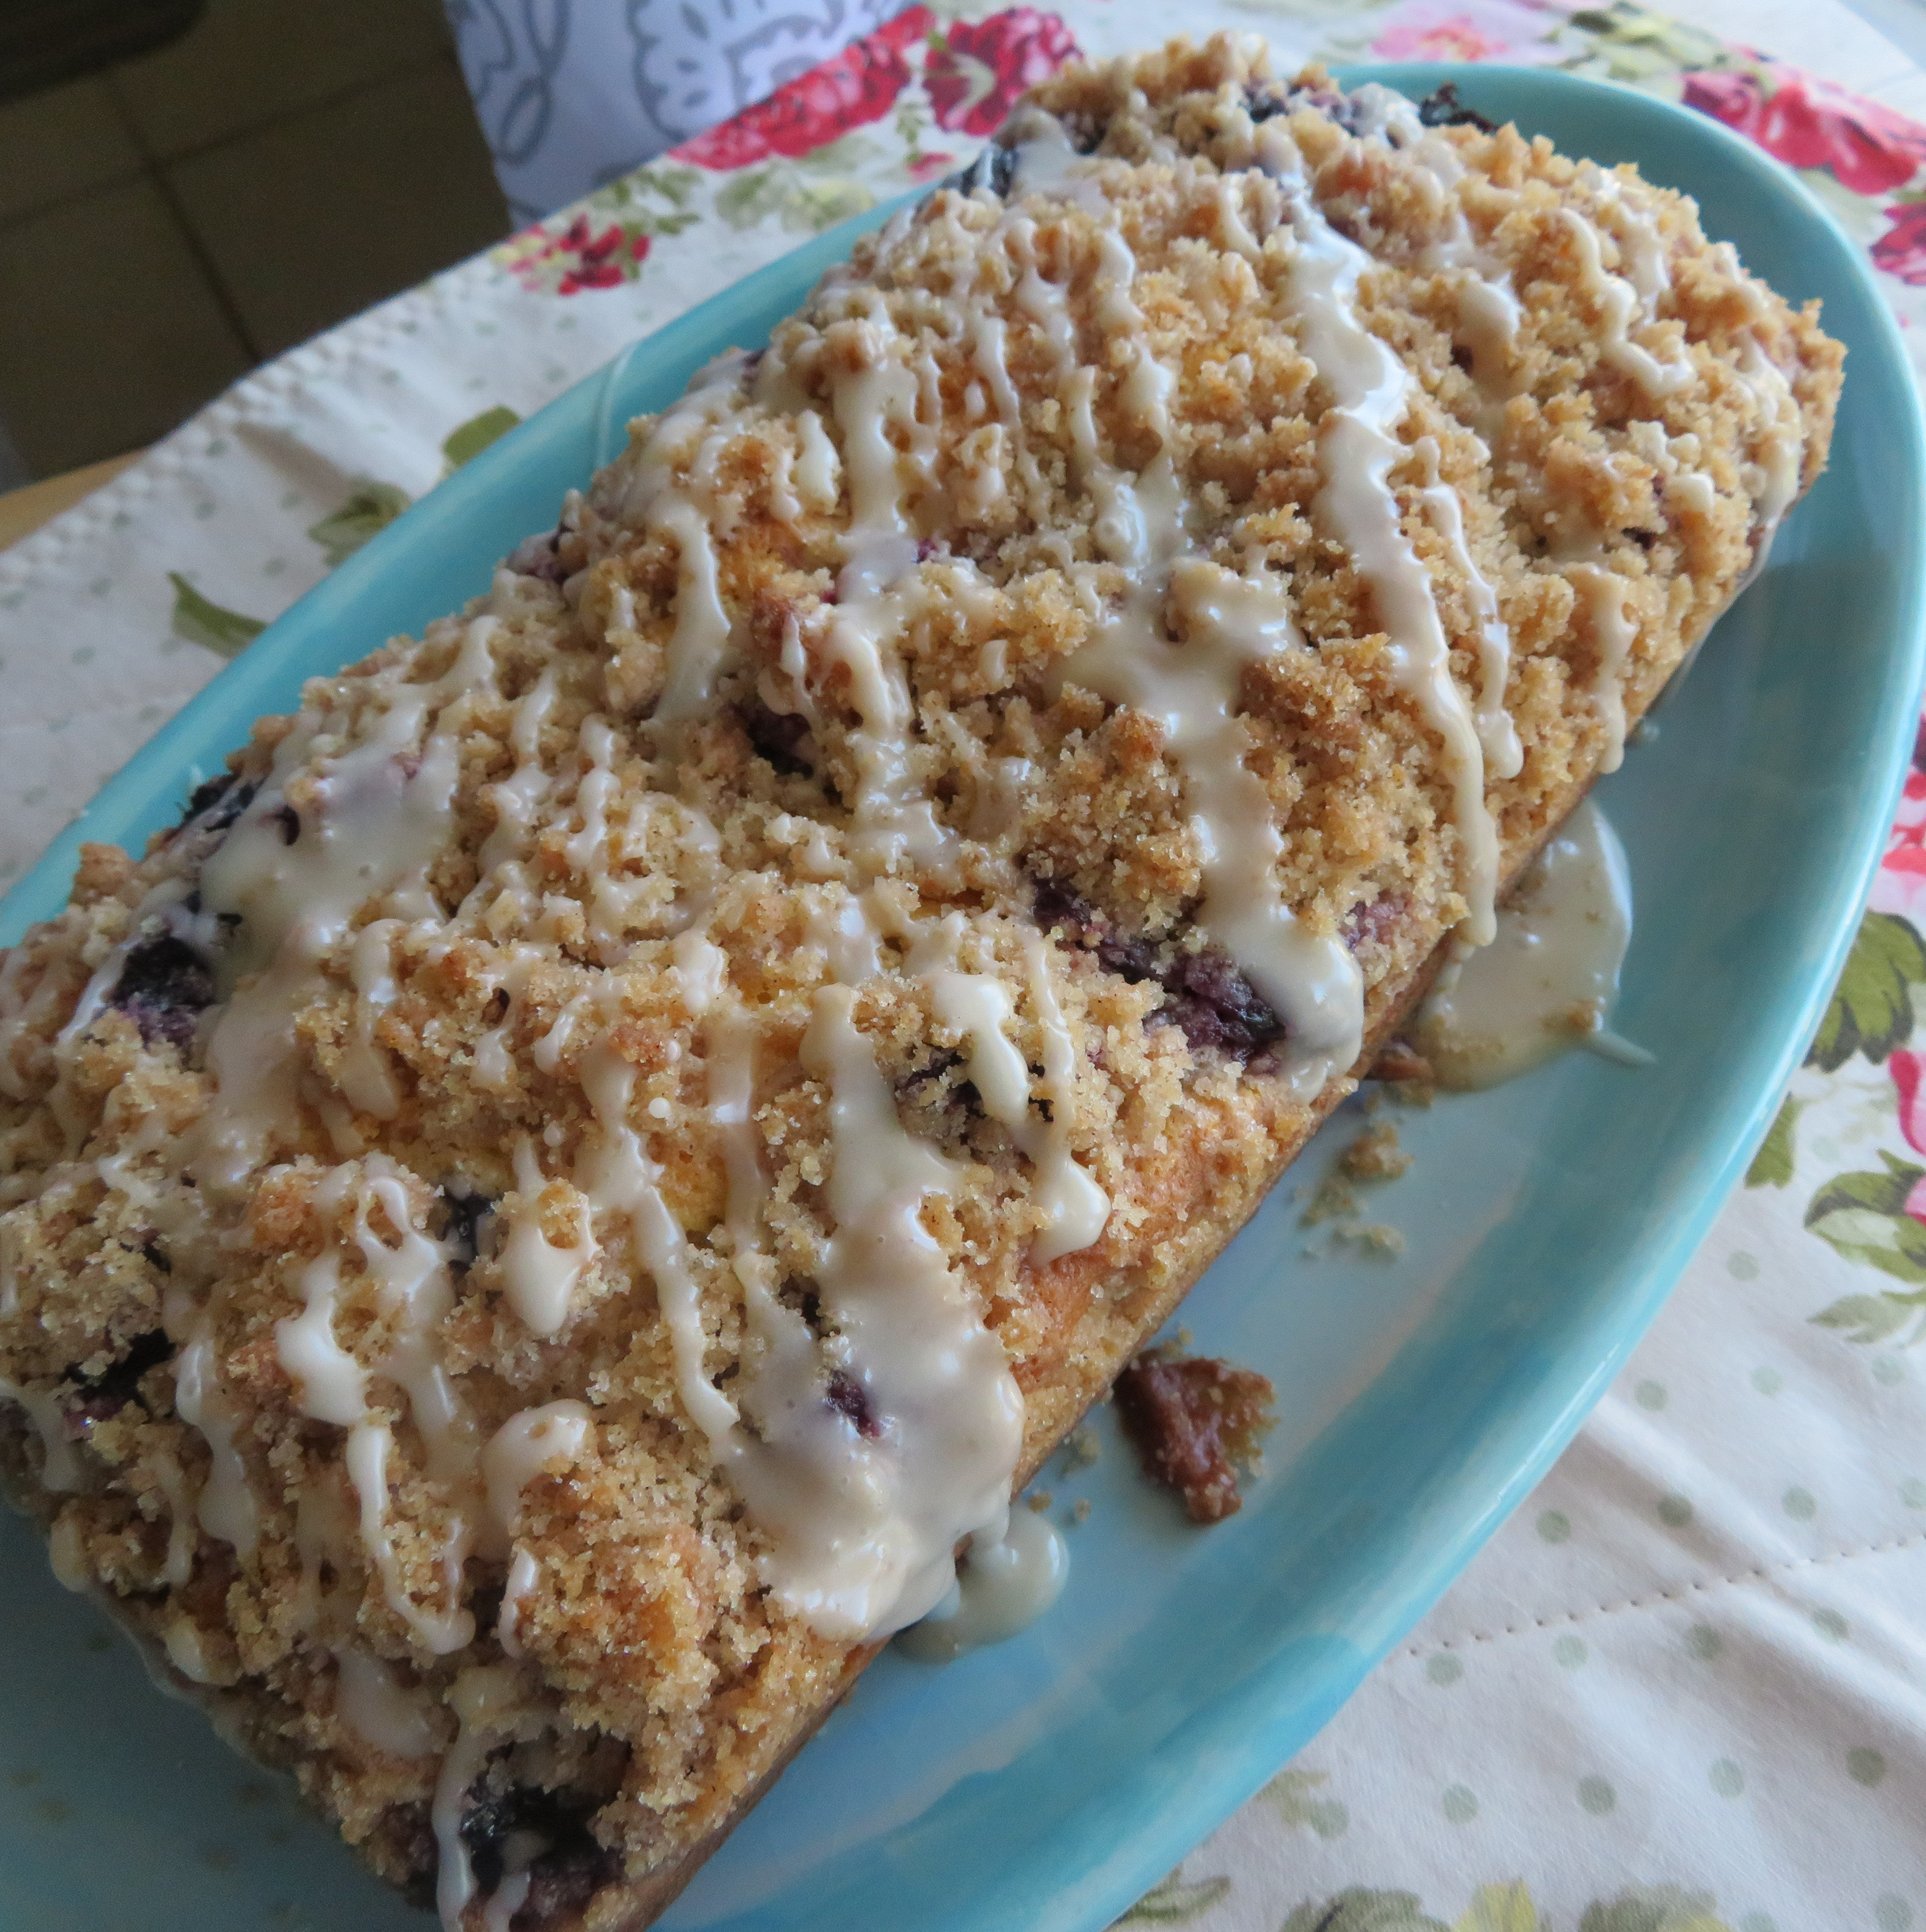
One of the challenges of living on your own is that you often miss out on baking and eating things because most recipes just bake up in quantities that are far too much for you to conceivably use up.
Sometimes you can get around that by giving half of whatever you bake away, and sure, you can freeze it, but, if you like to bake as much as I do, you will soon run out of space in the freezer and your neighbors will get tired of seeing your face.
This past year or so I have been trying to small batch as many recipes as I can, and today I am sharing an easy blueberry muffin cake that makes only 4 or 5 servings rather than 8 or 10.
.JPG "Blueberry Muffin Cake")
The original blueberry muffin cake recipe baked in a 9-inch spring form pan. I found this recipe quite some time ago on a blog called Cookies and Cups. It became a favorite recipe of mine to bake when I knew I was having company over.
I decided to adapt it today to a much smaller size than the original recipe makes. This is the perfect size for me to make and then if I freeze any of it, it doesn't take up too much space in my freezer. In all truth though, I could probably eat my way through this in just two or three days.
I hate waste.
.JPG "Blueberry Muffin Cake")
This is probably one of the best homemade muffin cakes that you would ever want to bake and eat. Not only does it have a beautiful tender crumb, but it is filled with ripe plump sweet berries.
Don't get me started on the moreish crunchy streusel topping . . . and then there is that sweet vanilla glaze. What's not to love about this!!
.JPG "Blueberry Muffin Cake")
Blueberries are one of my favorite fruits and they are really good for you as well. Filled with anti-oxidants they are considered to be a super fruit.
I try to eat some every day. I sprinkle them on my cereal, eat them out of hand and also try to use them in baked goods from time to time. They especially shine in beautiful bakes such as this fabulous cake.
.JPG "Blueberry Muffin Cake")
WHAT YOU NEED TO MAKE BLUEBERRY MUFFIN CAKE
I am sure you probably have everything you need in your kitchen right now to make this fabulous cake! Lets start with the streusel topping!
For the streusel Topping:
- 1/3 cup (75g) granulated sugar
- 4 1/2 TBS plain all purpose flour
- 1/2 tsp ground cinnamon
- 3 TBS butter, at room temperature
I have also used ground cardamom in this, half and half with the cinnamon. Cardamom has almost a citrus flavor and we know how well that goes with blueberries.
.JPG "Blueberry Muffin Cake")
For the cake:
- 1 cup (140g) plain all purpose flour
- 1 tsp finely grated lemon zest
- 1/3 cup (75g) granulated sugar
- 2 TBS butter, room temperature
- 1/3 cup + 1 TBS (90ml) milk
- 1 small free range egg, or 1 large free range egg yolk
- 1 1/4 tsp baking powder
- 1/4 tsp salt
- 1 cup (190g) fresh blueberries
.JPG "Blueberry Muffin Cake")
For the vanilla glaze:
- 1/4 cup (65g) sifted icing sugar
- few drops vanilla
- 1 tsp milk
What cake or muffin is not enhanced with the addition of a sweet vanilla glaze? This is its crowning glory.
.JPG "Blueberry Muffin Cake")
HOW TO MAKE BLUEBERRY MUFFIN CAKE
This smaller version of the regular cake bakes in a 9 by 4 inch loaf tin, cutting into five beautiful moreishy thick slices.
Preheat the oven to 375*F/190*C/ gas mark 5. Butter a 9 by 4 inch loaf tin and line with paper so that you have an overhang for lifting out on the two long sides.
First make the streusel. Measure all of the dry ingredients into a bowl and cut in the butter until you have a dry crumbly mixture. Set aside.
.JPG "Blueberry Muffin Cake")
Whisk together the flour, baking powder and salt for the cake. Whisk together the milk and egg for the cake.
Rub the sugar and lemon zest together in a bowl, until quite fragrant. Add the butter and cream together. Add the flour mixture and milk mixture and mix until just combined.
Fold in the blueberries and spread the batter into the prepared loaf tin. Sprinkle the streusel mixture evenly over top.
.JPG "Blueberry Muffin Cake")
Bake in the preheated oven for 40 to 45 minutes until golden brown, set and a toothpick inserted in the center comes out clean.
Leave to cool in the pan on a wire rack for ten minutes before lifting out onto the rack to finish cooling to lukewarm.
Whisk together all of the glaze ingredients, using only enough milk to give you a nice drizzle. Flick this drizzle over top of the cake.
Cut into thick slices and serve warm or at room temperature.
.JPG "Blueberry Muffin Cake")
Yes, I did hedonistically spread lashings of butter onto the surface of my warm slice of blueberry muffin cake. Yes, it was absolutely luxuriously moreish.
Now you know why I look the way I do. I am not a halfway person. Its all in or nothing. That's me, take it or leave it.
.JPG "Blueberry Muffin Cake")
As a bonafide lover of all things blueberry, it occurs to me that you might be as well and so allow me to share a few of my other delicious blueberry creations:
LEMON BLUEBERRY TURNOVERS - Blueberries. Lemon. Puff pastry. Glaze. Prepare to fall in love.
LITTLE BLUEBERRY PUDDINGS - tiny cakes served warm with either pouring cream or ice cream. A delicious dessert any way you look at it.
SPICED BLUEBERRY SCONES - Beautifully buttery and short, with just the faintest hint of spice . . . cardamom and cinnamon . . . and topped with sweet wild blueberry preserves . . .then baked until crisp and brown on the edges.
Blueberry Muffin Cake (small batch)
Yield: 4 to 5
Prep time: 10 MinCook time: 45 MinTotal time: 55 Min
I small batched my all-time favorite Blueberry Muffin Cake. It bakes in a 9 by 4 inch loaf tin now. Its got a lovely soft crumb and is loaded with blueberries, topped with a crunchy streusel crumble and drizzled a sweet vanilla glaze.
Ingredients
For the streusel Topping:
- 1/3 cup (75g) granulated sugar
- 4 1/2 TBS plain all purpose flour
- 1/2 tsp ground cinnamon
- 3 TBS butter, at room temperature
For the cake:
- 1 cup (140g) plain all purpose flour
- 1 tsp finely grated lemon zest
- 1/3 cup (75g) granulated sugar
- 2 TBS butter, room temperature
- 1/3 cup + 1 TBS (90ml) milk
- 1 small free range egg, or 1 large free range egg yolk
- 1 1/4 tsp baking powder
- 1/4 tsp salt
- 1 cup (190g) fresh blueberries
For the vanilla glaze:
- 1/4 cup (65g) sifted icing sugar
- few drops vanilla
- 1 tsp milk
Instructions
- Preheat the oven to 375*F/190*C/ gas mark 5. Butter a 9 by 4 inch loaf tin and line with paper so that you have an overhang for lifting out on the two long sides.
- First make the streusel. Measure all of the dry ingredients into a bowl and cut in the butter until you have a dry crumbly mixture. Set aside.
- Whisk together the flour, baking powder and salt for the cake.
- Whisk together the milk and egg for the cake.
- Rub the sugar and lemon zest together in a bowl, until quite fragrant. Add the butter and cream together. Add the flour mixture and milk mixture and mix until just combined. Fold in the blueberries and spread the batter into the prepared loaf tin.
- Sprinkle the streusel mixture evenly over top.
- Bake in the preheated oven for 40 to 45 minutes until golden brown, set and a toothpick inserted in the center comes out clean.
- Leave to cool in the pan on a wire rack for ten minutes before lifting out onto the rack to finish cooling to lukewarm.
- Whisk together all of the glaze ingredients, using only enough milk to give you a nice drizzle. Flick this drizzle over top of the cake.
- Cut into thick slices and serve warm or at room temperature.

Are you looking for expert advice on baking? I found an excellent article on Porch which covers just about anything that you might need to know about baking and setting up a baking area in your kitchen. You can find it here!
This content (written and photography) is the sole property of The English Kitchen. Any reposting or misuse is not permitted. If you are reading this elsewhere, please know that it is stolen content and you may report it to me at: mariealicejoan at aol dot com
Thanks so much for visiting. Do come again!
Subscribe to:
Posts (Atom)





Social Icons