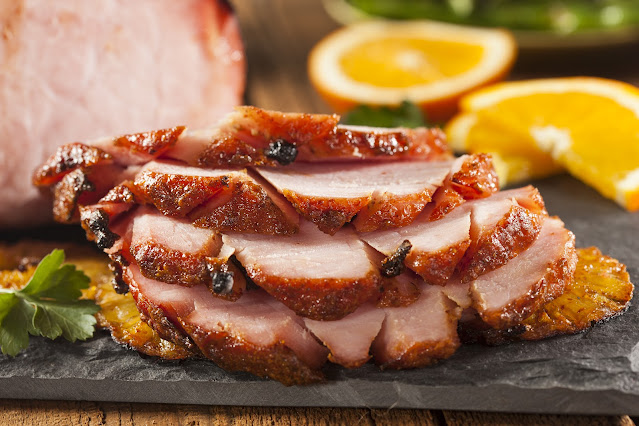
Ham for the holidays. For many of us traditions at Christmas mean we will be feasting on Roast Turkey, but there are many family's that forgo the traditional turkey and have a Roast Prime Rib or Glazed Ham.
I have already shared how to cook the Perfect Prime Rib here. And I have cooked many a turkey on here, this Herb Roasted Turkey Breast being my favorite.
I have never really talked about how to perfectly roast a ham on here however, so I thought that this year I would do just that. Voila! Here is my tutorial on how to cook a ham. If you follow my hints and tips, there is no reason why you shouldn't have the most delectable holiday ham ever!
Ham is a real favorite with many people, from family holiday celebrations to already sliced ham used for simple sandwiches. But just what is a ham? And how do you cook it?
Ham, also known as fresh ham or gammon, is the hind leg of the hog. It can be roasted, bone in or out, like almost any other cut of meat. Most of what we classify as a ham in North America is pre-cured and smoked.
Occasionally (very rarely) you will run across a fresh ham (uncured.) A fresh ham can be cooked (usually slow roasted) just like any other cut of meat. The kind of ham I am going to be talking about today is the cured ham, which is the ham most of us will be dealing with this holiday season.
A cured ham is the ideal piece of meat to serve a crowd and is delicious served both warm and at room temperature, making it perfect for a buffet table!
WHAT YOU NEED TO ROAST A HAM
You will need the ham or course, and the size needed will vary according to the number of people you are serving, but you will also need some equipment.
A roasting tin - a 9 by 13 is probably ideal for most hams. You want the pan to be large enough to hold the ham with some available space around the ham, and also with a depth of at least 3 to 4 inches, so that there is room to hold any cooking juices without splash over.
This is not the time to use a baking sheet, although you certainly can if that is all that you have. Just be prepared for a bit of a mess to clean up afterwards.
You can also use a casserole dish which is large enough around the outside and deep enough to hold the ham comfortably.
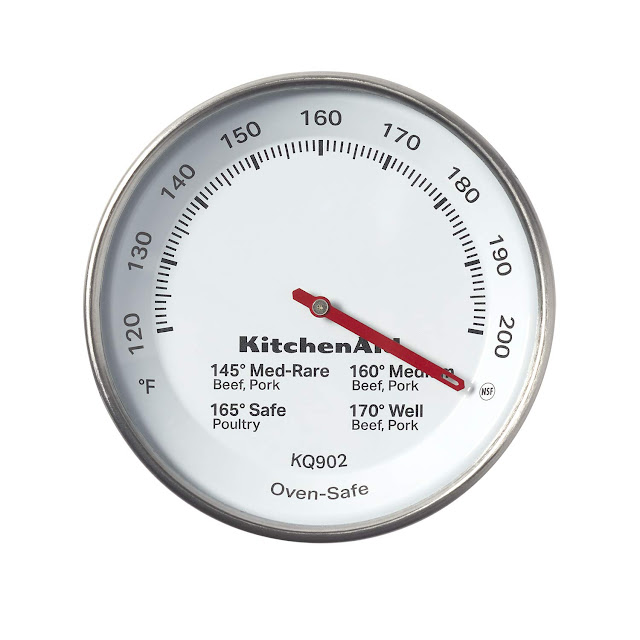
A good meat thermometer - a good ovenproof or instant-read thermometer will help ensure your ham is heated thoroughly. Most hams do come precooked. You are aiming for an internal temperature of 140*F/63.78*C when reheating precooked ham. Without a meat thermometer it will be hard to tell if your ham has reached that temperature.
If your ham was not precooked, it’s even more important to have a thermometer, because it will help you determine doneness (145*F/60*C). Since temperature is the most foolproof way to cook meat to perfection, I highly recommend investing in a thermometer.
You can purchase these in most online and local kitchen shops, as well as on Amazon. I have one that you insert right into the meat and it stays there during the whole cooking process.
HOW TO CHOOSE THE RIGHT HAM FOR YOU
Boneless vs. bone-in - One of the benefits of choosing a boneless ham over a bone-in ham is the ease with which you can carve it. One of the benefits of choosing a bone-in ham is that you have that lovely bone which with to make a nice soup or stock with afterwards.
All the hams of my childhood were followed with a nice pot of my mother's homemade pea soup that she used the ham bone to make!
With a bone-in ham you will need roughly 3/4 pound/340g per person. With a boneless ham you will need 1/2 pound/225g per person.
One of the main benefits of having a bone in ham, aside from the stock you can make, is that the meat, generally speaking, has much more flavor and is juicier.
HOW TO COOK A HAM
Most hams will come with the rind removed, but a goodly layer of fat around the ham. Some will still have the rind attached. The minutes suggested per weight of meat will vary according to the size, shape, fat covering and initial temperature of your ham. These timings are meant to be used with a rindless, fat covered ham. The fat can be removed and scored (see below) when you go to glaze the ham.
12 to 15 pounds - 16 to 17 minutes per pound (3 1/2 hours)
10 to 12 pounds - 18 minutes per pound (3 1/4 hours)
Under 10 pounds - 20 minutes per pound (3 hours)
Half hams - 22 minutes per pound (2 1/2 hours)
1 pound = 453.6 grams or 16 ounces
Place the ham, fat side up on a rack in an open pan in an oven which has been preheated to 325*F/165*C/ gas mark 3. Keep the oven temperature at this level. Do not add water. Do not cover. Do not baste.
TO FINISH BAKED HAM
All you have to do to finish baked ham is about 45 minutes before the bake time is up, remove the ham from the oven. If you have left the rind on, remove it all now, leaving a thin surface of fat over the top. Score the fat with the tip of a sharp knife, cutting it into squares or diamonds. Stud each square with a whole clove.
To glaze, spread the surface with a paste made from 1 cup (200g) soft light brown sugar. 1 tsp dry mustard powder and 2 to 3 tsp of vinegar, honey or syrup. Return to the oven and baste occasionally with fruit juice, cider or the juice of pickled peaches.
There is an article here that gives 10 super easy ideas for glazing your ham, other than the one I have shared above. There is everything from a Blueberry Chipotle to a Peach Jalapeno glaze.
Once you have baked your ham, let it rest for 10 to 15 minutes before carving into slices to serve.
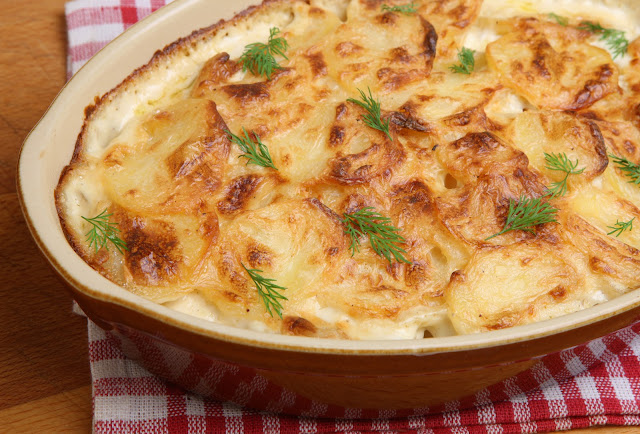
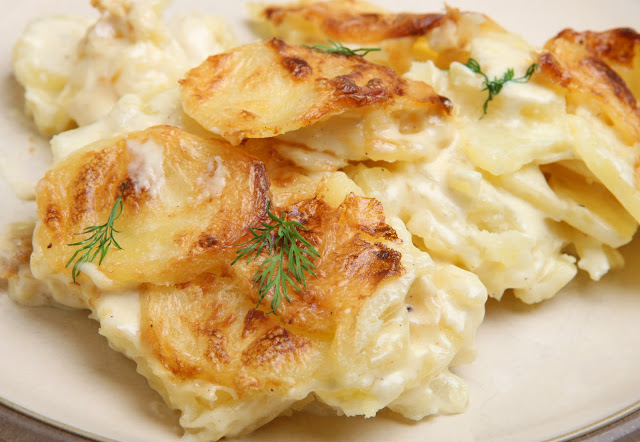
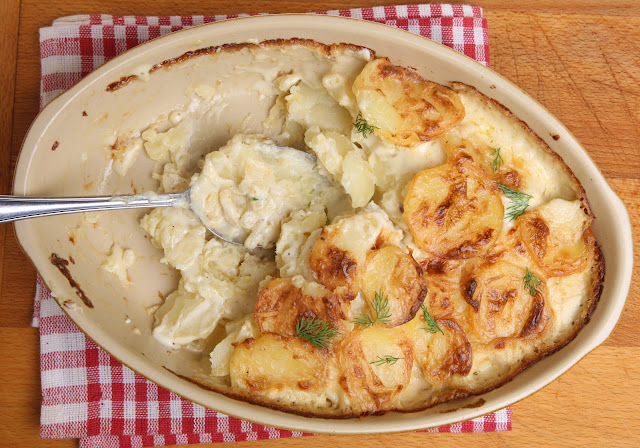
One thing which really goes well with a Baked Ham at the holidays is Potatoes Dauphinoise. This dish sounds much fancier and elegant than it is. Its merely a fancy type of Scalloped Potatoes, but a whole lot easier to put together.
The most labour intensive part of making these is the peeling and cutting of the potatoes. If you have a mandolin or vegetables slicer this gets a whole lot easier!






This is great Marie , thankyou ! :)
ReplyDelete