

If you're having a bit of a celebration in this country, this fella is sure to show up. Suave, sophisticated, a bit fuzzy, delicious and totally non-alcoholic. Being Mormons, he shows up at all our parties and is always warmly welcomed . . . as well as being the first drink to disappear!!!

The people from Schloer recently sent me a sample to try out, of their new Limited Edition Winter Flavour . . . just in time for the holidays . . . Berry Punch!! Ruby coloured it gives a beautiful nod to traditional English flavours being packed with the flavour of blackberries with a warming hint of spice.

They recommended that it be served over ice and quintessentially English fruits so I thought why not go whole hog and serve it over frozen English autumn berries, which I also happen to keep a load of in the freezer . . . the berries acting as both ice and fruit!
Wow, was it ever wonderful! We both really enjoyed and are sure to pick up a few more bottles to have in the house during the up and coming holidays! Many thanks to the people at Shloer for sending me this tasty treat!

Shloer Limited Edition Berry Punch costs £2.29 per bottle. (Schloer is also available in White Grape, Red Grape, Rose, apple & White Grape, White Grape, Raspberry & Cranberry and White Grape & Elderflower flavours)
Schloer is also on Facebook where you'll find little extra inspiration and a Sunday Cookbook. (I'm thinking that it would make an amazing fruit jelly for the holidays as well!)

This put me in a very fruity moos, and of course . . . knowing me, whilst I had the frozen berries out I had to do something else with them as well . . . and why not!!!

I baked up some lovely fruity muffins. We all love blueberry muffins, but a muffin stogged with a variety of berries just can't be beat!

Oh so buttery, and fruity and moreishly scrummy with the tang of fresh berries in every bite . . . black and red currants, blueberries, raspberries, blackberries . . . these are soooo delicious!!

You could glaze them if you wished, but I just dust with a bit of icing sugar. These scrummy muffins speak for themselves, they really don't need much in the way of dressing up . . .really!!

*Berry Fruities*
Makes 12 muffins
Printable Recipe
Moist, buttery and chock full of tangy summer fruits!
175g of mixed summer berries (1 2/3 cups)
(fresh or frozen, cutting the larger ones in bits the size of
blueberries)
300g self raising flour (2 cups)
1 tsp baking powder
150g of caster sugar (2/3 cup)
100ml of plain yoghurt (1/2 cup)
125ml of milk (1/2 cup)
1 large free range egg, beaten
1 tsp vanilla
125g butter, melted (a slightly generous half cup)
Icing sugar to dust (optional)
Preheat the oven to 200*C/400*F/ gas mark 6. Line a 12 cup medium muffin tin with paper liners.
Whisk the flour, baking powder and sugar together in a large bowl. Beat together the egg, yoghurt, milk, melted butter and vanilla. Add all at once to the dry mixture and mix the two together, combing only to moisten the dry ingredients. It is perfectly ok for the mixture to be lumpy. Fold in the berries. (I like to save out a few to press into the tops.) Spoon into the paper lined muffin cups. Scatter any saved berries over top, pressing down lightly.
Bake for about 20 minutes, until risen and golden brown. Leave to cool in the pan for a few minutes before transferring to a wire rack to finish cooling. Dust with icing sugar and serve.

Cooking in The Cottage today, a Sticky Date Bread Pudding!
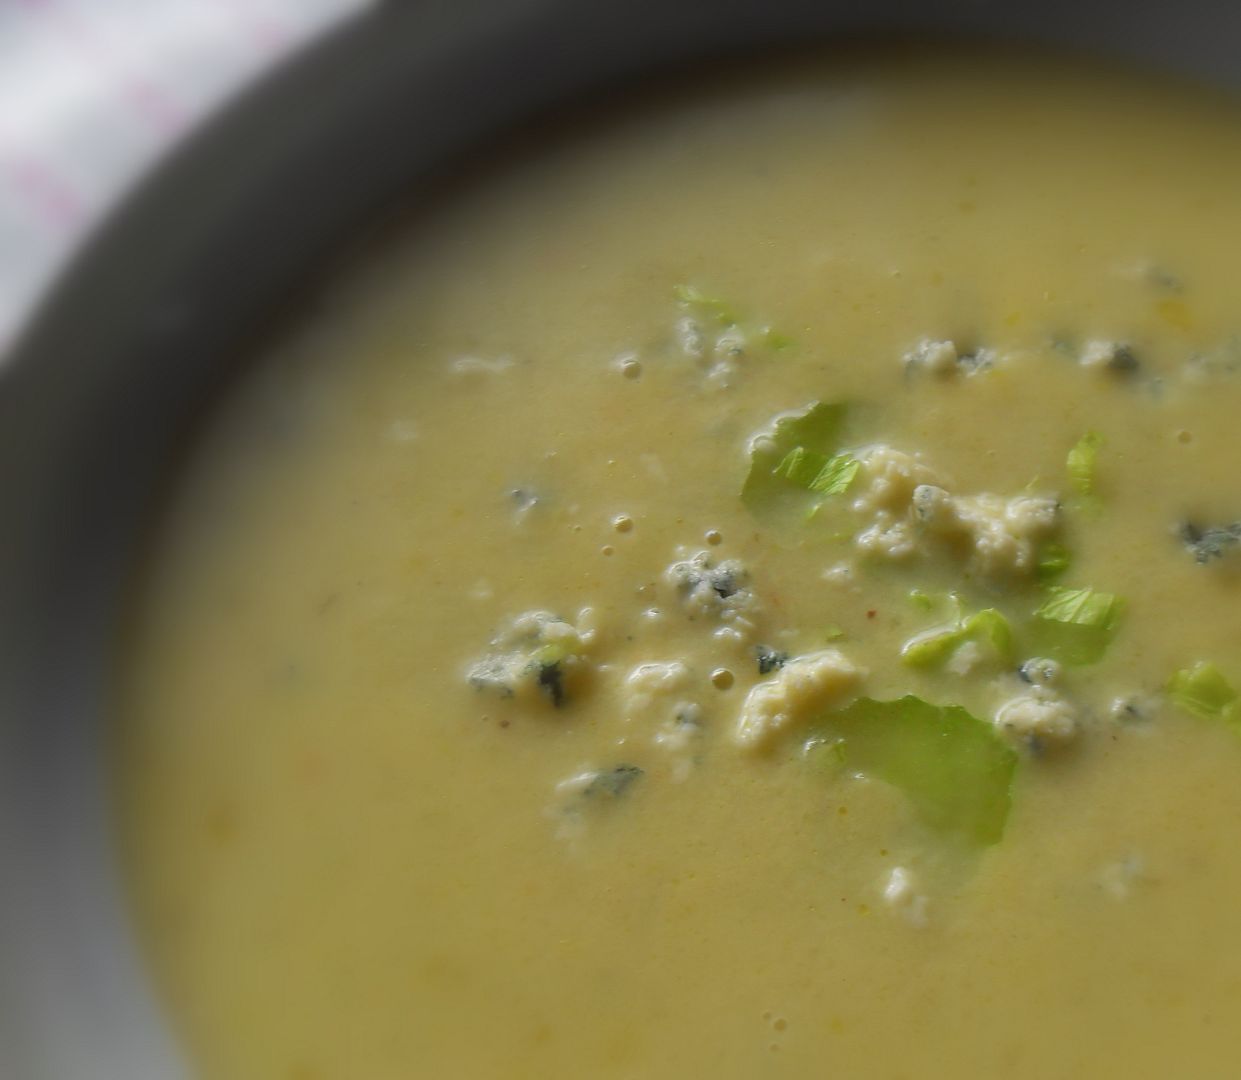
When I was a girl one of my favourite treats would be when my mother gave us celery sticks filled with cheese whiz! (Cheese whiz is a processed cheese spread that they have in North America.) Sophisticated no, tasty to a child, yes! Not exactly haute cuisine though . . .
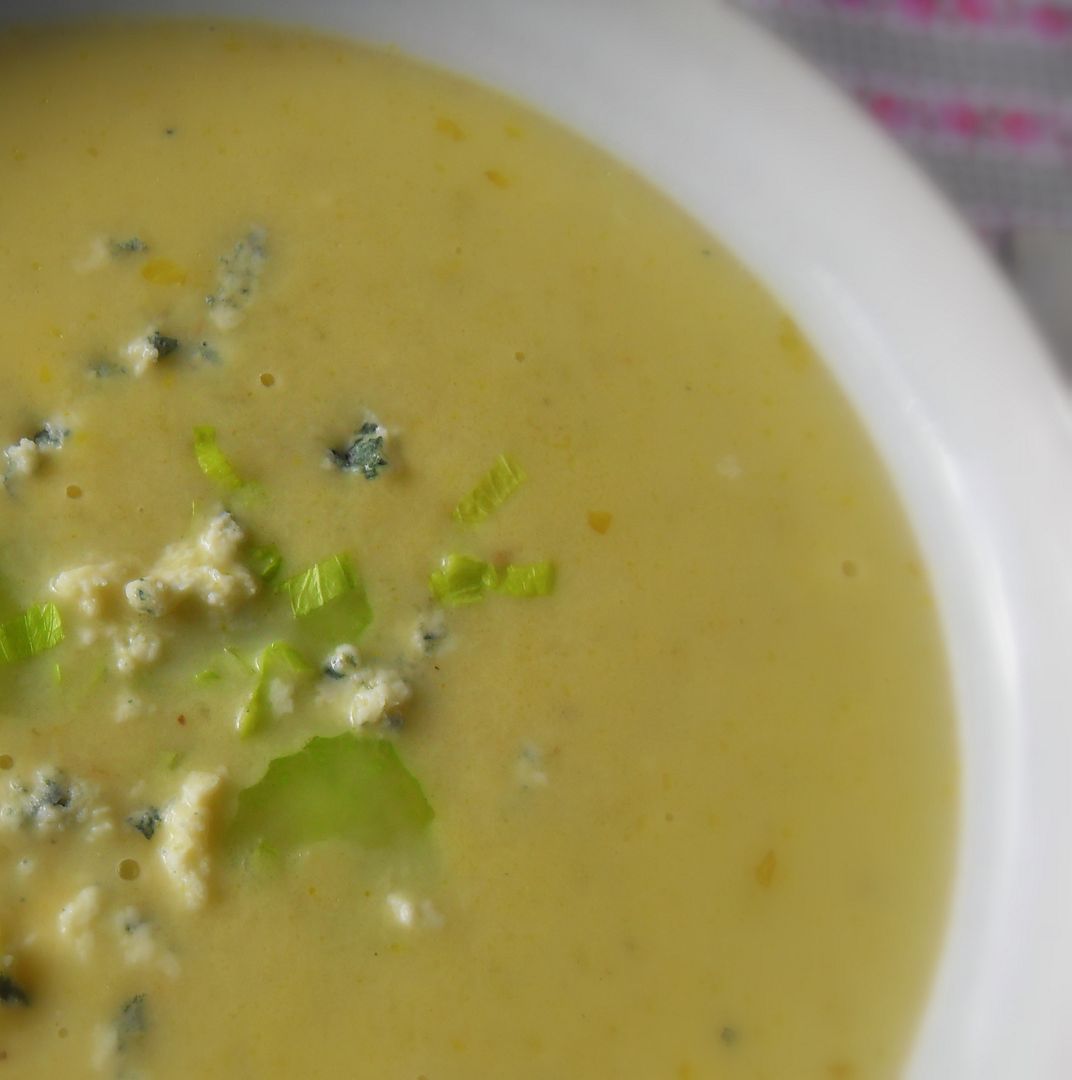
I'm happy to say that my tastes have grown somewhat since then and whilst I still enjoy cheese with celery, I am more likely to enjoy it with a good cheddar or a blue cheese, perhaps even a boursin or goats cheese nowadays!
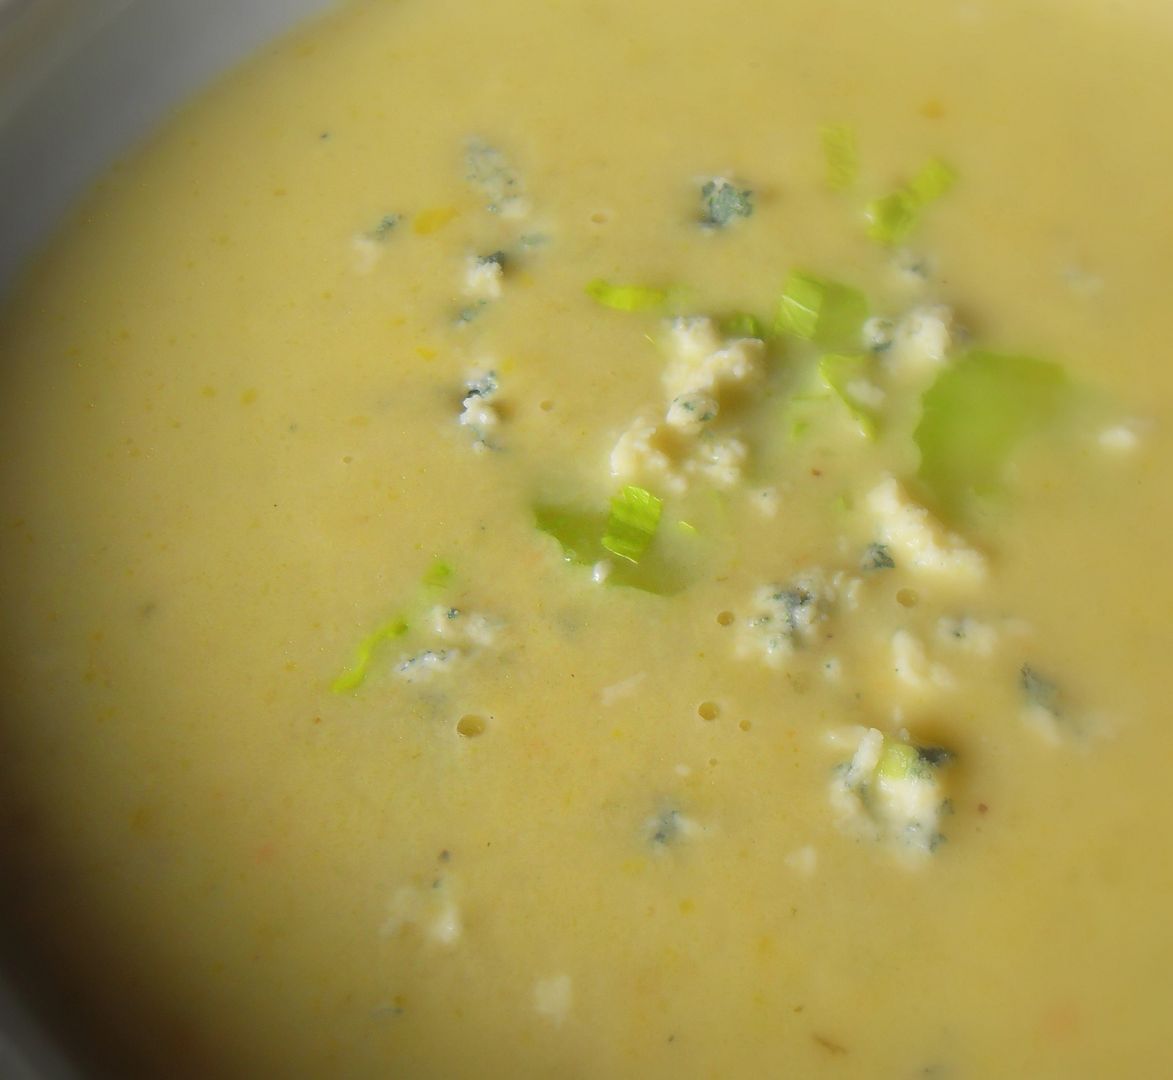
Celery is quite often paired with blue cheese actually . . . Stilton, Cashel Blue, Shropshire Blue, Danish Blue . . . they're all very, very good with it. (I also happen to like it with raisins and peanut butter, a childhood taste for ants on a log that I have never quite outgrown!)
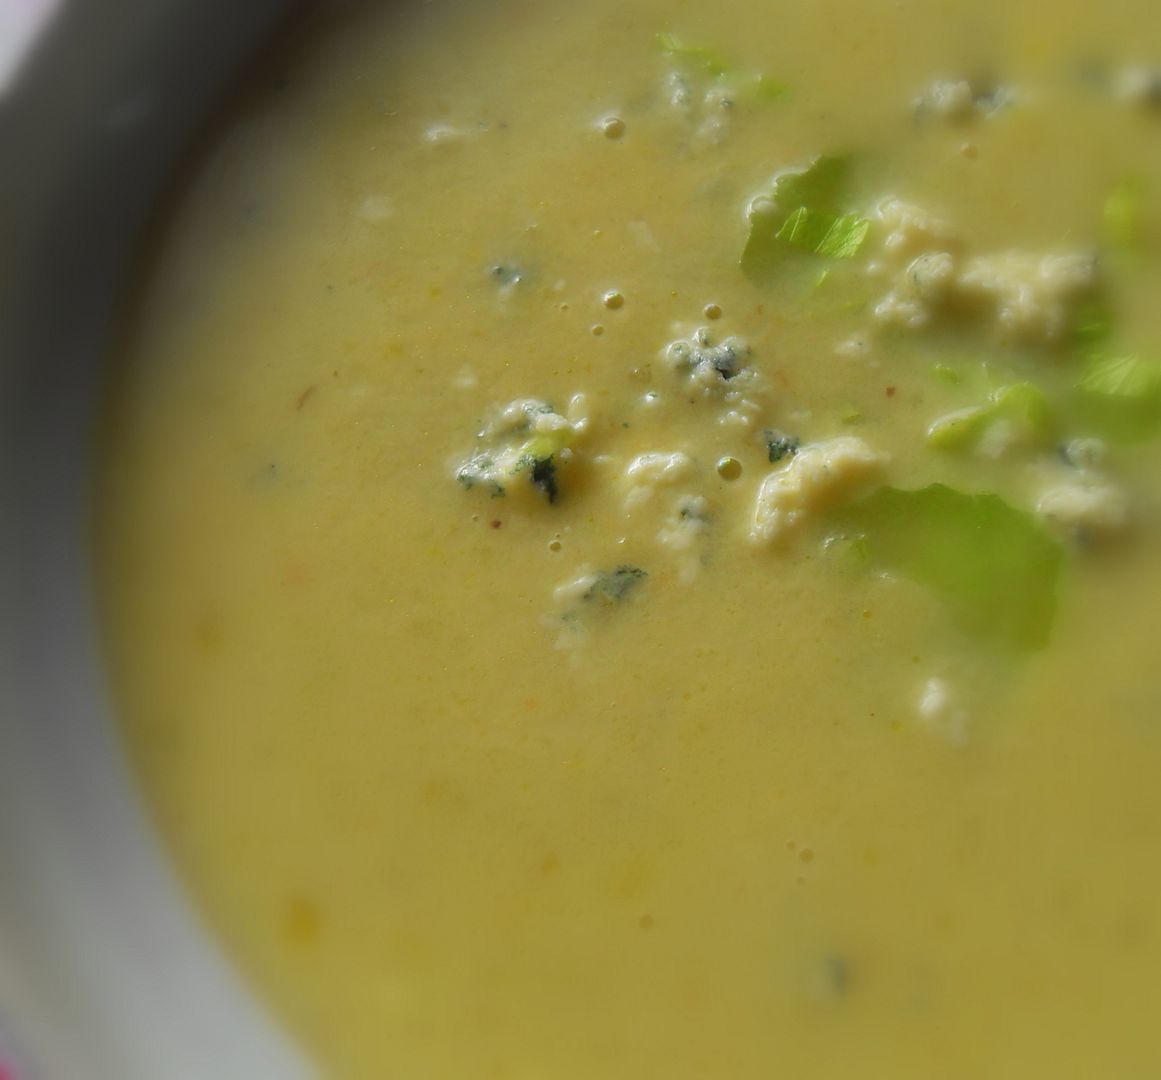
Any hoo . . . the cold wind and rain today begged for a hot soup to take the chill off. You can't get any finer than a Celery and Stilton Soup . . . fresh, rich and oh-so-good! We enjoyed a nice loaf of Sunflower Seed and Honey bread with ours.
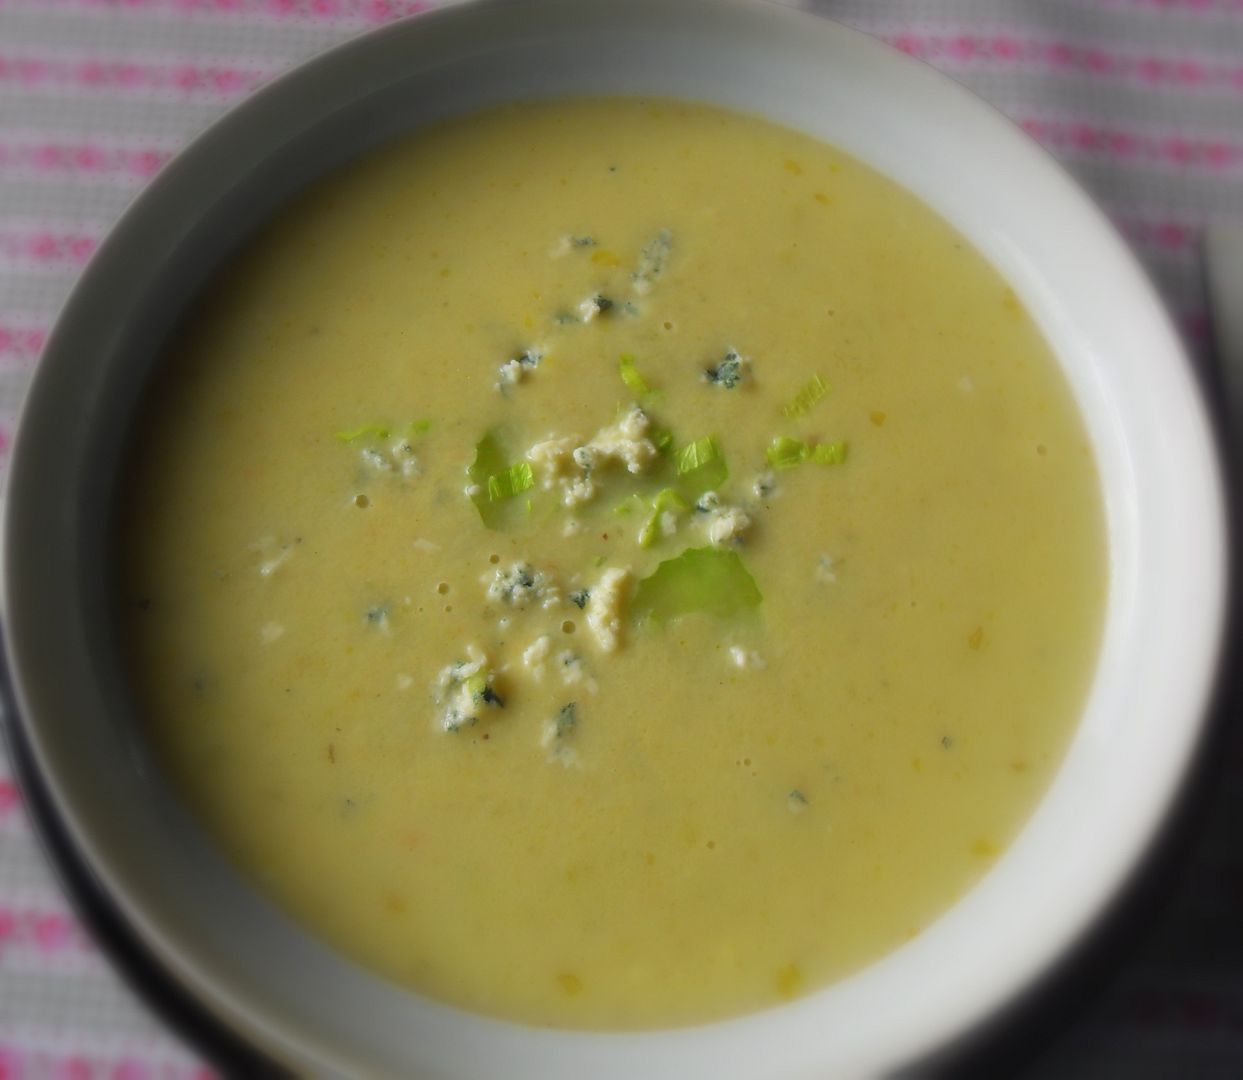
*Celery and Stilton Soup*
Serves 6
Printable Recipe
A delicious soup which takes advantage of the perfect pairing of celery and stilton, which are often eaten together. It has a fresh clean taste with a rich texture.
40g butter (3 TBS)
1 large onion, peeled and finely chopped
1 medium potato, peeled and cubed
1 whole head of celery, cleaned, trimmed and thinly sliced
1 1/2 pints vegetable stock (3 3/4 cups)
100g of Stilton cheese, crumbled (3 3/4 oz)
1/4 pint of single (light) cream (2/3 cup)
fine sea salt and freshly ground black pepper
Melt the butter in a large saucepan. Add the chopped onion. Cook over medium heat for about 5 minutes, stirring occasionally, without colouring, until the onions are softened. Stir in the potato and celery and cook for a further 5 minutes. Add the stock and bring to the boil. Cover and reduce the heat to a simmer. Cook gently for about 30 utes, until the vegetables are very tender.
Remove and blitz about 3/4 of the soup until smooth, then return it to the pan with the remainder of the soup. Bring back to the boil and then season to taste with some salt and pepper. Remove from the heat and stir in the cream. Reheat gently. Stir in the cheese, reserving a bit for the garnish. Serve hot, ladled into heated bowls with a crumble of cheese on top.
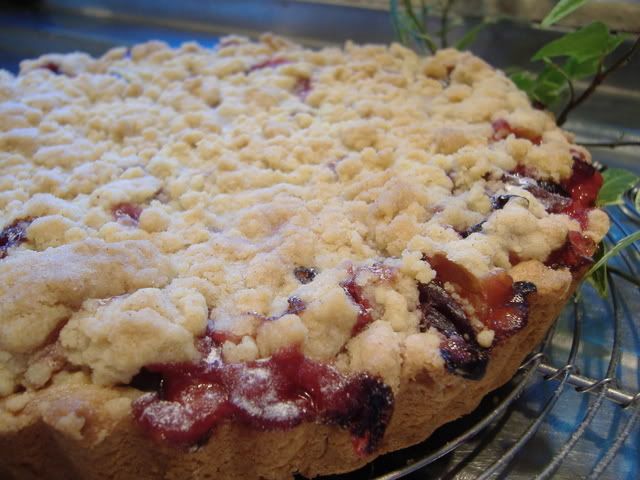
There's a delicious Cardamom Scented Plum Cake baking over in The Cottage today.

Everyone needs a simple recipe for a dessert that can be whipped up at a moment's notice when unexpected company drops by, or even just when you want a dessert, but don't want to have to go to the shops.

This fits the bill on all counts. It's quick and easy to do. It can be whipped up at a moment's notice because it uses ingredients most people keep in their store cupboards all the time, and you won't need to go to the shops!

It's a deliciously rich date and nut cake which creates it's own lucious toffee sauce while it bakes. Each warm mouthful brings you all the flavours of a sticky toffee pudding without any of the angst and work that making a real sticky toffee pudding involves!

Actually I'd call this a scrumdiddlyumptious doddle! (Don't worry if you are not fond of dates, you can use 3 to 4 apples, cored and chopped (leave the peels on) instead! Of course then it's actually an Apple Walnut Pudding.) It's also very low in fat, having only 1 TBS of butter which when divided amongst 6 people amounts to about 3/4 tsp a piece! (We won't talk about the cream which you are going to pour on top when you eat it. If you don't talk about it . . . well, it doesn't really count does it??? shhh . . . )

*Date and Walnut Pudding*
Serves 6
Printable Recipe
This is an old fashioned, economical pudding, very similar to a sticky toffee pudding with a cake on the top and a lucious toffee sauce on the bottom, which forms while the whole thing is baking.
It's very easy and quick to make.
4.25ounces of plain flour (1 cup)
7 ounces granulated sugar (1 cup)
2 tsp baking powder
1/2 tsp salt
125ml of milk (1/2 cup)
5.25 ounces chopped pitted dates (1 cup packed)
4 ounces chopped walnuts (1 cup)
Topping:
7.5 ounces soft light brown sugar (1 cup packed)
500ml of boiling water (2 cups)
1 TBS butter
Preheat the oven to 180*C/350*F/ gas mark 4. Butter a 10 by 10 inch square baking pan, or a deep round dish, 9 inches in diameter. Set aside.
Whisk the flour, sugar, baking powder and salt together in a bowl. Stir in the milk and briskly mix together until smooth. Stir in the dates and nuts. Spread the batter into the prepared baking dish. Heat the brown sugar, water and butter together in a saucepan until it comes to the boil again. Pour this carefully over top of the batter. Immediately place into the heated oven and bake, uncovered, for 1 hour, or until the top is golden and the sauce is bubbling up from underneath. Serve warm with or without pouring cream, custard or ice cream.

There are some delicious Grilled Lamb Chops with a Mint and Coriander Sauce cooking over in The Cottage today.

I like to think that I can be pretty thrifty. I hate waste and I try to use up every scrap of what I produce or buy foodwise. Did you know that in a recent study it was found that half of the food produced worldwide is wasted????
I know! Amazing to think of, in light of the fact that upwards of 30,000 people in the world die of starvation each day. It's mind boggling, and so very very sad.

I can remember as a child being forced to eat everything on my plate and told that there were children starving in Africa that would love to have what I had to eat. I often felt like telling my mother that if they wanted it, she was quite welcome to package whatever it was up and send it to them.
In any case, I always ate it, whether I liked it or not. I'd still be sitting at my mother's dining table had I not!

Food is wasted in incredible amounts each day, and whilst there is nothing we can do about a lot of it, we can control how much we waste ourselves in our own homes and families. I just love re-purposing food.
Things like creating tasty casseroles and dishes from leftover meats, cheeses, cakes, cookies, etc.! There is no end to what you can do with them if you just stretch beyond your comfort zone just a teensie bit.

Delicious things like this fabulous breakfast casserole which I cooked today that used up the leftover Black Pepper Biscuits that we had yesterday. You needn't use black pepper biscuits though . . . or scones . . . you can use any you wish, plain, savoury or even sweet.
(Although in the sweeter ones I might leave out the mustard and add some chopped fruit and or nuts. In the case of apple or stone fruits, some cheeses actually go very well, especially cheddar.)

It's also a good way of using up those dry ends of cheese in the fridge that would not get used otherwise. Just sayin' is all.

Yes . . . that is Maple Syrup on mine. Don't judge me. A bit of bacon would have also gone down really well . . . floppy crispy please! (NO, that is not a contradiction in terms, it's how I like my bacon . . . floppy in some parts and crisp in others.

serves 6 - 8, depending on appetites
This
is one of those delightful breakfast casseroles you put together the
night before and bake in the morning. It also works if you make it in
the morning and bake it at night for supper. Heck, I've even baked it
right away and it's always delicious! Makes great use of those leftover
biscuit (scones) you want to get used up!
6 TBS unsalted butter, melted
300g of torn biscuit (scone) pieces (about 3 heaped cups)
9 large free range eggs, beaten
16 ounces grated cheese (strong cheddar, Emmenthal, Gruyere, Blue, or
whatever cheese or combination you like)
1 1/2 to 2 TBS Dijon mustard
(The milder in flavour the cheese you have used, the more mustard you will want)
Dash of cayenne pepper (optional)
750ml of milk (3 cups)
fine seasalt and freshly ground black pepper to taste
Place
the biscuit bits in a large bowl. Pour the melted butter over and toss
together. Let sit for a few minutes, so that the biscuits absorb the
butter. Toss in the cheese. Beat the eggs, milk, mustard and any
seasoning you are using together in a large measure. Pour this over top
of the biscuit bits and cheese. Give it a good stir and then cover and
let sit in the refrigerator overnight (all day or not as required)
When
ready to bake, preheat the oven to 180*C/350*F/ gas mark 4. Butter a
13 by 9 by 2 inch baking dish. Pour the mixture into the baking dish.
Cover
and bake for 30 minutes. Uncover and bake for 30 minutes longer, until
the eggs are set and a knife inserted in the centre comes out clean.
Serve warm.
Note: you may scale this up or down. For each
additional biscuit, add another egg 2 tsp of butter, 1 ounce of cheese,
1/2 tsp of mustard and approximately 80ml (1/3 cup) of milk. You may
also add some chopped fresh herbs, up to 2 TBS if you so desire.

I grew up in the land of biscuits . . . no they were not cookie. Cookies are called biscuits over here in the UK)
Rather they were beautiful, flakey, and savoury (only very rarely sweet) quick breads quite similar in texture and flavour to what is called a scone over here.
Some might question the difference between a scone and biscuit. There has been a great deal of debate over this very topic. I would have to say as subtle as it is . . . it is there.

A scone will use butter and either cream or soured/plain milk, whereas in North America biscuits use either shortening or lard and buttermilk or plain milk, are less sweet and more savoury.
They can have things like cheese, bacon, onions/scallions and sometimes ham in them. Scones can have these things in them as well, although I would say that then they are more like biscuits than scones.
Does that make sense? I know, very confusing to say the least.
Another difference is in the way the fat is added. Here in the UK the fat is most always rubbed into the flour with the fingertips.

In North America it is "cut" in . . . using a pair of forks, two double bladed knives or a pastry blender.

Both benefit from using a light hand when preparing them. Both rise although I would have to say that Biscuits are usually flaky whilst scones have a more crumbly texture.
Biscuits are meant to be eaten hot or warm from the oven. Scones are almost always eaten cold.
I say Vive la difference! Both are beautiful and scrummy and moreishly delicious and both have their uses!
Today I baked some beautiful Black Pepper Biscuits.

I wanted to serve them with some good cheese and some of my latest batch of homemade Spicy Plum Chutney.
Oh my . . . they went down a real treat.
The biscuits were flakey, savoury and peppery, which went beautifully with the cheese and chutney. These would be great served with some smoked gammon or slices of crisp bacon as well . . . and cheese of course!
I think they would make great little chicken salad sandwiches and would also be a lovely host to egg mayonnaise!
Just look at that beautiful texture.

I just can't think of anything that wouldn't taste better sitting on top of one of these, split, buttered and warm from the oven, or a bowl of soup that wouldn't be enhanced by their presence! Enjoy!!
*Black Pepper Biscuits (Scones)
Makes 16 to 18 (2 inch) biscuits
Printable Recipe
Beautifully fluffy and peppery. Perfect to serve with chutney's, cheeses, salty meats (bacon, ham, proscuitto) or with hot soups and stews.
8 ounces plain flour (2 1/4 cups) divided
1 TBS Baking Powder
1/2 tsp bicarbonate of soda
1/2 tsp fine sea salt
1/2 to 1 TBS freshly ground black pepper
4 ounces chilled vegetable shortening,
divided into 2 ounce lots (1/4 cup and 1/4 cup)
250ml of cold buttermilk (1 cup)
softened butter for brushing
Preheat the oven to 230*C/450*F. Lightly butter a large baking sheet. Set aside.
Remove 8/10 of an ounce of flour (1/4 cup) and set aside. Whisk the remaining flour together in a large wide bowl with the baking powder, soda, salt and black pepper. Add half of the shortening in bits and then work it into the flour using a pastry blender, two forks or two round bladed knives. The mixture should look like well crumbled feta cheese. Scatter the remainder of the shortening over top in bits and continue to work in with your fingertips, until you have no pieces which are larger than a pea. Shake the bowl occasionally to move any bigger bits up from the bottom. Do not over work.
Make a deep hollow in the centre of this mixture and add about 3/4 of the buttermilk, reserving some for later if needed. Stir in with a fork, using broad strokes to quickly pull the flour into the milk. Mix just until the dry ingredients are moistened. Sprinkle the remaining flour onto a clean surface. Turn the dough out onto it and turn to lightly coat. Pat lightly into a round which is 1/2 inch in depth. Brush any visible flour off the top. Cut into 2 inch rounds with a round biscuit cutter, using a sharp tap up and down, remembering not to twist the cutter. (Twisting results in a lop-sided biscuit.) You can pull the scraps back together to cut out additional biscuits. They will not be quite as tender as the first ones, but good all the same. Place onto the baking sheet, leaving some space in between each.
Bake for 6 minutes in the upper third of the oven. Rotate the pan and bake for an additional 4 to 6 minutes, until they are a light golden brown. Remove from the oven and brush the tops with some softened butter. Serve hot.


This content (written and photography) is the sole property of The English Kitchen. Any reposting or misuse is not permitted. If you are reading this elsewhere, please know that it is stolen content and you may report it to me at mariealicejoan at aol dot com.

This is a tasty little gem I got from the November Issue of Good Food Magazine! I pounced on it as soon as it slid through my post box and this was the very first recipe I earmarked to make!

It's just perfect for all the holiday celebrations we have coming up . . . Hallowe'en, Bonfire Night, Thanksgiving, Christmas . . . it would also be great to make and serve at a Hen Night, All Girl's Sleepover night, etc. I made it today to serve while we watch the Autumn General Conference sessions of our church. We tend to stay at home and make a bit of a party of it. We watch it on the computer, but I know in America, you can watch it on the television.

We usually invite friends over to watch it with us, and serve a variety of snacks and sandwiches afterwards. It a very special time for us . . . feasting on the words that our Heavenly Father wants us to hear, and then feasting on some special edible goodies! This soothes that moreish sweet/salty/crunchy/silky craving in all of us.

No matter when you serve it, I am sure it will be most, most popular!! It's very scrummy indeed! And in fact it has you thinking . . . how about doing the same thing but adding baby pretzels, and dried berries . . . or chunks of honey granola . . . or . . . pop rocks and smarties . . . or . . . well, you can see where I am going with this. The World is your oyster! Feed your own whimsie!! Whatever floats your boat!

*Toffee Popcorn Bark*
Makes 8 servings
Printable Recipe
This is one of those easy recipes that has you smacking yourself on the forehead and saying "Why didn't I think of that!"
200g milk chocolate(7 ounces)
200g white chocolate(7 ounces)
(I used Green and Blacks for both)
60g of toffee popcorn (about 2 cups)
Line a large baking sheet with parchment paper. Set aside.
Melt the chocolates independantly of each other. Pour most of the chocolate onto the prepared baking tray, swirling it together. Sprinkle on the toffee popcorn, and then drizzle over the remaining chocolates. Chill until set.
Break into pieces to serve.

And over in The Cottage today, Strawberry Tiramisu!

Did I ever tell you about the time I ate so many raspberries that I made myself sick? I was 11 years old and it was a hot August day. We were moving in to a new house. In the meantime we were staying at my Grandfather's house. My father had gone on to meet the furniture truck and was going to come back and get us when the furniture had been off loaded. To make a long story short . . . the truck was late arriving, my mother insisted on not feeding us because "My father was going to be back any minute," and my sister and I were so hungry we gorged ourselves in the next door neighbour's raspberry patch.

So not cool . . . and I so paid for it later on. I always got car sick anyways, but on that day I got really sick . . . I do believe my father was hoovering raspberry seeds out of the carpet in that car for years . . . and it was truly years and years before I could ever bring myself to eat a raspberry and enjoy it again . . .

Thankfully the brain eventually forgets things like this . . . unless you are feeling sick anyways. (For some odd reason when I'm not feeling well, I start to remember everything I've ever eaten when I've been sick in the past!) Anyways, I now love raspberries again and I adore raspberry season.

It's late raspberry season now and it also happens to be pear season . . . I reckon nature has it right and just as strawberries and rhubarb come in to season together and make a beautiful taste marriage . . . I have come to realize that late season raspberries and autumn pears make another beautiful taste marriage . . . especially when you combine them with ginger . . .
OOhh la la! C'est si bon! ♥♥♥

We went to Gordale Nurseries today and picked up two raspberry canes, a tayberry cane, two blueberry bushes and a new pear tree (to replace the one that got fire leaf blight). . . and of course I could not resist going through the gift section. I came across these adorable little cup and saucer sets which have heart shaped saucers! (Even the handle on the cup is heart shaped. They came in pink and red. I had to have the red!) So perfect for autumnal desserts such as this fabulous Gingered Raspberry & Pear Cobbler!!! They seem to set it off perfectly. (I am picturing a Valentines White Chocolate and Ginger mousse in them now, aren't you?)

Anyways, you just have to make this delicious cobbler. It is the perfect autumnal pudding . . . moreishly scrumptious and oh soooo fabulously tasty!! Sweet and sticky fruit topped with a buttery gingery biscuit topping. What's not to like???

Resistance is totally futile. Trust me on this.

*Gingered Raspberry & Pear Cobbler*
Serves 8
Printable Recipe
A delicious combination that will have them coming back for seconds!
1 TBS butter to butter the pan
For the filling:
3/5 ounces granulated sugar (1/2 cup)
2 TBs plus 1 tsp cornflour
pinch of fine seasalt
4 large pears, peeled, cored and sliced
1 TBS fresh lemon juice
9 ounces fresh or frozen raspberries (2 cups)
1 TBS cold butter, cut into small bits
For the topping:
8 3/4 ounces of plain flour (1 3/4 cup)
4 TBS granulated sugar, divided
3/4 tsp baking powder
1/2 tsp fine seasalt
10 TBS cold butter, cut into small bits (5 ounces)
2 ounces candied ginger, chopped (1/3 cup)
5.5 fluid ounces, plus 1 TBS cold buttermilk
To serve:
Pouring Cream, Custard or Vanilla Bean Ice cream
First make the topping. Whisk the flour, 3 TBs of the sugar, the baking powder and salt together in a bowl. Add the butter, and toss to eavenly coat. Use your fingertips to rub the butter into the flour until you get crumbs the size of peas. Stir in the candied ginger, then pour in the 5.5 fluid ounces of buttermilk, stirring just until the dry ingredients are moistened. The dough should be crumbly with visible pieces of butter. Set aside.
Preheat the oven to 200*C/400*F/ gas mark 6. Butter a 9 inch deep dish pie pan. Set aside.
Rub the sugar, cornflour and salt (for the filling) together in a large bowl. Add the pears and lemon juice. Toss until evenly coated. Gently fold in the raspberries. Transfer to the prepared pan. Dot with the 1 TBS of butter.
Turn the dough for the topping out onto a lightly floured surface. Gently press together into a 9 inch circle. Place carefully on top of the fruit. Brush with the 1 TBS of buttermilk and sprinkle with the remaining 1 TBS of sugar.
Bake in the bottom third of the oven for 30 minutes. Turn the oven down to 180*C/350*F/ gas mark 4. and bake for an additional 20 minutes, until the pastry is golden brown and the juices are bubbly and thick. Allow to cool for half an hour before serving. Serve with pouring cream, custard or ice cream. Delicious!

I'm playing with Croissants, Chocolate and Preserves over in the Cottage today with Chocolate and Fruit Filled Croissants! There are also some lovely pictures of our trip the other day to Betws-y-coed in Wales.





Social Icons