

Its now Great British Bake Off Season here in the UK, and in honor of that each week Betty's will be sharing a delicious recipe, plus a video and their baking tips to go with each recipe. The kind of thing you won't find in any cookery book! Here is week Eight of their delicious hints and tips and recipe.
Sachertorte The Betty's Way
Part One
SPECIAL EQUIPMENT
1 X 15 cm deep baking ring
INGREDIENTS (Serves 6)
3 eggs (medium) separated
100g caster sugar (in two equal measures of 50g each) (two measures of 1/4 cup each)
100g of dark chocolate (3 1/2 ounces)
75g butter (5 1/2 TBS)
50g caster sugar (1/4 cup)
METHOD
Preheat the oven to 170*C/325*F/ gas mark 3. Line the base of the baking rign with a disc of baking paper, large enough to cover the base and outside of the ring. Scure the parchment paper by twisting the paper around the outside of the ring.
Separate the three eggs. Place the egg whites into a large, clean metal bowl and the egg yolks into a measuring jug.
Using an electric whisk, whisk the egg whites to the soft peak stage. Gradually add the first measure of caster sugar, beating well until you achieve soft meringue. Set aside.
Melt the chocolate over a pan of simmering water. Ensure the condensation from the side of the bowl does not come into contact with the melting chocolate or else the chocolate may seize.
When the chocolate has melted remove from the heat and set aside to cool.
In a large mixing bowl, cream together the butter with the second measure of sugar until pale and fluffy. Gradually add the beaten egg yolks, being careful to avoid the mixture from curdling.
Beat in the cooled melted chocolate, using a metal spoon fold in the plain flour.
Fold in the meringue in three additions, making sure it is thoroughly combined.
Spoon into the prepared baking ring. Bake in the preheated oven for 25 to 30 minutes or until well risen and a skewer inserted into it comes out clean.
Leave in the tin for 15 minutes before turning onto a ire rack to cool compltely.
Our Sachertorte recipe will be continued next week, along with expert tips about tempering chocolate.
NOTES IN THE MARGINS
Magical Meringue
THREE BOWL TRICK
Separate the eggs using the three bowl method.
A metal bowl will help you creat volume in your mix.
Make sure that it is immaculately clean.
THE KITCHEN HELPER
Always place a damp cloth under the bowl to hold it still. We call it your "kitchen helper".
Set your mixer to a slow speed at first. This will expand the egg white to break down the protein.
WORK THE BEATERS
Esure you work with the beaters around the entire bowl ... don't simply stay in one place.
If the mix droops off the beaters it isn't ready as its too soft to hold the dense sugar.
It it starts to look like cotton wool you've already gone too far.
DON'T OVERWORK
Over-worked meringue will collapse and will be very difficult to fold in.
When the mix forms into firm peaks as you lift the beaters it is ready. Stop now.
Add the sugar gradually to ensure a smooth glossy meringue.
For more Bettys Baking Secrets, including recipes for Swiss Roll and Soft White Bread Rolls and handy tips for piping, visit www.bettys.co.uk/baking-secrets

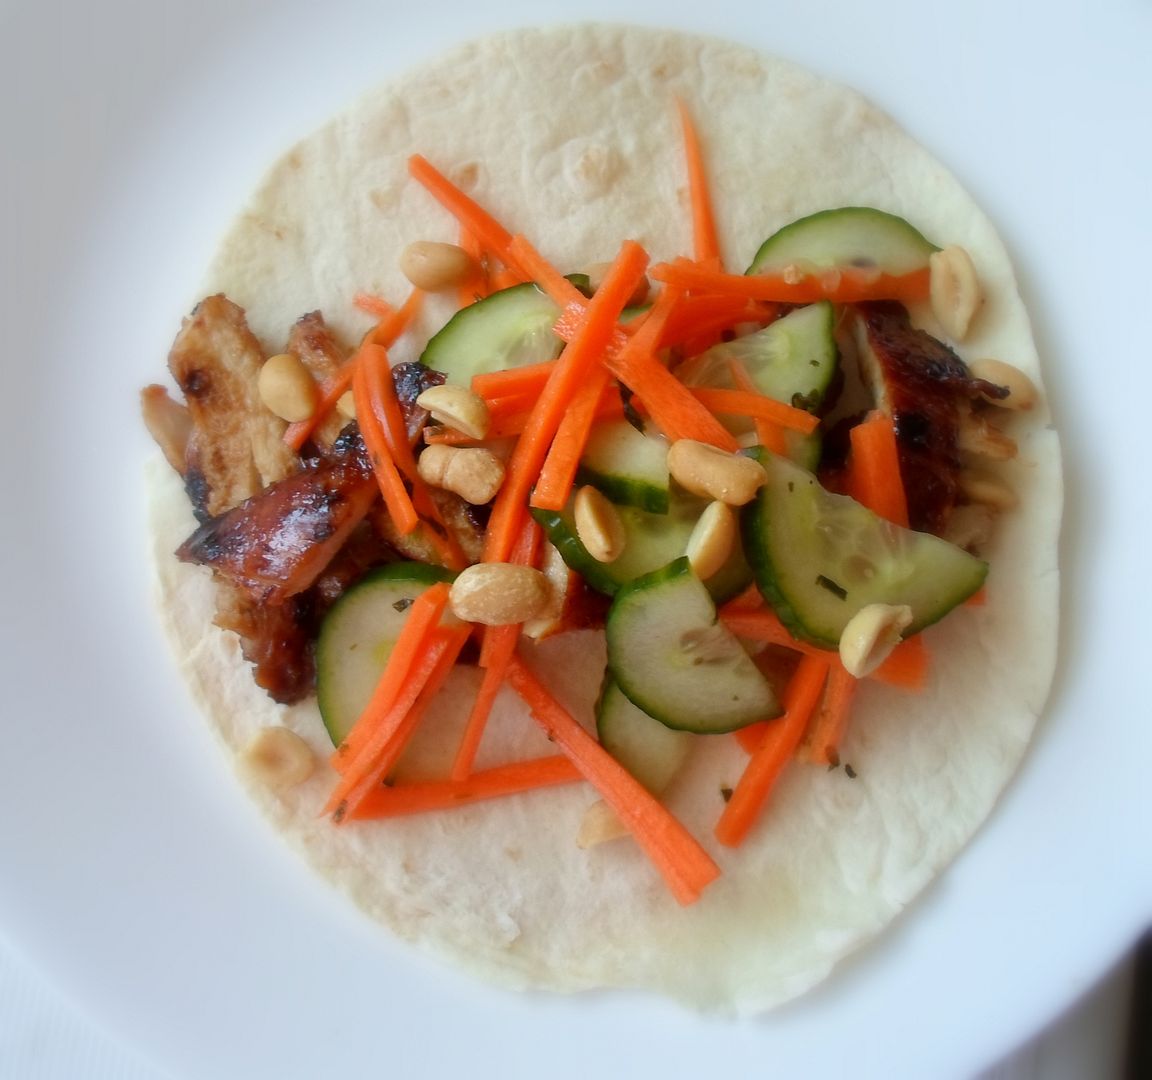
The first time I made these Tacos was when I was in Canada and I made them for my daughter and myself. It was love at first bite!
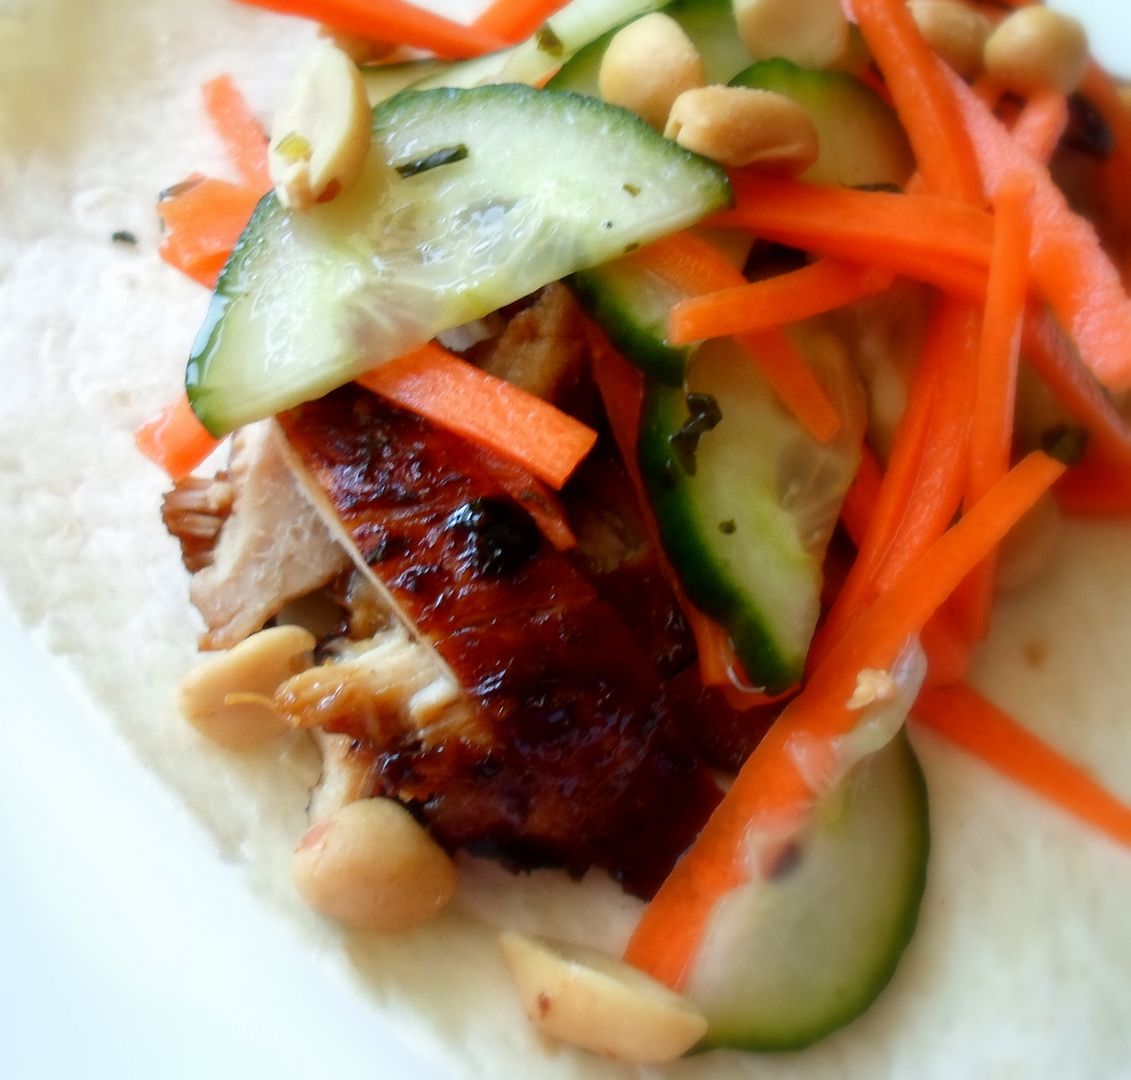
The original recipe was actually called Lemongrass Chicken Tacos and likened them to Vietnamese, but I felt they were more like Thai flavours.
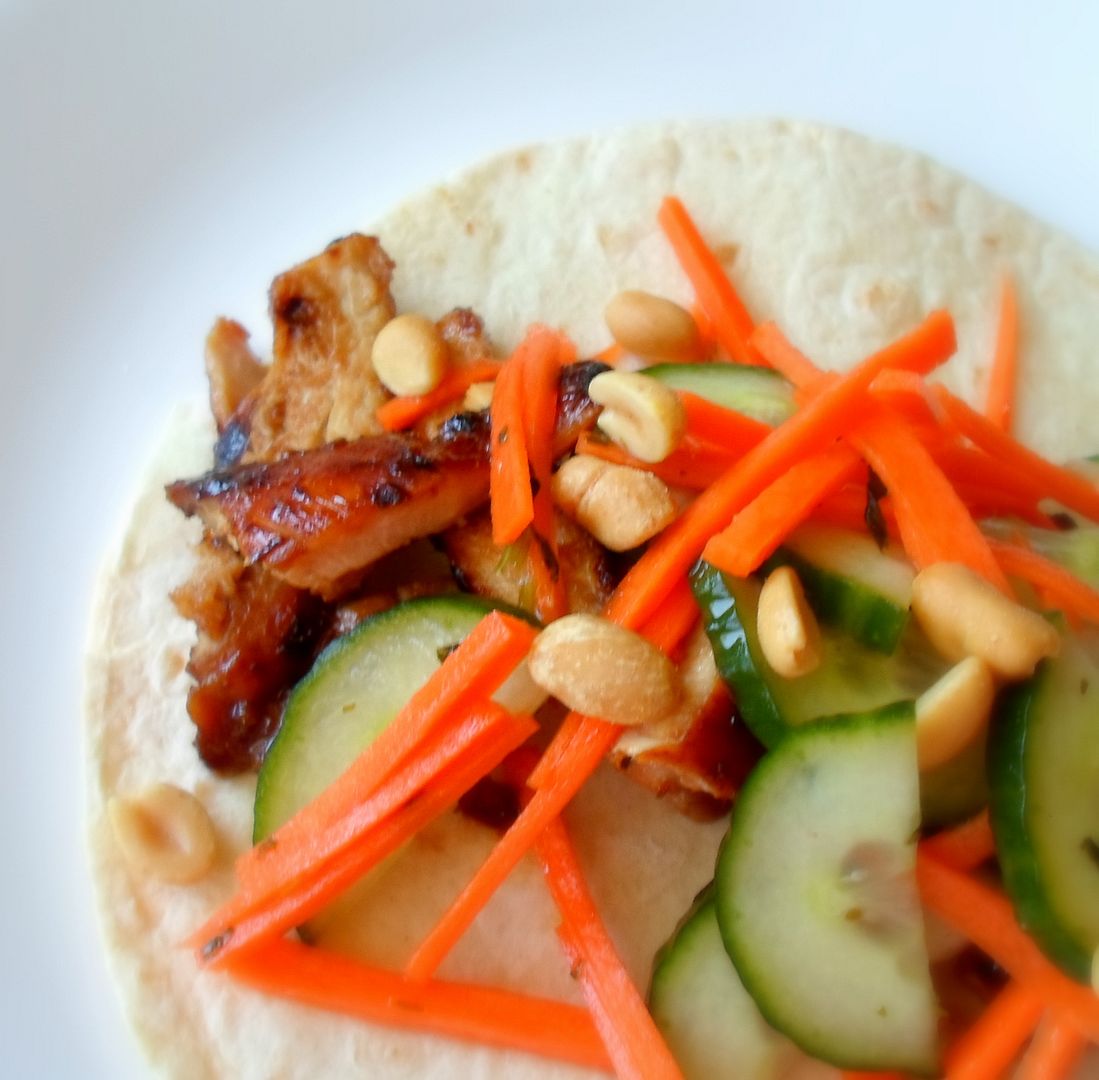
The chicken is first marinated in a tasty mixture of herbs and other ingredients and then flash grilled until it is nicely crisped and browned on the outside . . . and moist and tender on the insides.
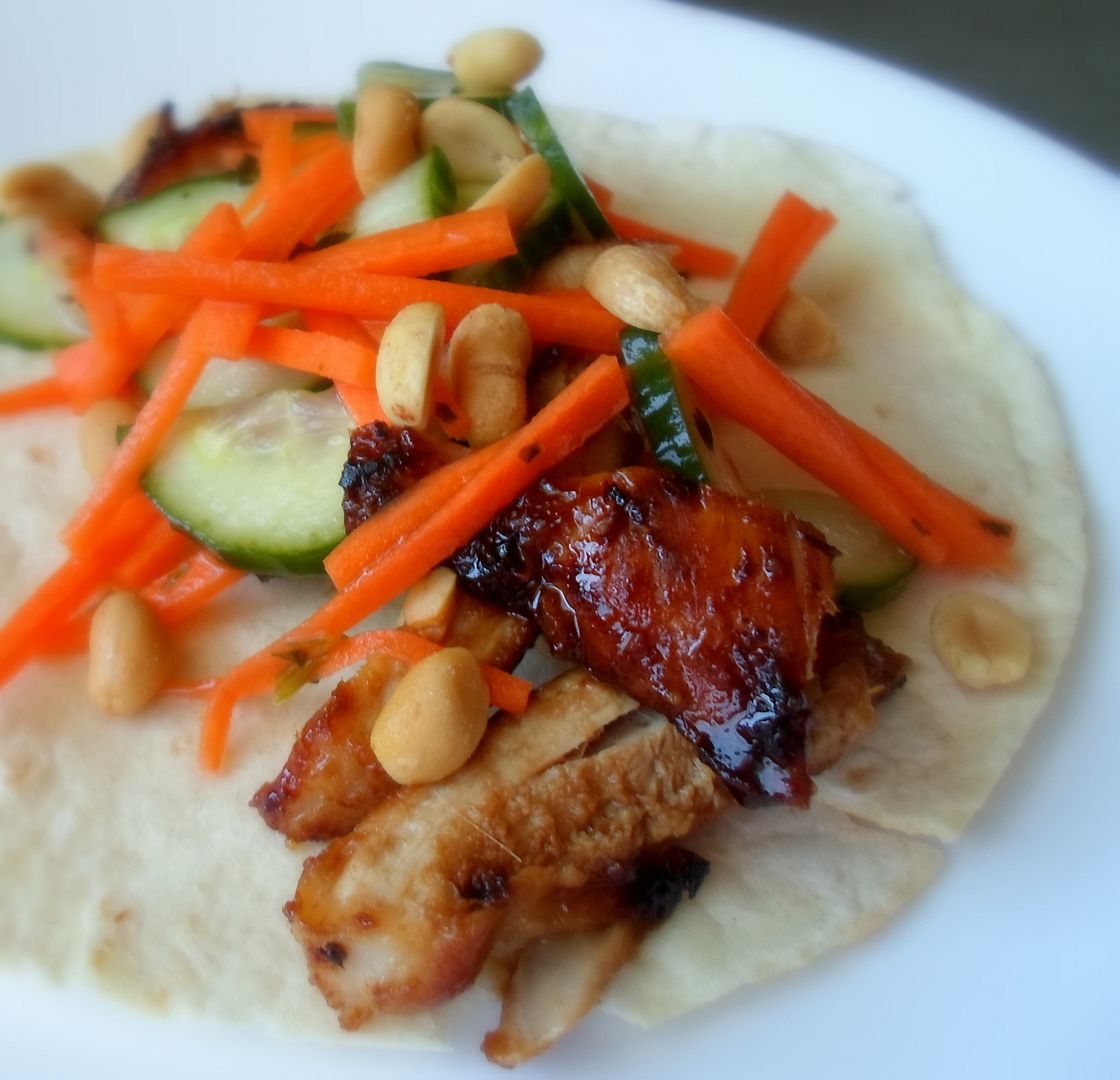
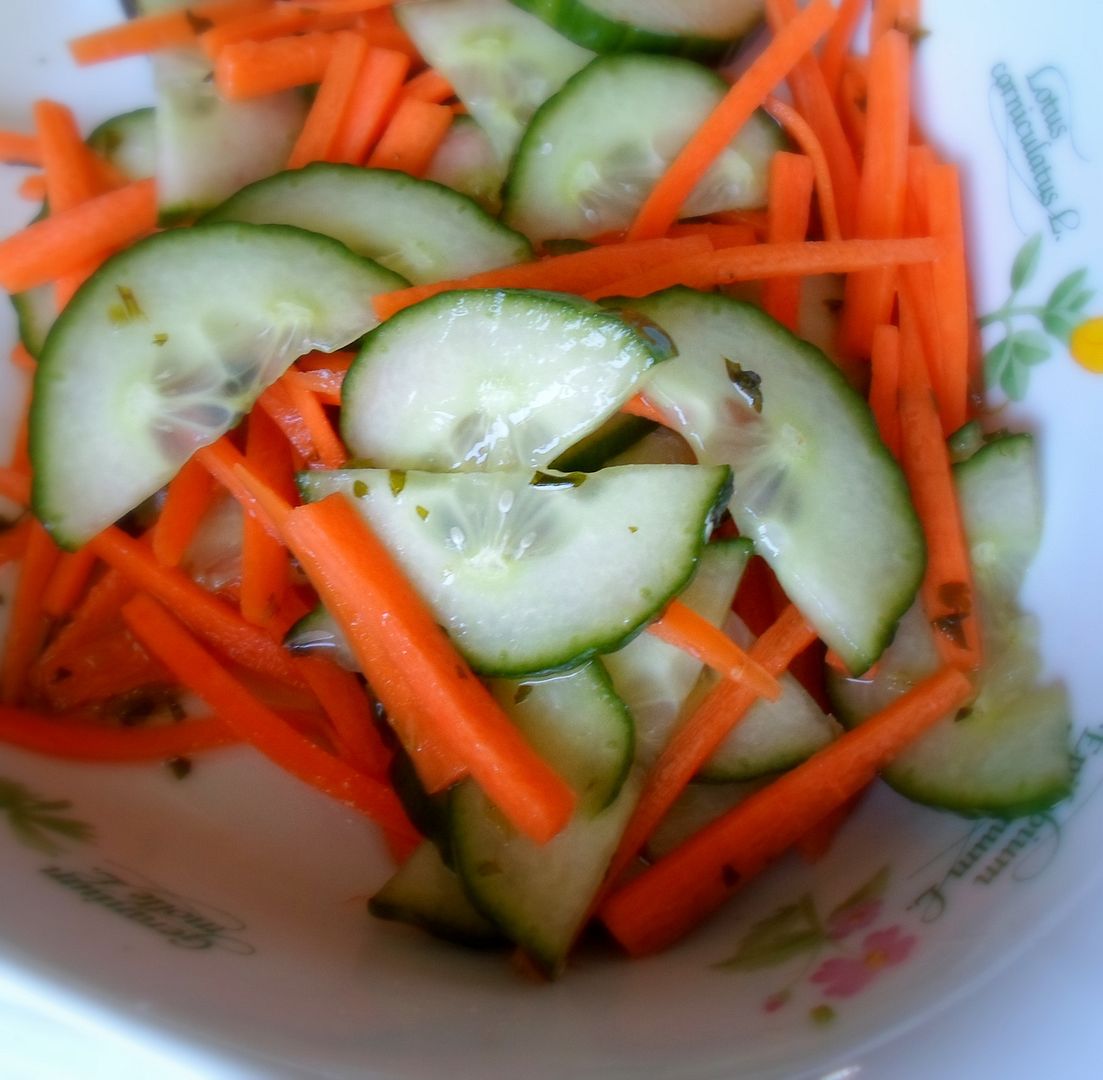
Topping them is a deliciously fresh cucumber salad, which was fabulous in it's own right, adding a beautiful touch of crunch and colour. I like crunch and colour, don't you?
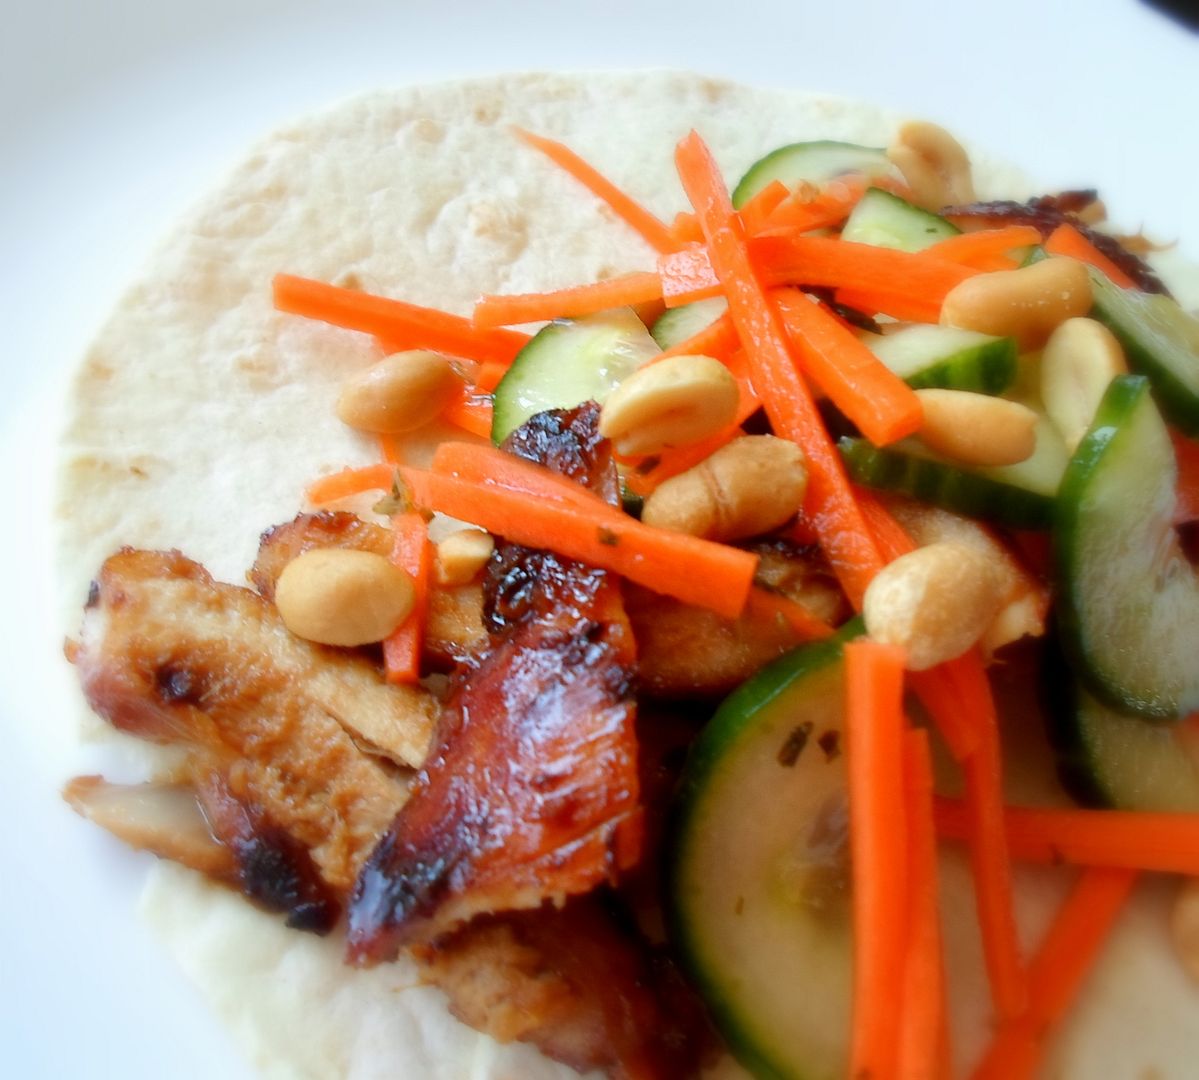
We just love these. They are tasty, different and colourful. They are also quite healthy, easy to make and dare I say it . . . quite addictive. You can't eat just one!
Enjoy!
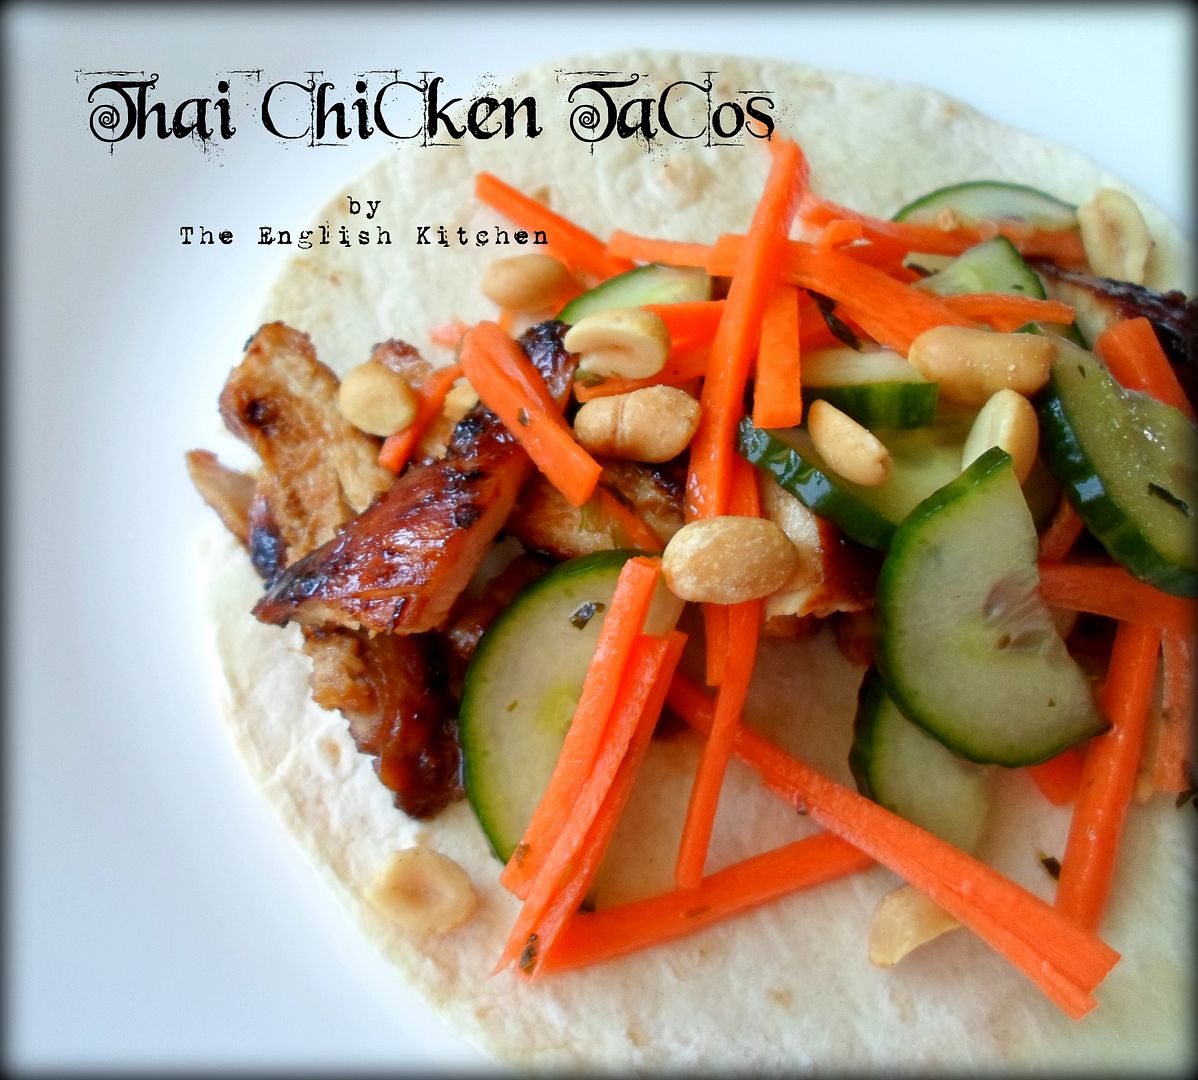
For the Tacos:
2 TBS lemon grass paste (Or freshly grated lemon grass)
2 TBS packed light brown muscovado sugar
1 TBS Thai fish sauce
1 TBS canola oil 2 tsp toasted sesame oil
2 tsp garlic paste (or 2 cloves, minced)
1 pound boneless skinless chicken thighs
1 tsp granulated sugar
1/2 of an English cucumber, sliced into thin half moons
2 medium carrots, peeled and julienned
Whisk the lemon grass, brown sugar, fish sauce, half of the canola oil, the sesame oil and garlic paste together in a large bowl. Wipe the chicken thighs and remove any visible fat. Place them into the bowl with the lemon grass mixture, turning them to coat on all sides. Allow to marinate for about 20 minutes. Heat the remaining oil in a large nonstick skillet over medium heat. Add the chicken breasts and cook for about 3 to 4 minutes on each side, turning once, cooking until the juices run clear. Cut into slices diagonally.
While the chicken is cooking whisk together the vinegar and sugar. Toss in the cucumber and carrot sticks. Set aside. Heat the tortillas according to the package directions. Add the coriander paste to the chicken and toss to distribute it evenly. Divide the chicken mixture evenly amongst the heated tortillas, topping with the cucumber salad and some chopped peanuts. Serve immediately.
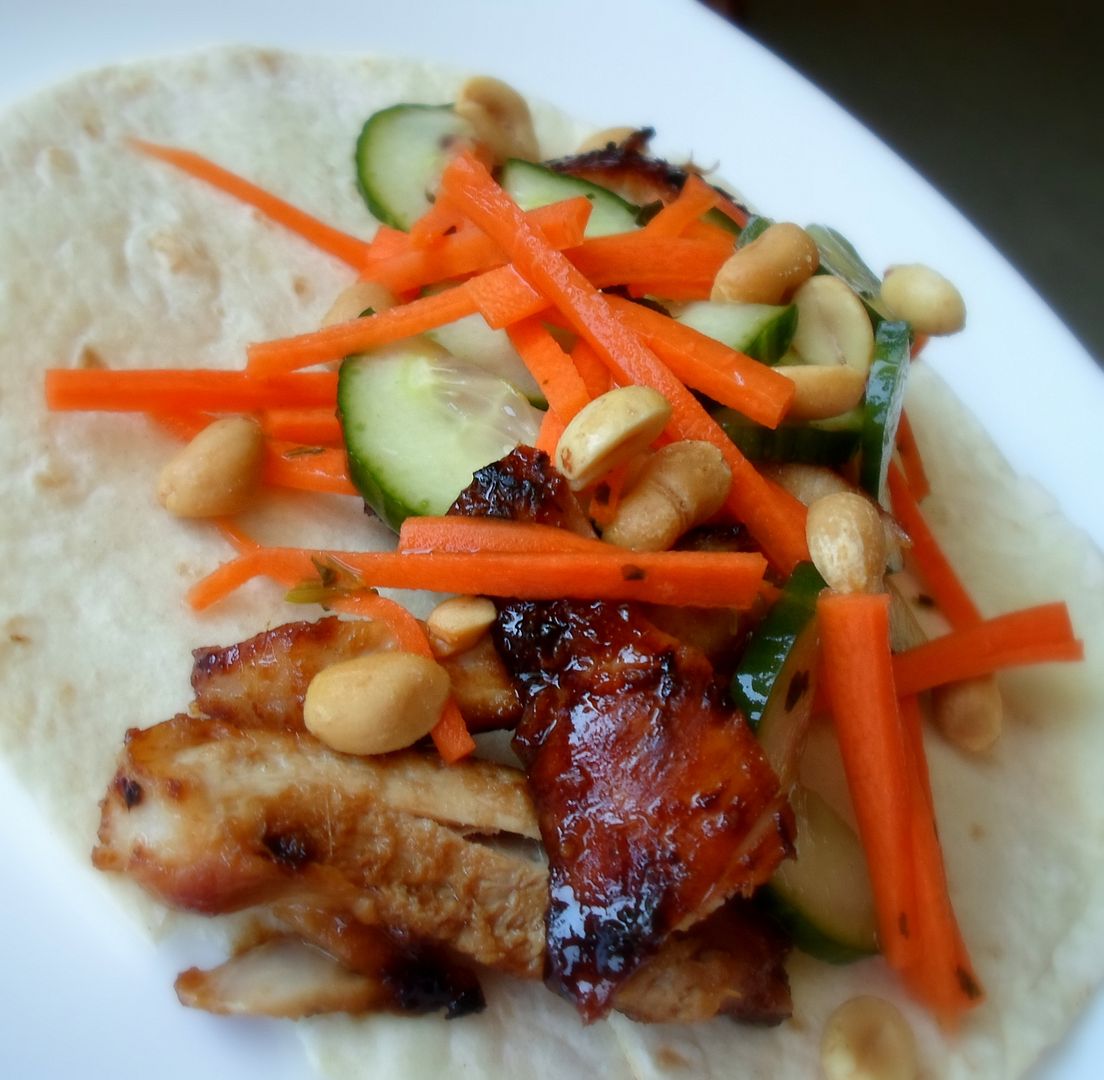
Bon Appetit!!

As soon as I saw this recipe on Spend with Pennies, I knew it was something I wanted to make for us. We love reuben sandwiches and we love croissants and I just knew that we would be really happy with these. I strongly suspect that the original recipe came from Pillsbury, but that is not where I found it. I did adapt it slightly to the kinds of ingredients which we have available to us here in the UK, but I have also included the North American ones in my recipe write up. ☺
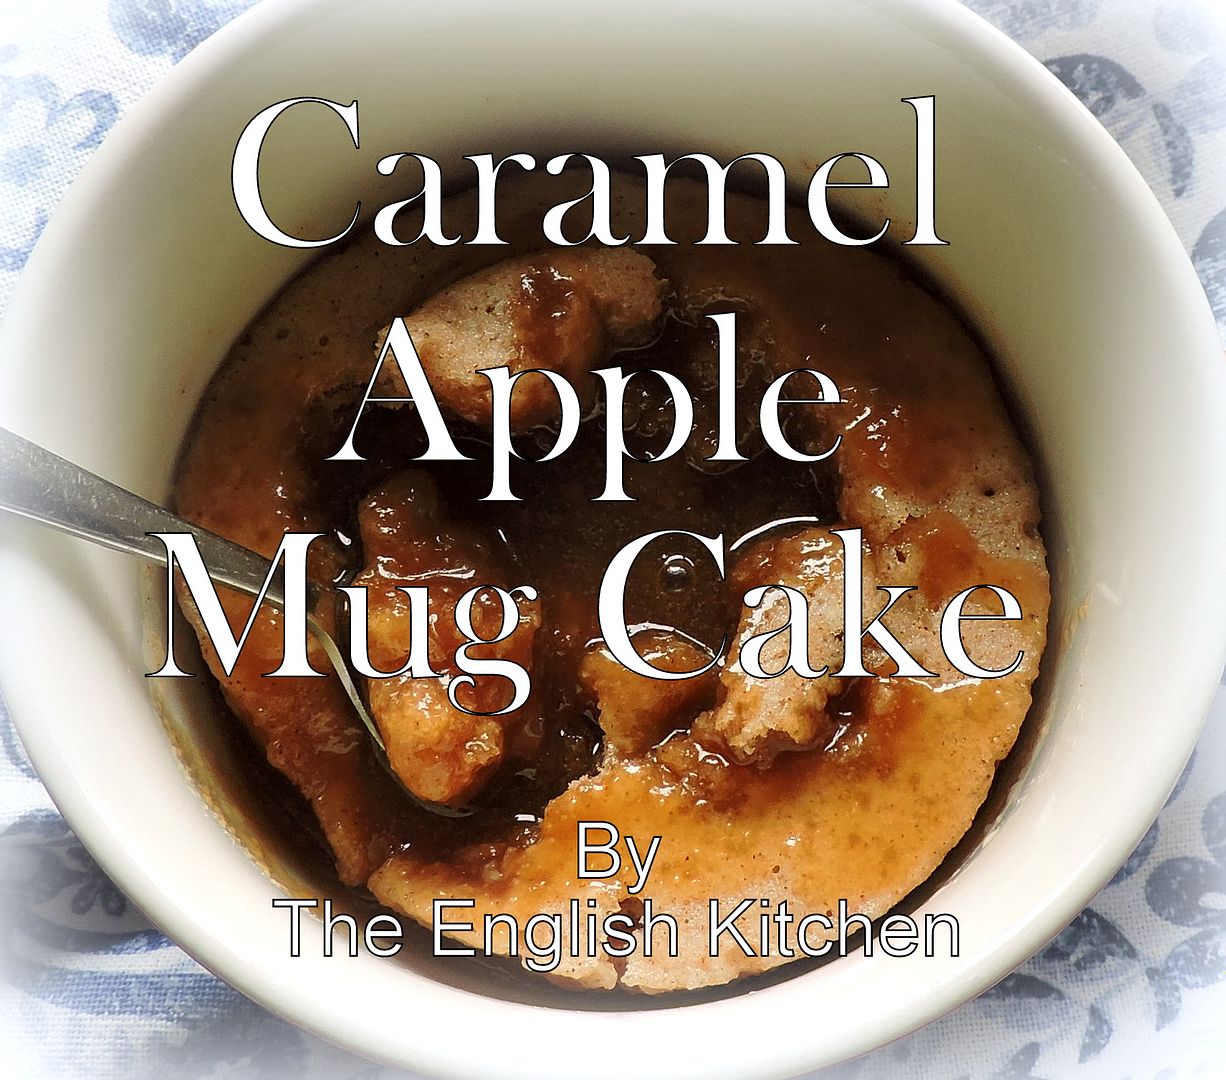
I decided to make Todd a treat today. I have next to no will power when it comes to cake and so I have been trying to do mug cakes when I can. That way he gets to enjoy a bit of an indulgence and I have nothing to tempt me. This one turned out really REALLY lovely.
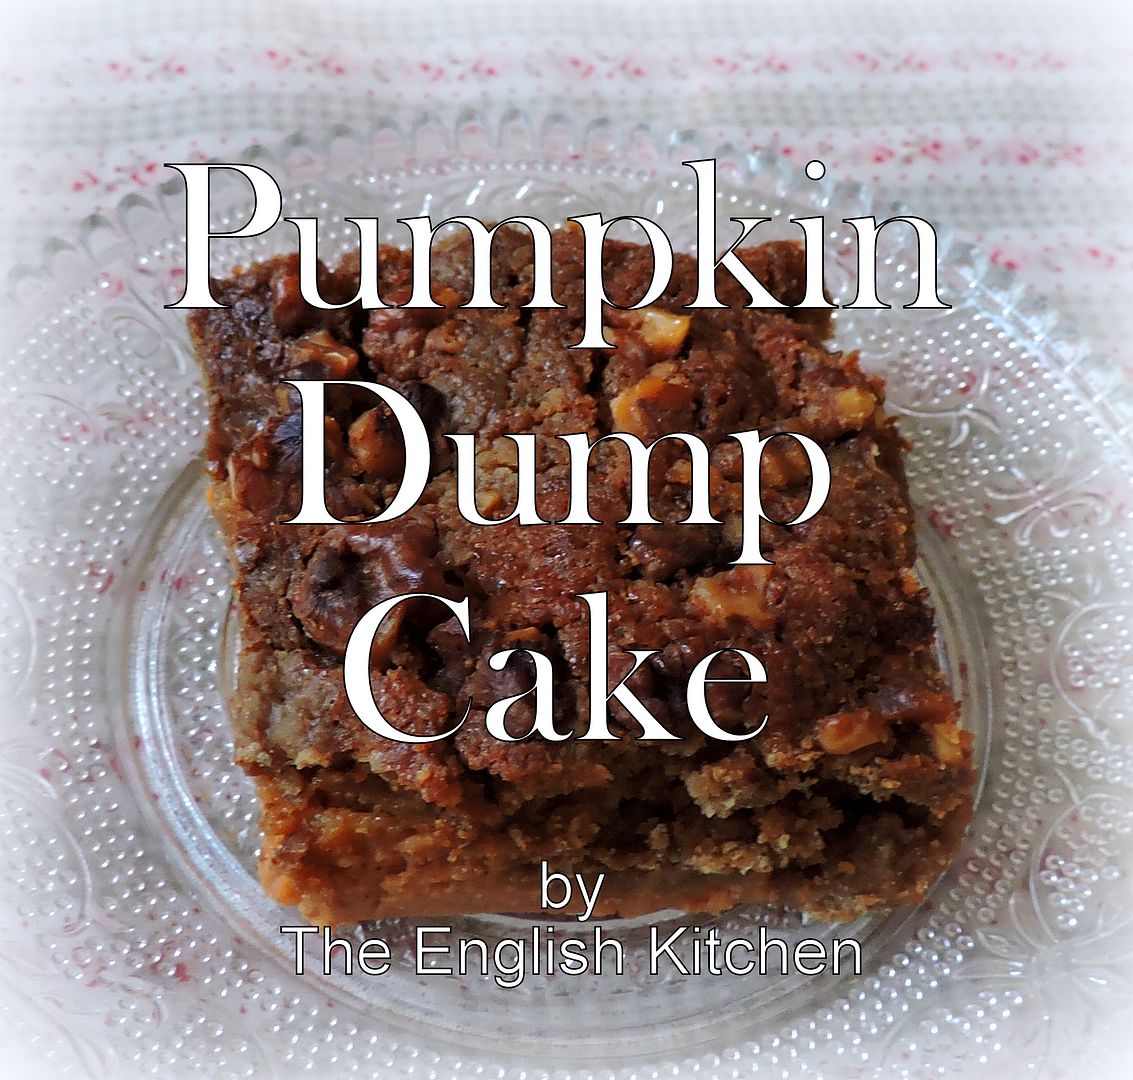
Its Thanksgiving in Canada this weekend and this recipe is a huge shout out to all of my friends and family who will be sitting down with their loved ones this weekend to enjoy this annual feast of thanks!
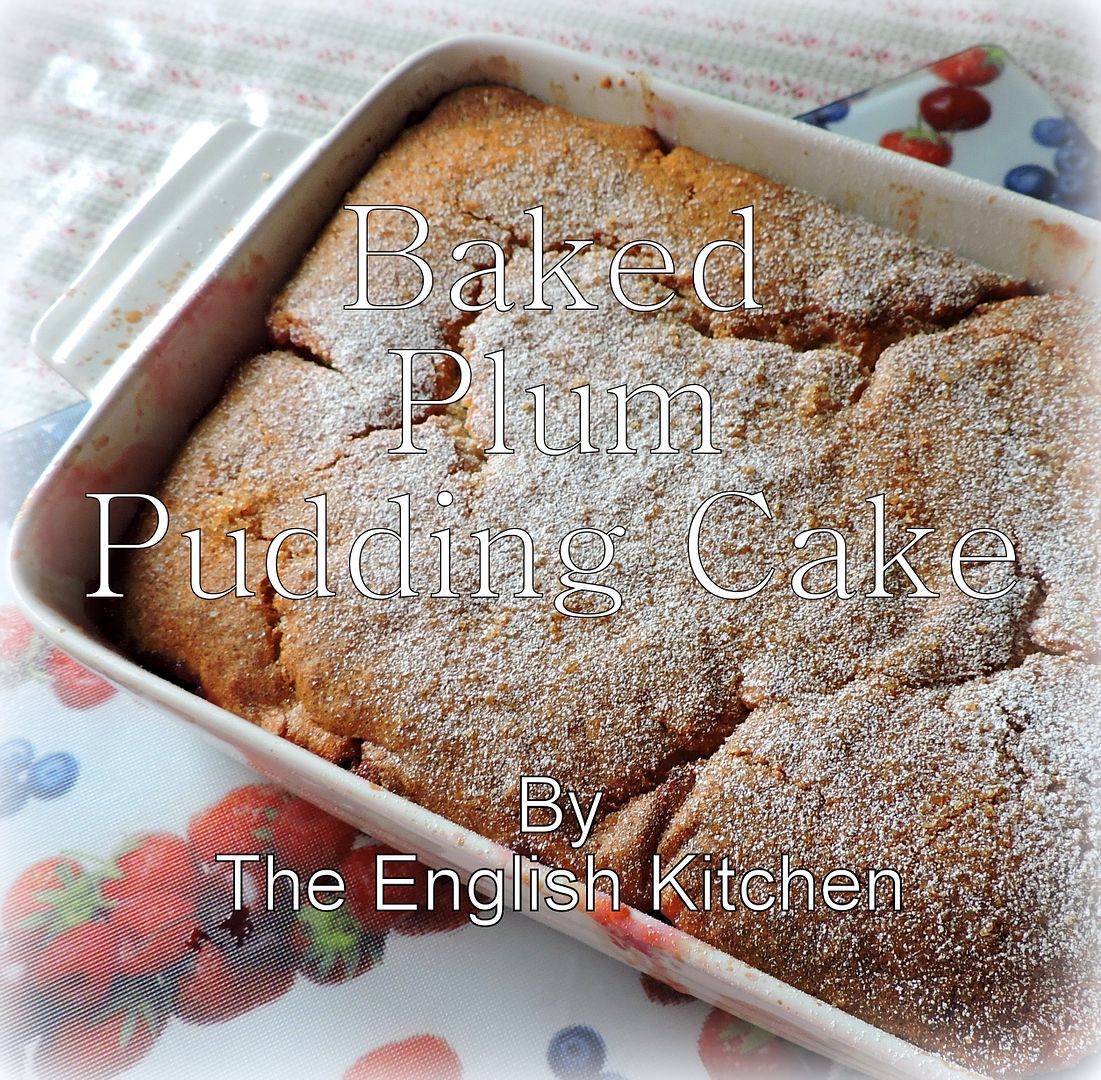
I baked Todd a delicious Plum Pudding Cake with the last of the plums from our tree last week. It has taken me week to finally get to the point where I could post about it. Trust me when I say that wasn't because I didn't want to. Too many recipes, not enough time! Todd adores this tasty pudding cake. I like it too, although I can't really eat much more than a smidgen of it. Sigh . . .
Its now Great British Bake Off Season here in the UK, and in honor of that each week Betty's will be sharing a delicious recipe, plus a video and their baking tips to go with each recipe. The kind of thing you won't find in any cookery book! Here is week Seven of their delicious hints and tips and recipe on how to make a really fabulous finger biscuits!
Finger Biscuits
the Bettys Way
INGREDIENTS
100g butter, softened (7 TBS)
100g caster sugar (1/2 cup)
1 medium egg, beaten
1 - 2 drops vanilla extract
150g plain flour (1 cup plus 2 TBS)
1/2 tsp baking powder
zest of one lemon
METHOD
Preheat the oven to 175*C/325*F/ gas mark 3.
In a large bowl, use a spoon and sugar to cream the butter and sugar together until pale and fluffy. Gradually add the beaten egg and vanilla. Fold in the flour, baking powder and lemon zest to form a thick paste.
Line a baking tray with baking parchment and pipe the mixture into finger shape pieces, ensuring you leave plenty of space between each biscuit.
Bake in a preheated ovn for 6 to 8 minutes until light golden brown in colour. Cool on a wire rack. The biscuits will firm on cooling.
NOTES IN THE MARGINS
Fantastic Finger Biscuits
SHELL TRICKS
- Place a cloth under the bowl, its your second pair of hands.
- Cream the buscuit mixture with a spoon to present too much air entering the mix.
- If you get eggshell in your mix, use a half of eggshell to draw it back in.
- Whisk the egg thin so it can be added in three small additions.
- Once the mixture has drunk in the egg, it starts to stick to the bowl. Time for the next addition.
- As you get towards the last addition of egg, add less.
- Keep scraping the mixture into the middle to create a mass.
- If the mix starts to look siny and greasy and no longer clings to the bowl, you may have added too much egg.
BEST ZEST
- Wash lemon in cold water to remove wax but not the essential oils.
- Citrus should always be at room temperature to increase yield of juice and the fragrance from the essential oils beneath the zest.
- Scuff citrus in one direction on microplae. Otherwise it damages the microplane.
- Don't take the 'pith' . . . it changes its flavour profile.
- Cut the flour into the butter mixture with yoru pastry cutter.
- Bring the dough together with your hands . . . the warmth will help bring it together.
ROPEY PIPING
- When line piping, allow mix to fall from the piping bag drop like a piece of rope, rather than dragging it.
- If your mixture is quite firm, soften it with a few drops of water.
- If you're not sure how many biscuits will fit in your tray, test-bake one and see how far it travels.
- Space biscuits so that they colour evenly.
- If baking more than one batch on the same tray, cool down your tray in between bakes.
BOTTOMS UP
- Biscuits Bake from the bottom up so check the underside to see if they are ready.
- When you take them out of the oen, don't take them straight off the tray. They're still baking as they are cooling.
- Leave for five minutes on a cooling wire so air still circulates. Otherwise, soggy bottom!
- If your biscuits go stale, pop them back in the oen for five minutes to perk them up.
- Store them in an airtight tin with a few sugar cubes to retain crispness.
For more Bettys Baking Secrets, including recipes for Swiss Roll and Soft White Bread Rolls, and handy tips for piping, visit www.bettys.co.uk/ bettysbakingsecrets

Ribs are something which we only have in this house once in a blue moon, in fact red meat is something we only eat once in a blue moon. We mostly eat chicken, fish or eggs on a more regular basis. When I do splurge on something like this I want it to feel and taste worth the splurge. Hence . . . finger-licking tasty-good, DELICIOUS . . . Peachy BBQ Ribs!
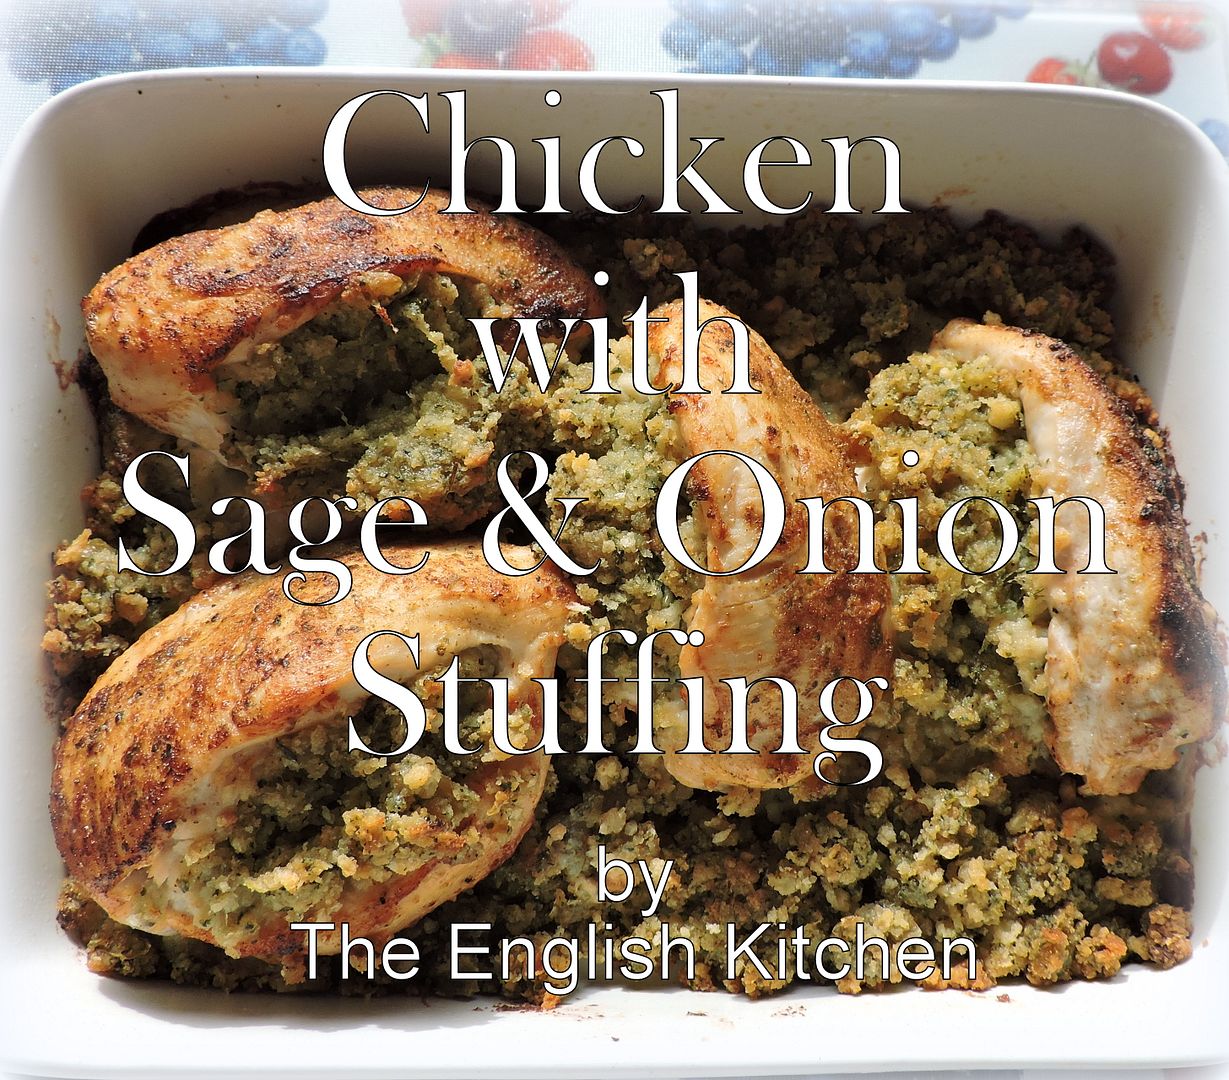
Sometimes you just crave the flavours of a roast chicken dinner, but you don't want to wait to roast a whole chicken in order to get it. Or maybe you are only a few people and you want a roast dinner, but don't want all of the hassle of it and the leftovers. This recipe today solves both of those issues and is totally delicious, simple to do and a very easy and economical dinner fix!
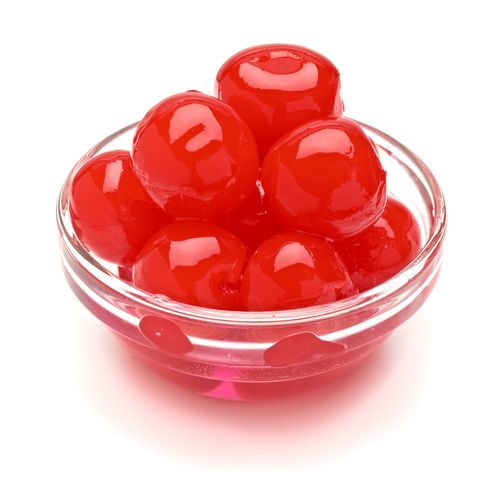
Maraschino cherries. Some people love them. Some people loathe them Some people don't consider them to even be cherries, but they are. Highly processed, preserved, sweetened cherries. They are bleached white and then dyed red.
This might horrify some people. It doesn't bother me. Its not like I am ever going to sit down and eat a whole jar of them, but they do have their places . . . cocktails, fruit cocktail (as children we used to pray that we would get the one marachino cherry in the tin) . . . and delicious bakes like this fabulously old fashioned and delicious Maraschino Cake!
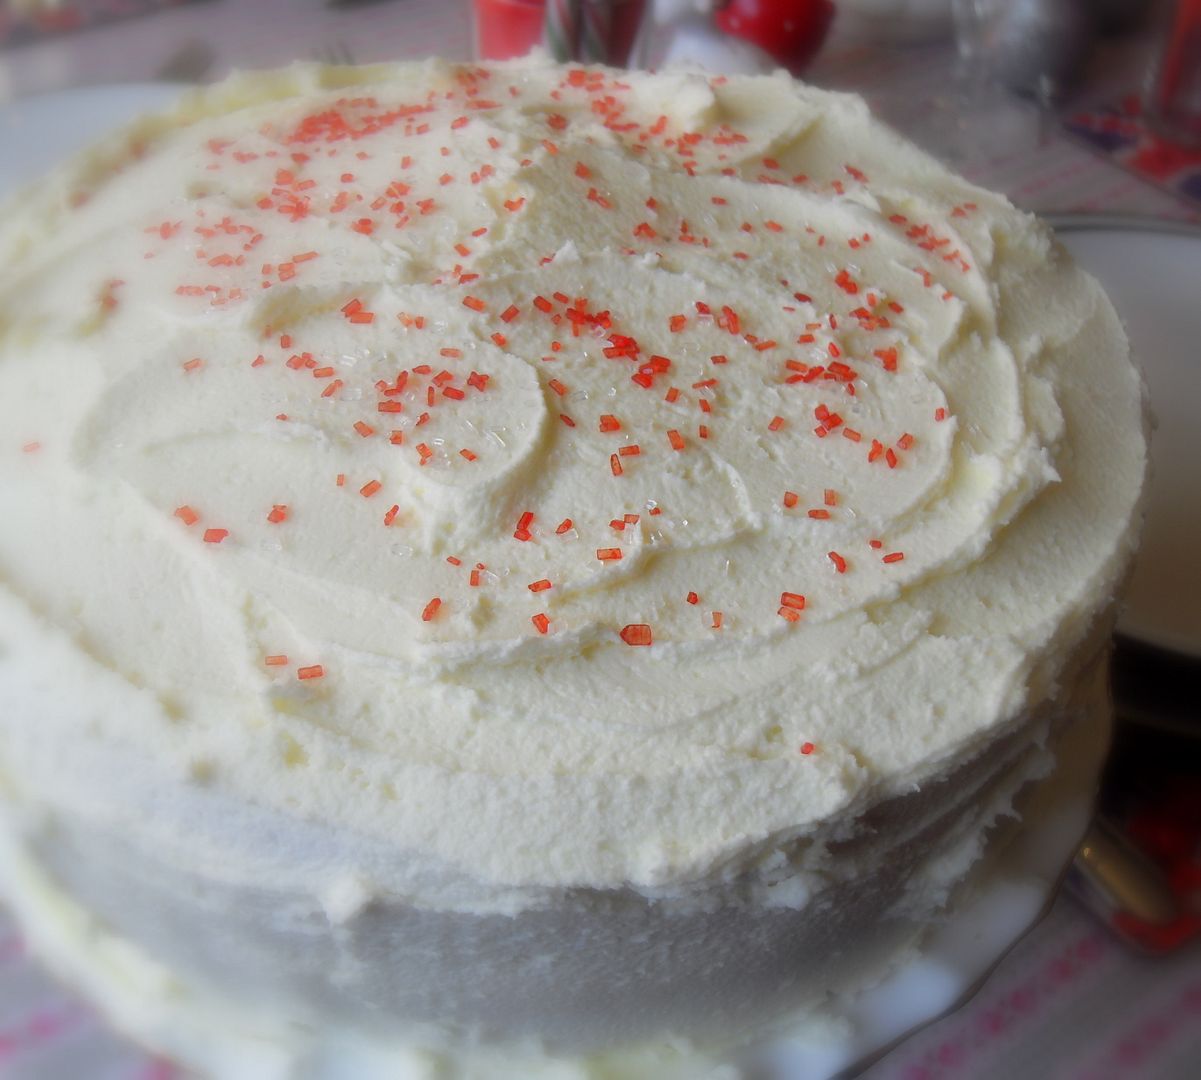
This is an oldie but a goodie . . . a recipe from my infamous Big Blue Binder.
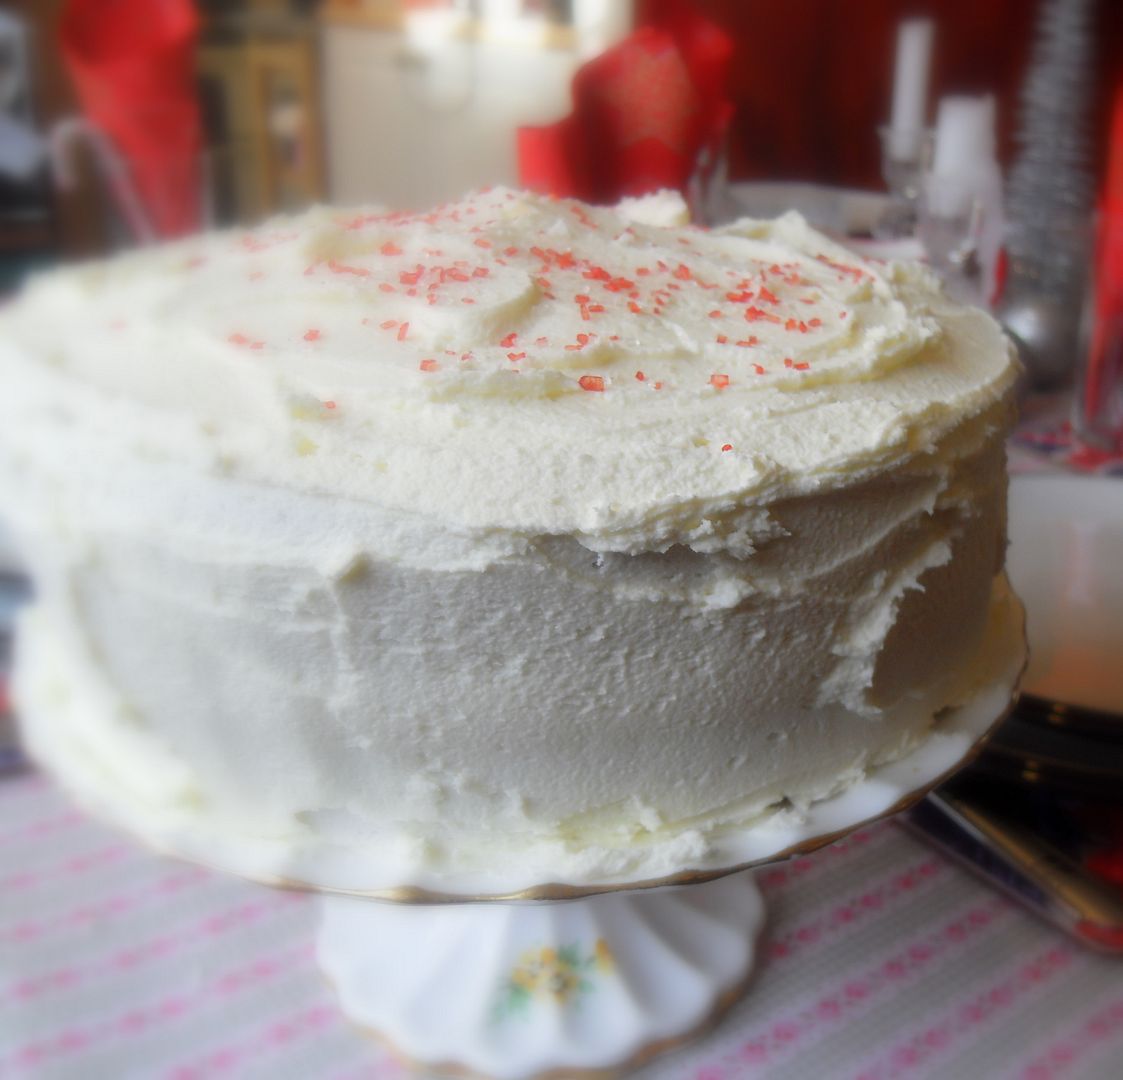
The handwritten page is splattered and torn . . . the ink beginning to fade, a sure testimony to just what a lovely cake it really is.
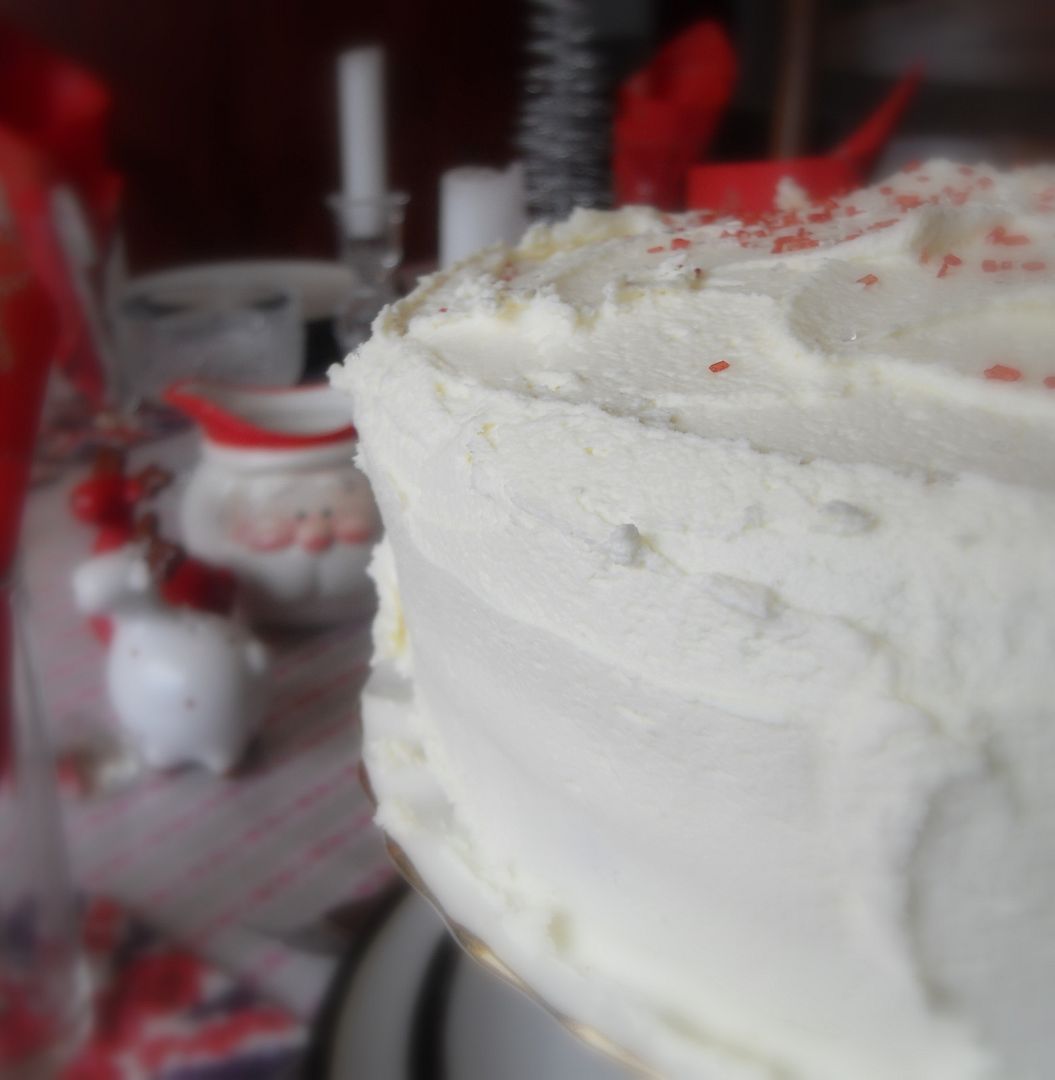
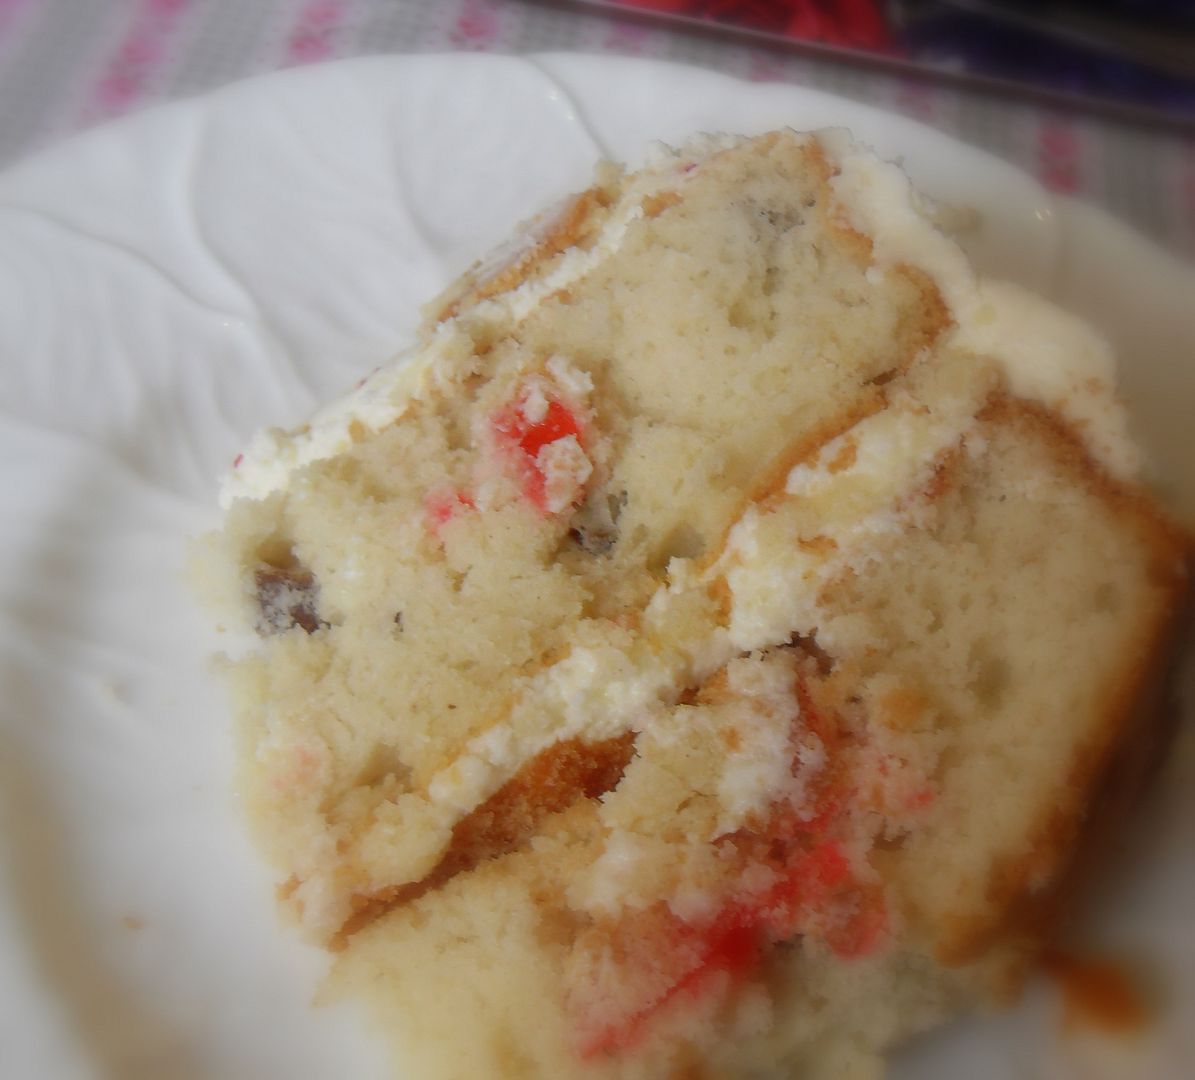
It's a scrumptiously light and moist cake, stogged full to the hilt with pretty red maraschino cherries and toasted pecans!
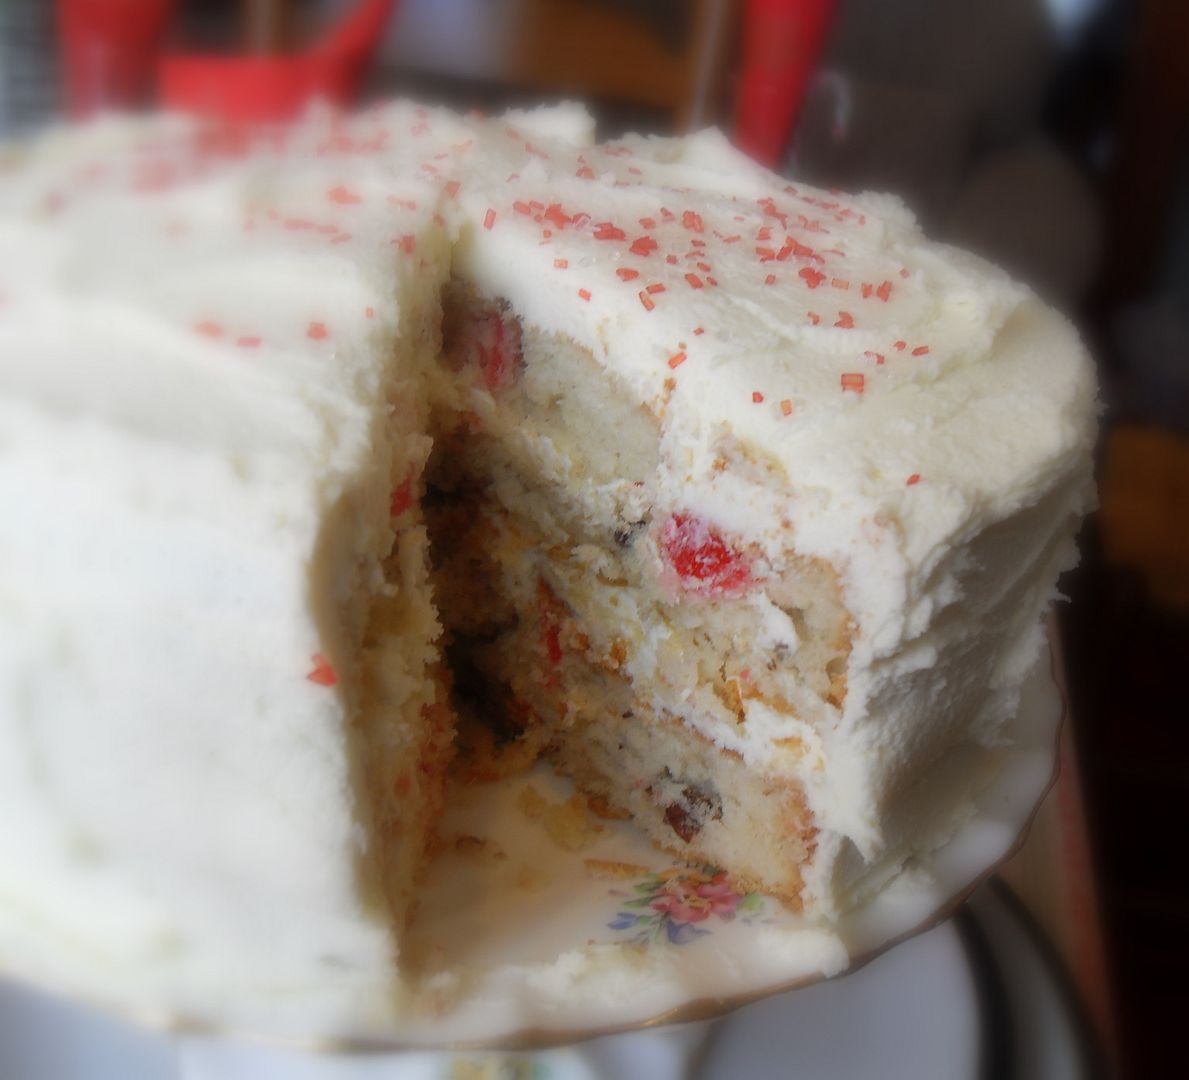
Slathered and filled with oodles of scrummy Vanilla buttercream icing!
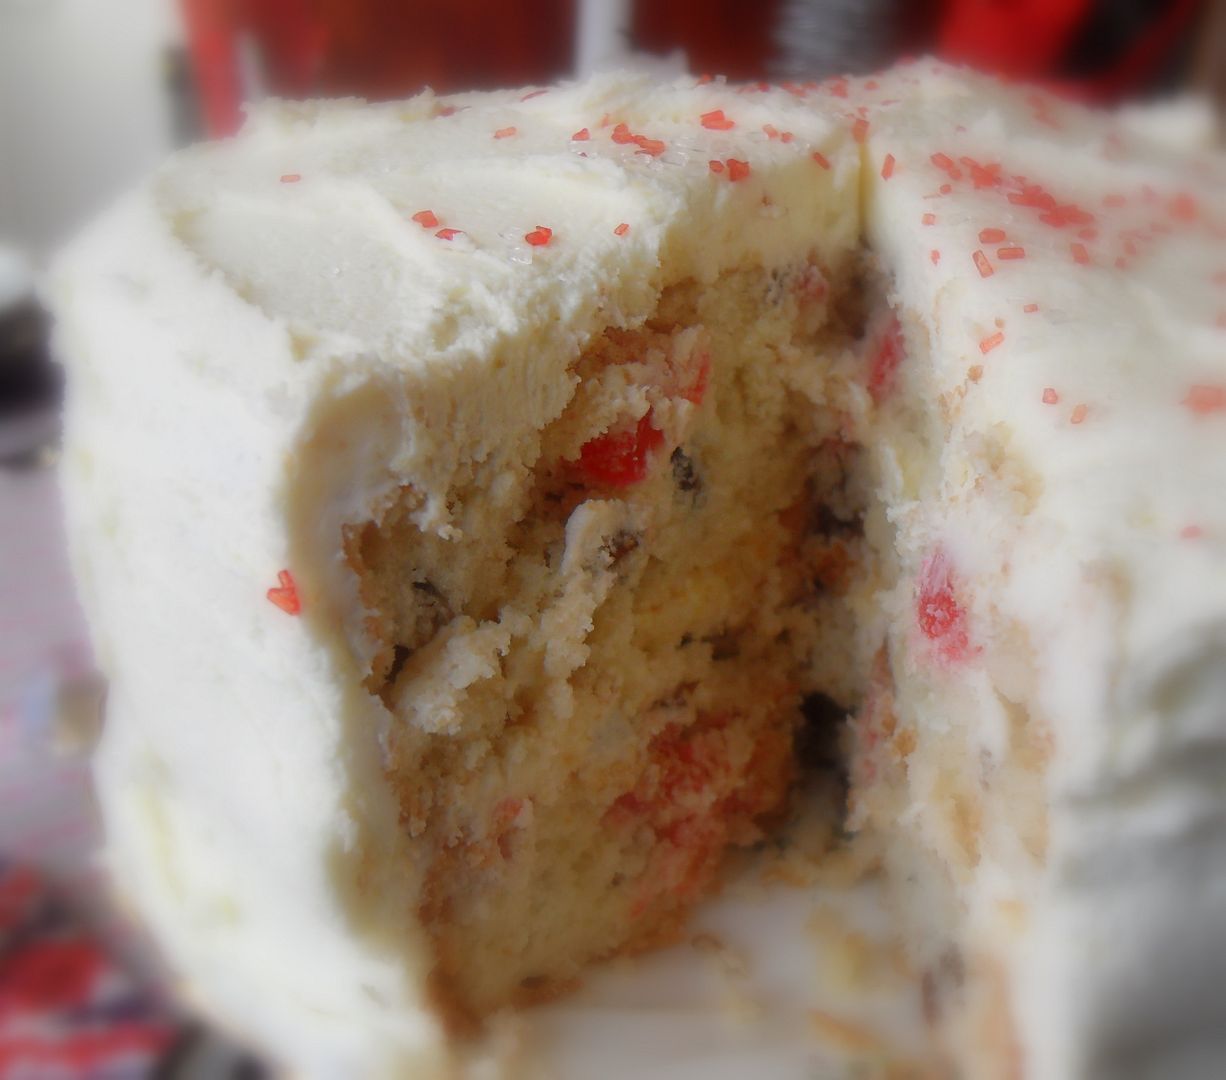
It always goes down a real treat! Today I used the Opie's Maraschino Cherries that you can get over here.
The syrup on them is not as thick as the one from back home, but it seems to work just fine. You can also find other varieties.
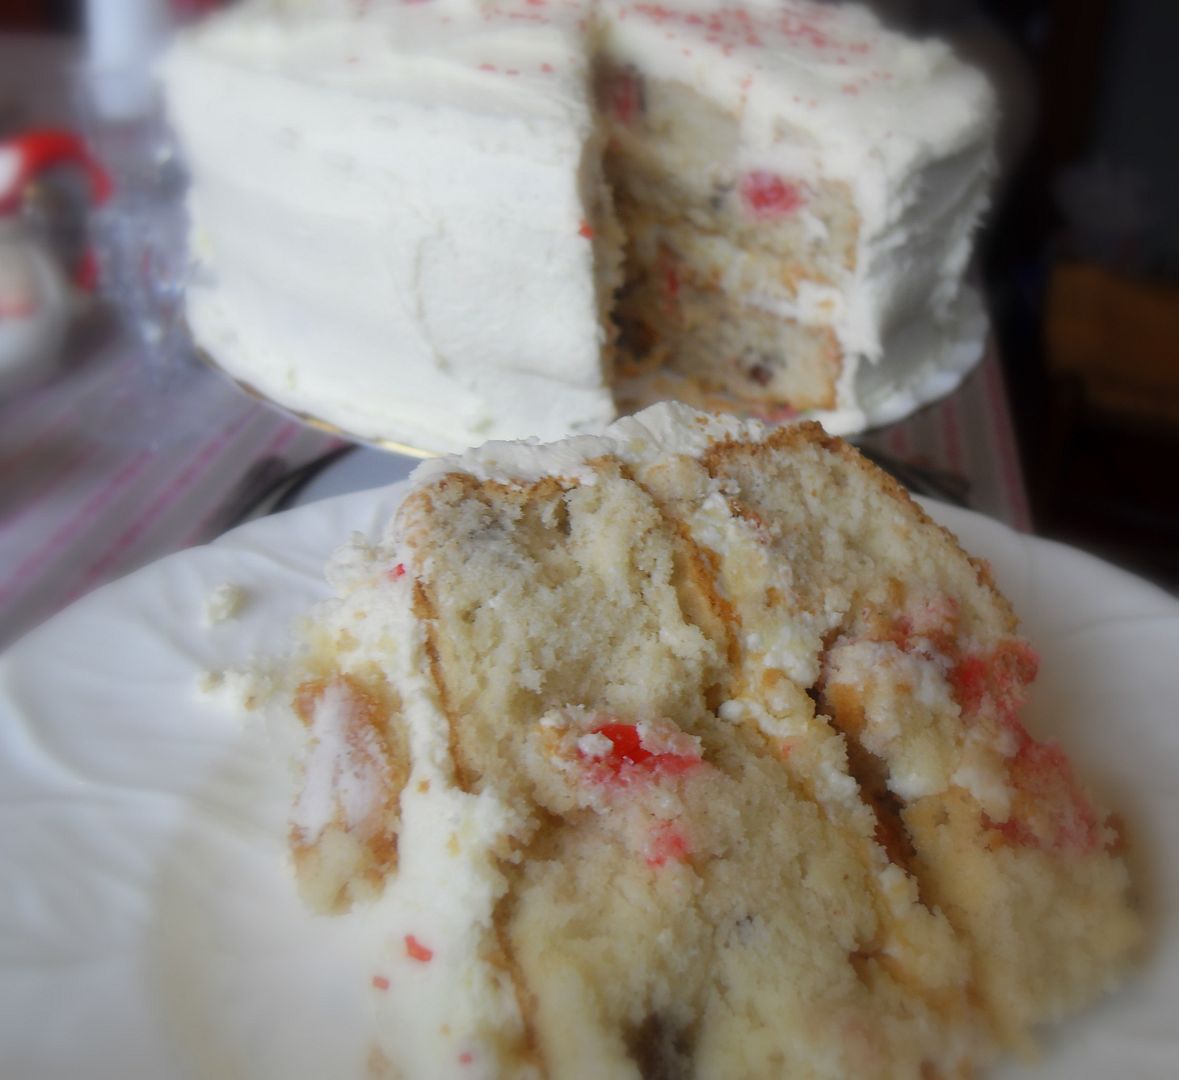
I really hope you will give it a go and that if you do you will agree with me that this is a mighty fine delicious cake. Perfect for serving to company.
*Maraschino Cherry Cake*
Makes one 8-inch round layer cake
Printable Recipe
Two delicately pink layers of cake flecked with bits of red maraschino cherry and toasted pecans. What's not to like?
310g of plain flour ( 2 1/2 cups)
190g caster sugar (1 cup)
1 TBS baking powder
1/2 tsp salt
60ml maraschino cherry juice from the jar (1/4 cup)
180ml milk (3/4 cup)
1 tsp pure vanilla essence
1/2 tsp pour almond essence
4 TBS unsalted butter, softened
55g white vegetable shortening (1/4 cup)
4 large free range egg whites
18 maraschino cherries, quartered and dried with some kitchen toweling
45g of chopped toasted pecans (1/2 cup)
To frost:
your favourite vanilla buttercream of cream cheese frosting
Preheat the oven to 180*C/350*F/ gas mark 4. Butter two 8 inch cake tins. Line the bottoms with baking parchment and butter the paper. Set aside.
Whisk together the flour, baking powder, salt and sugar. Whisk together the milk, cherry juice and essences.
Put the flour mixture into a bowl along with the butter, shortening, and milk mixture. Beat together until smooth. Add the egg whites and beat for 3 minutes at medium speed until light and fluffy. Fold in the quartered cherries and pecans.
Divide the mixture equally amongst the cake tins. Smooth the tops over and give them a tap on the counter to settle out any air bubbles. Bake in the centre of the heated oven for 30 minutes until wthe tops spring back when lightly touched, and a toothpick inserted in the centre comes clean. Cool in the tins for 10 minutes before inverting onto a wire rack to finish cooling completely. Peel off baking paper.
Once completely cooled fill and frost with your favourite icing. Delicious and pretty!
*Perfect Vanilla Buttercream Icing*
Makes enough to fill and frost a layer cake
Printable Recipe
225g butter, softened (1 cup)
390g sifted (3 cups, confectioners, powdered)
1 tsp vanilla essence
1 to 2 TBS double cream
Beat the butter and sugar together on low until well blended and then continue to beat on mdeium for another few minutes until it begins to become fluffy. Beat in the vanilla and 1 TBS cream, only adding the second one if needed until you have a frosting of spreading consistency.
Enjoy!!


Gingerbread Blondies. OH MY GOODNESS! If you don't want to be severely tempted by something that is so dangerously delicious that any diet plans you have now or for in the near future will immediately be thrown out the window . . . LOOK AWAY NOW!
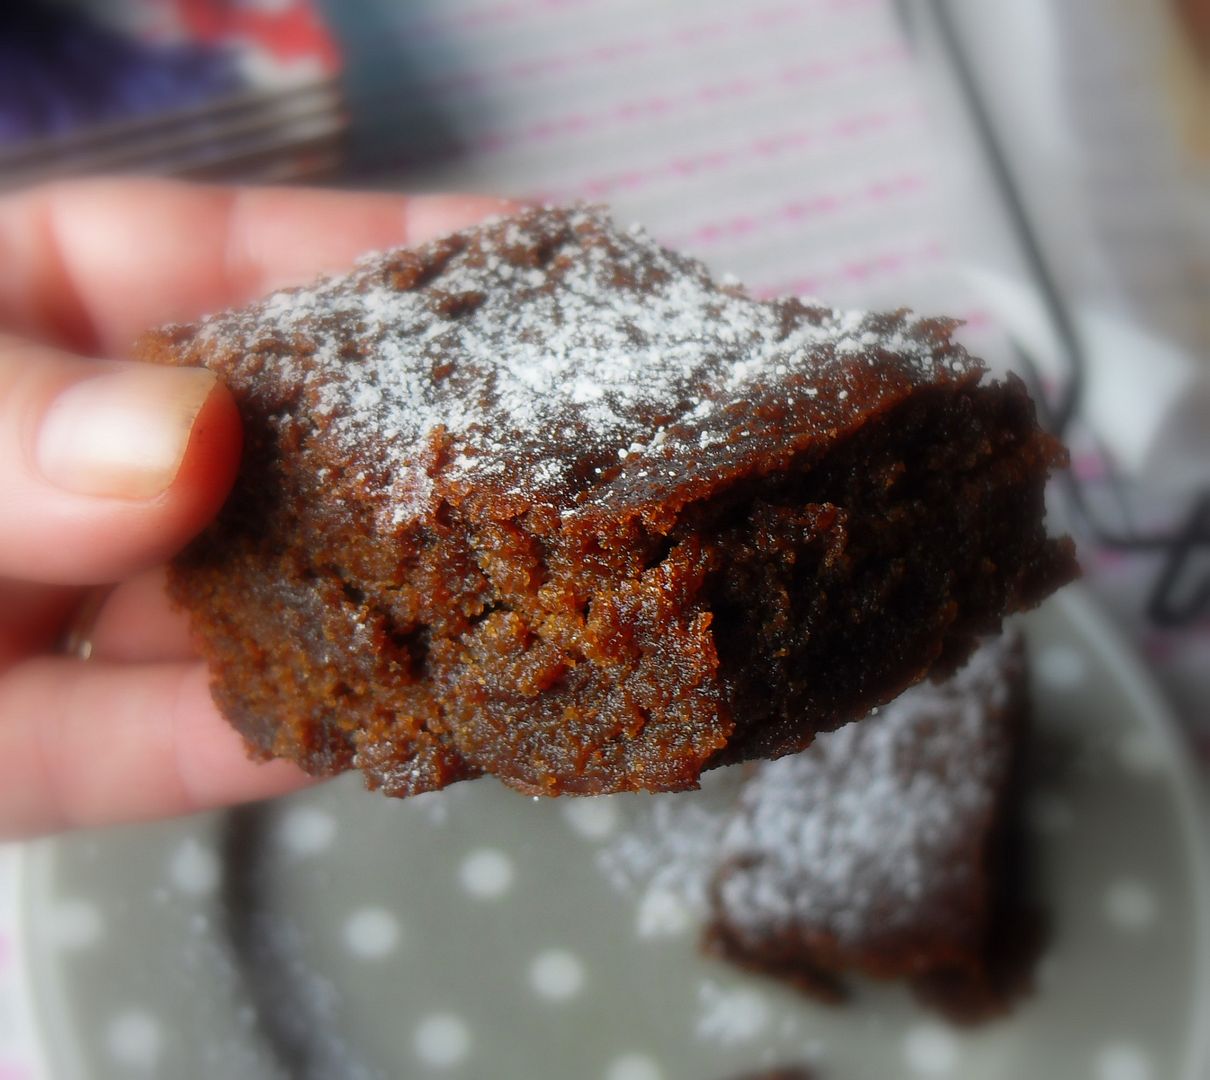
OOOPS! Too late eh? Sorry about that folks. We were having guests for lunch the other day and I wanted to bake something that was unusual and delicious and I remembered this recipe which was in a cookbook of mine entitled Gingerbread ( by Jennifer Lindner McGlinn) for Gingerbread Blondies.
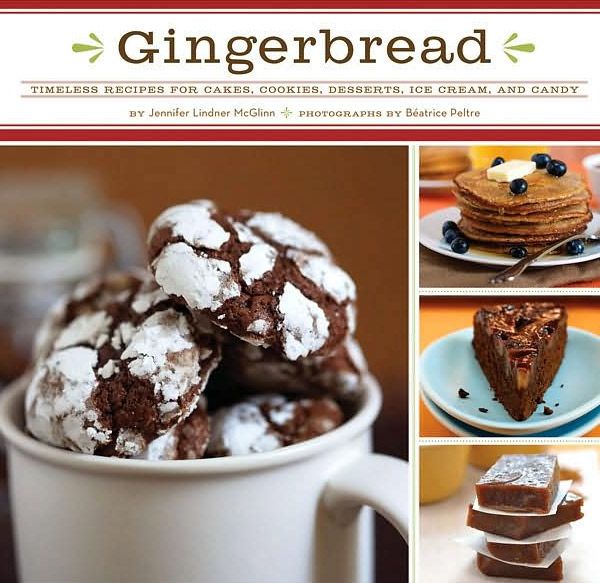
It had been a very long time since I had baked them and tis the time of year that hearts yearn for warmer food, comfort food . . . autumn food. Any kind of blondie recipe does it for me, but combine that with gingerbread and I am in heaven!
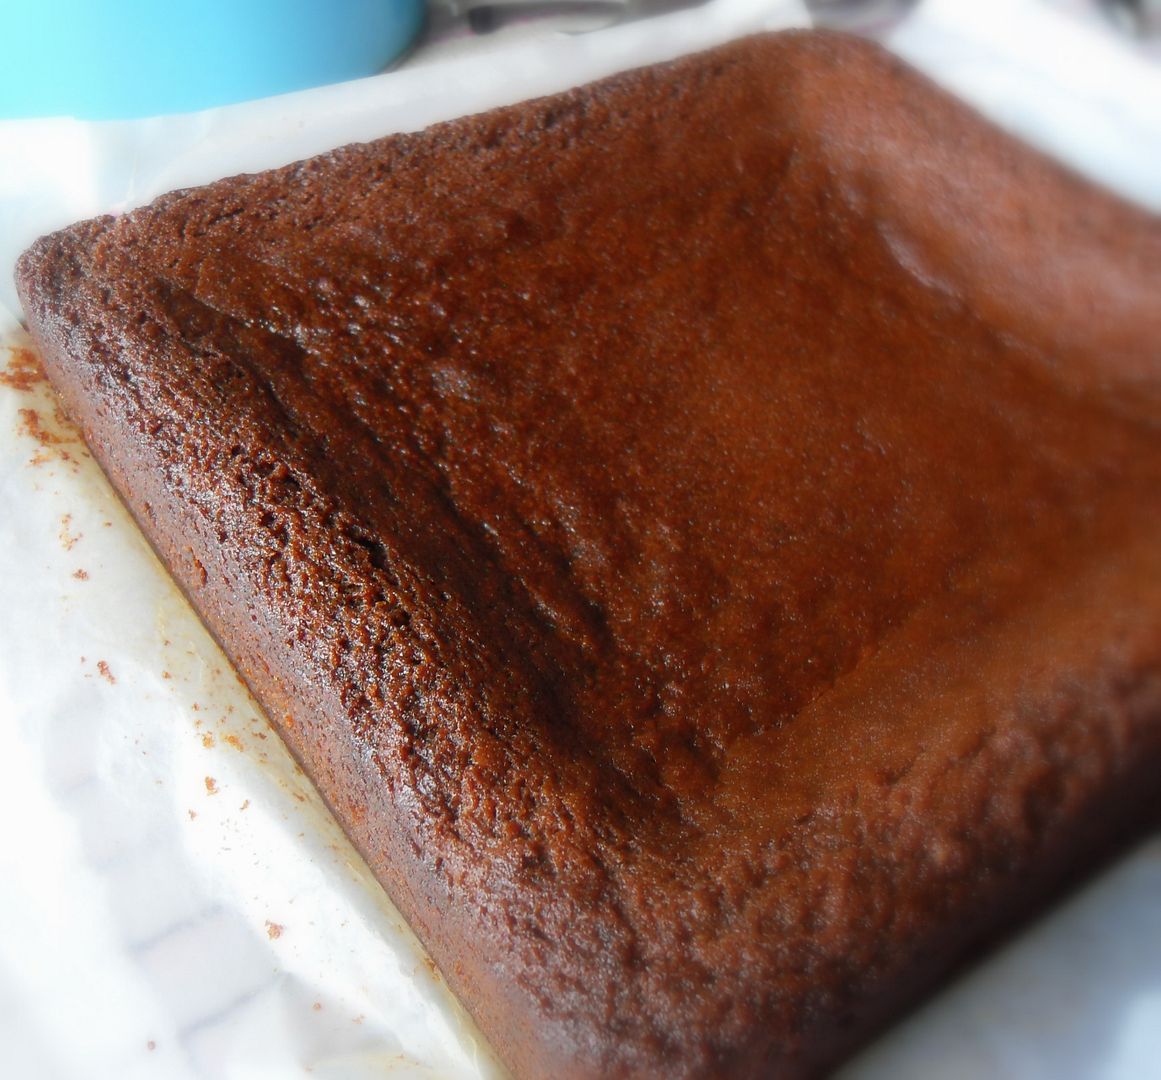
Who doesn't love Gingerbread????? It's just not human not to love Gingerbread is it??? Being unable to resist nibbling on a gingerbread house is what got Hansel and Gretel into trouble isn't it?
And I am pretty darned sure that that apple in the Garden of Eden . . . yep . . . it was made of Gingerbread, absolutely.
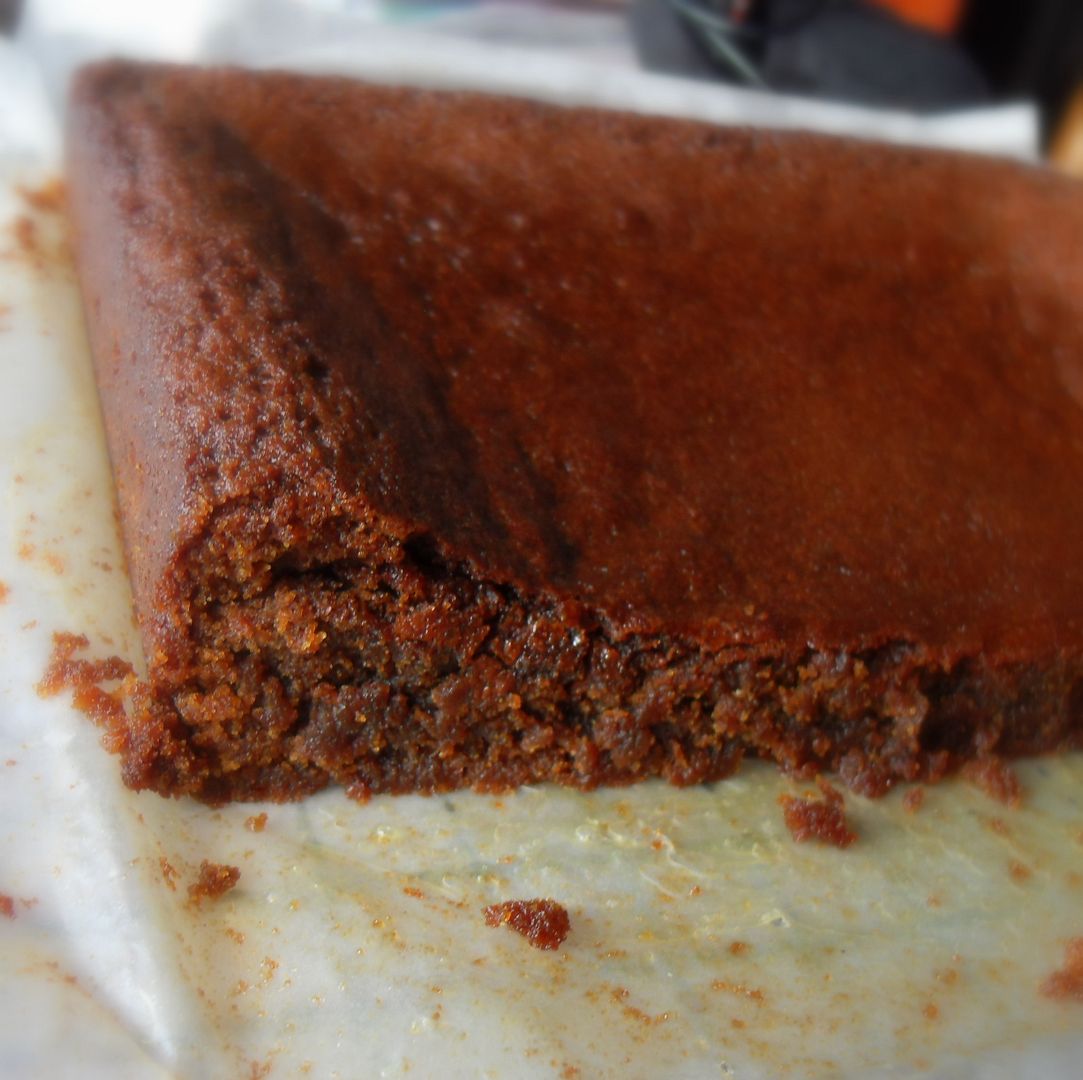
The smell when these are baking is pure and utter bliss . . . decadently gorgeously divinely gingerbready.
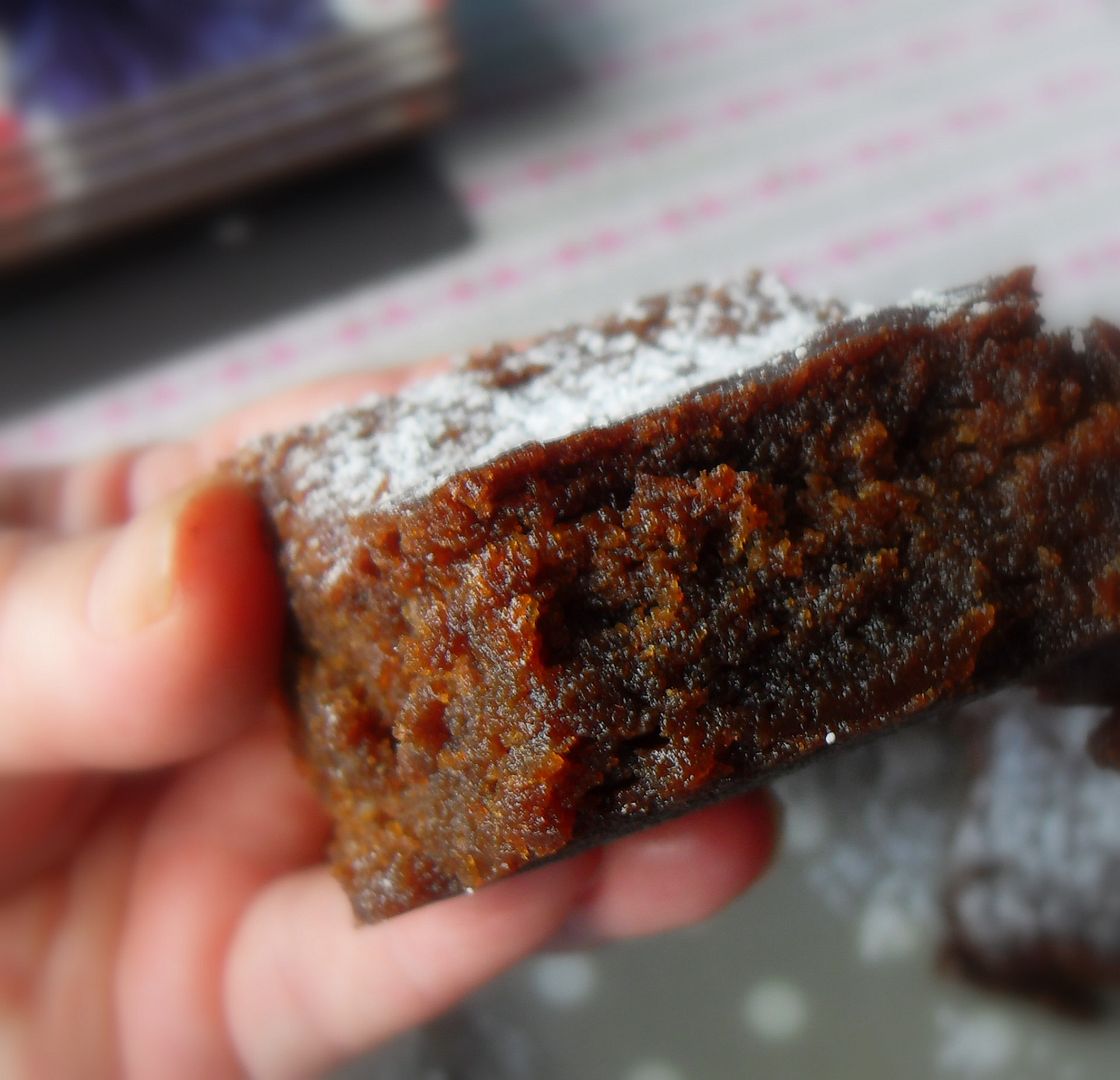
The consistency of them when baked . . . and still warm . . . wonderfully moist and incredibly fudgy, just like you want in a good brownie.
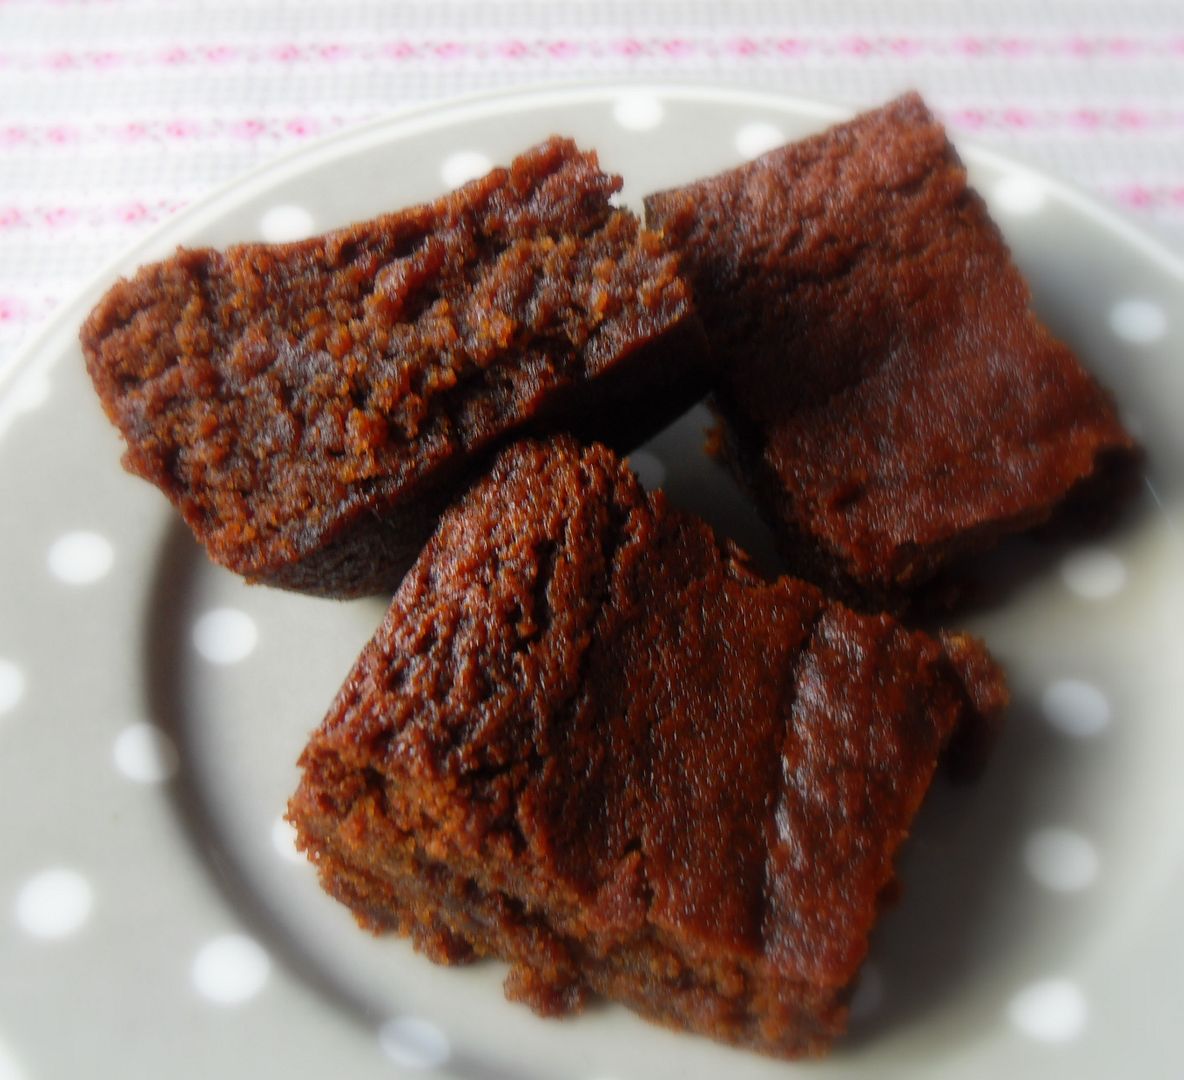
The taste of them cut into small bite sized cubes, warmed and then layered in a dessert dish, topped with vanilla bean ice cream . . .
Then drizzled with a Maple/Ginger preserved Ginger syrup drizzle . . . insanely decadently moreishly fabulously TO DIE FOR!
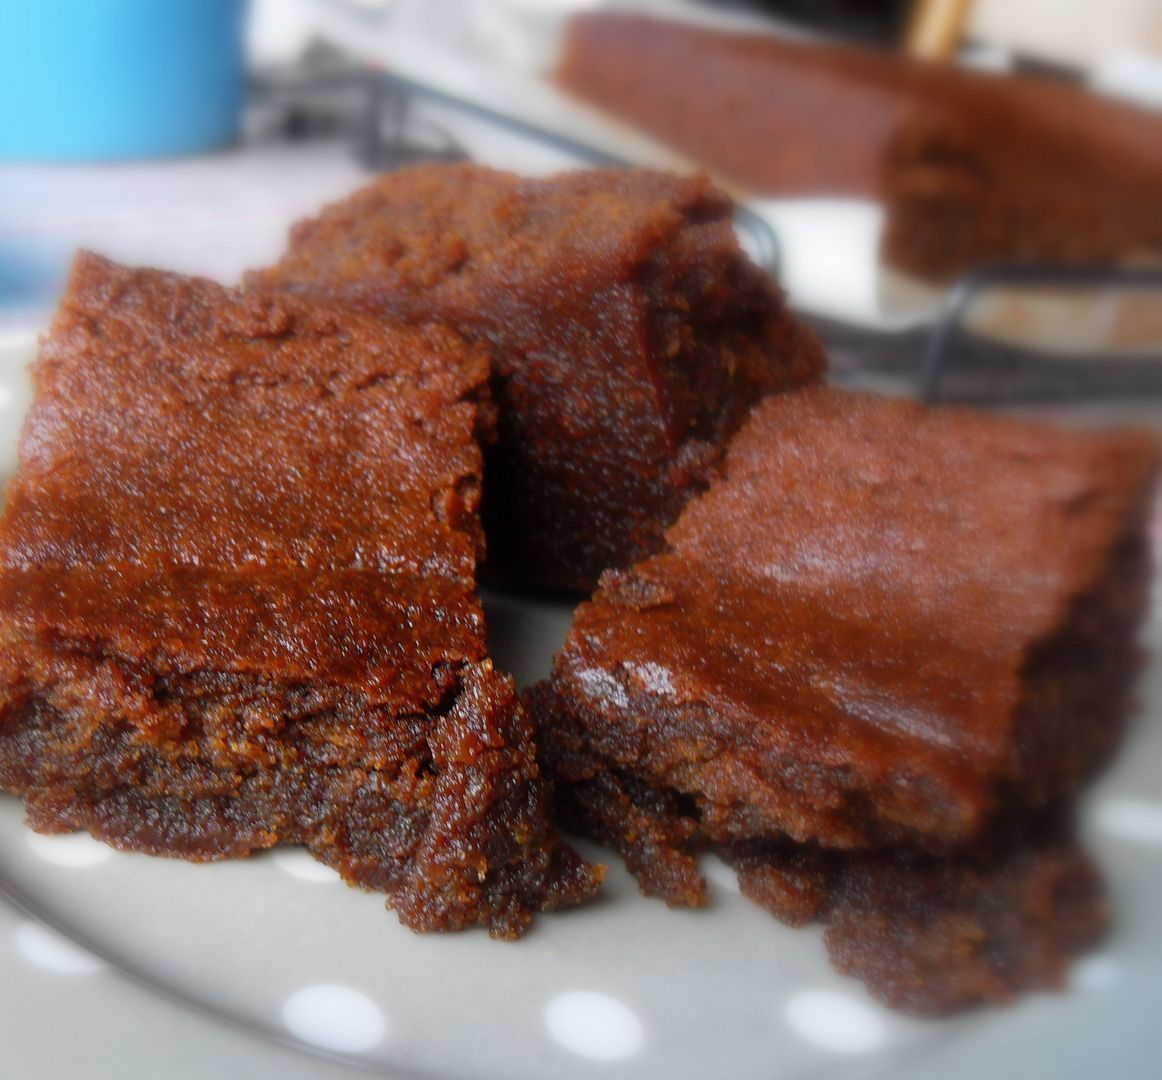
I am sorry that I didn't get a picture of that last concoction folks, but trust me . . . it really was fabulously irresistible.
My guests quite simply thought they had died and gone to heaven. You will too, if you are game to try it, to try these.
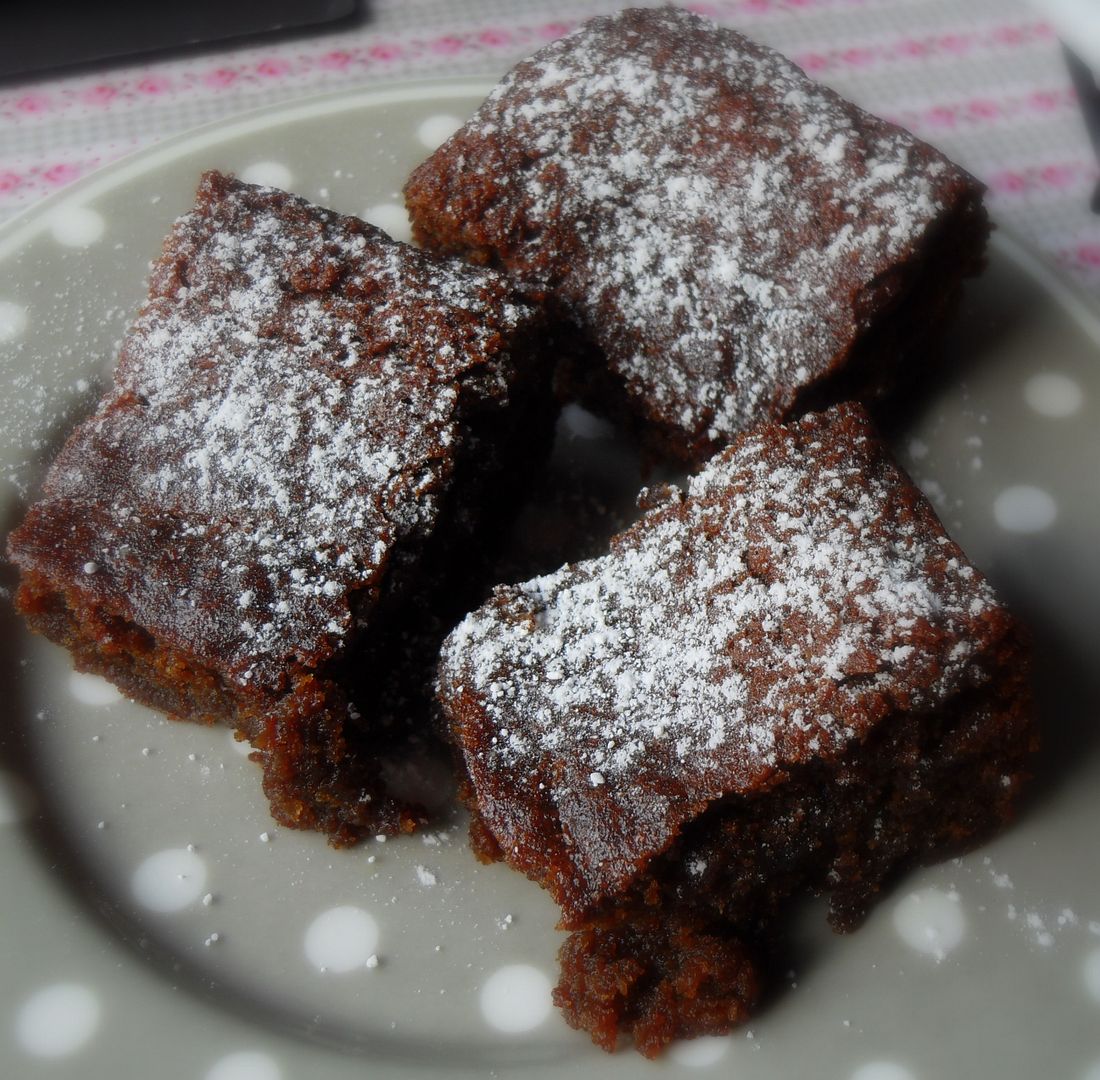
You must bake them now . . . and please . . . do try not to hate me too much for having introduced you to them!
The Devil made me do it. Think "Gingerbread Brownie" here folks . . . sigh . .
.
Brownie? I'm in. Gingerbread Brownie, I'M WAY IN!!!
*Gingerbread Blondies*
Makes one 9 inch square pan
Printable Recipe
Super moist, gently spiced and rich with butterscotch and caramel flavours. In other words, incredibly scrummy yummy.
385g plain flour (2 3/4 cups)
1 tsp salt
3/4 tsp bicarbonate of soda
3/4 tsp baking powder
2 tsp ground cinnamon
2 tsp ground ginger
225g of butter, melted and cooled (1 cup)
200g of dark soft brown sugar (1 cup packed)
180ml of mild molasses ((3/4 cup) can use equal measures of
golden syrup and dark treacle to make up the whooe amount)
1 tsp vanilla
1 large free range egg
2 TBS double cream
Sifted icing sugar for dusting
Preheat the oven to 180*C/350*F/ gas mark 4. But a 9 inch square baking pan. Line with baking paper, leaving an overhang for lifting out. Butter the paper. Set aside.
Whisk together the flour, salt, soda, baking powder, cinnamon, and ginger. Set aside.
Stir the brown sugar, molasses, egg, vanilla, and cream into the melted butter, until are incorporated evenly. Stir in the dry mixture, a little bit at a time, until the mixture is smooth, making sure you scrape everything up from the bottom. (I use a wooden spoon to do this.) Spread the batter in the prepared pan, smoothing over the top.
Bake for 45 to 55 minutes, or until chestnut brown in colour, lightly puffed and slightly cracked on top. A toothpick inserted into the centre should come out with a few soft or gooey crumbs.
Set the pan on a wire rack to cool completely.
Once cool, remove from the pan and cut into squares. Dust with icing sugar if desired. Store in an airtight container.
Note : The timings in the original recipe called for 20 to 25 minutes. Mine were not even near done by then. I added 15 minutes at a time to the baking time until they were done, which was more like 55 minutes. I'd start checking them at 45 though.

This content (written and photography) is the sole property of The English Kitchen. Any reposting or misuse is not permitted. If you are reading this elsewhere, please know that it is stolen content and you may report it to me at: mariealicejoan at aol dot com Thanks so much for visiting. Do come again!
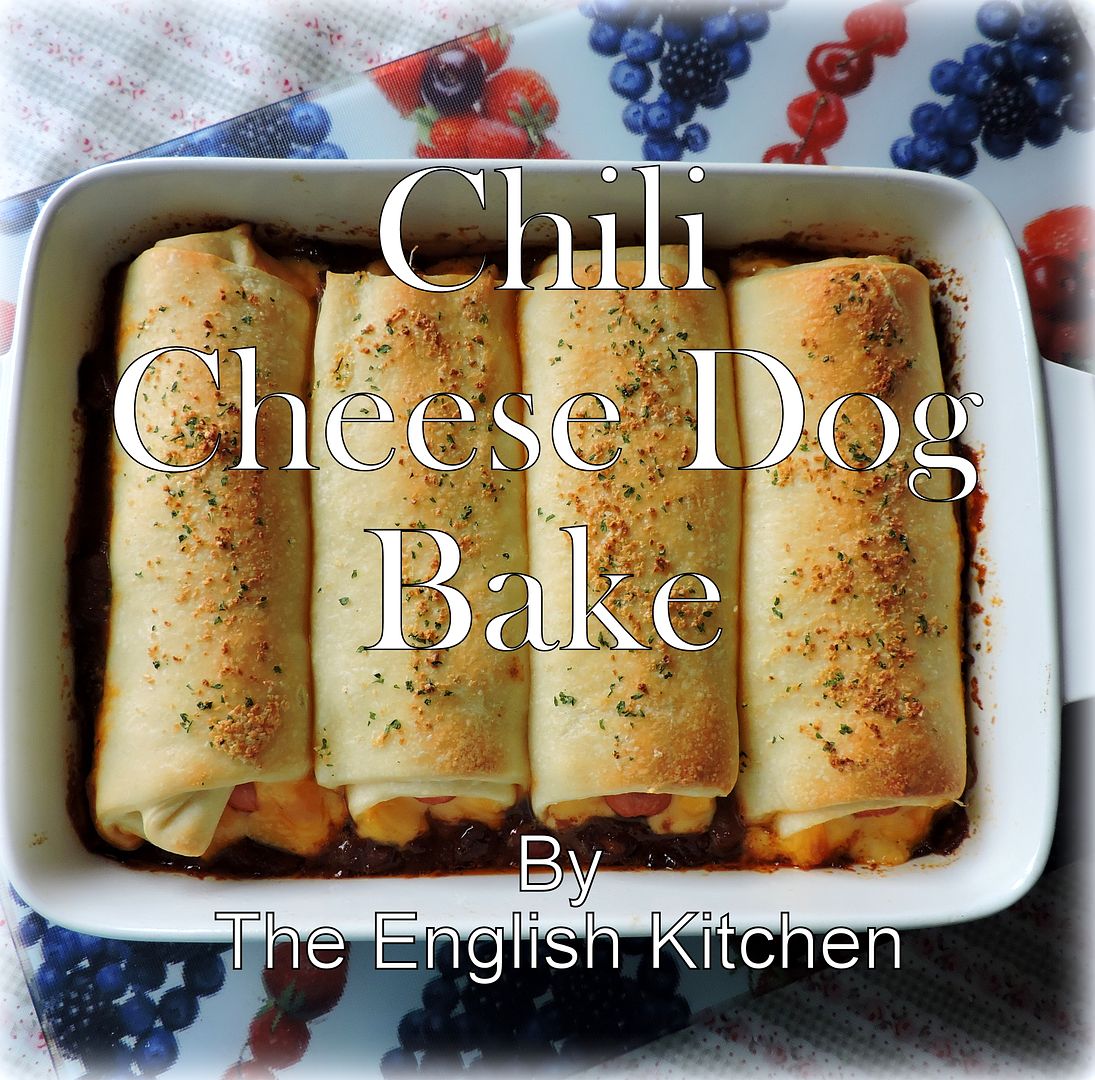
I love hotdogs. I know they are not exactly gourmet food, and I know that they are a bit garbagy junk foody with what goes into them. I don't care what goes into them. I like them. They taste good to me, and they have their place in my kitchen, as a once in a while treat. When I was a child we often had hotdogs for supper on Friday nights and my mom made the best hot dogs on the planet. People used to vie for an invitation to dinner on hotdog night, no word of a lie!
Its now Great British Bake Off Season here in the UK, and in honor of that each week Betty's will be sharing a delicious recipe, plus a video and their baking tips to go with each recipe. The kind of thing you won't find in any cookery book! Here is week Six of their delicious hints and tips and recipe on how to make a really super Swiss Roll!
Super Swiss Roll
INGREDIENTS (serves 6-8)4 eggs (medium)
100g caster sugar (1/2 cup)
100g plain flour (3/4 cup)
½ tsp baking powder
¼ tsp bicarbonate of soda
150g strawberry jam (about 1 cup)
200ml double cream, lightly whipped (3/4 cup)
Caster sugar (for sprinkling)
METHOD
1. Preheat the oven to 200°C (fan assisted). Grease and line the base and sides of a baking tray with baking parchment. Sprinkle caster sugar over the paper.
2. Beat the eggs and sugar in a large mixing bowl over a saucepan of simmering water until thick and creamy.
3. Remove the bowl from the heat and continue beating until the mixture is cool and forms a figure of eight when the beaters are lifted out of the bowl.
4. Sift the self raising flour into the bowl and with a metal spoon quickly and carefully fold into the mixture.
5. Spoon into the prepared baking tray. Place in the preheated oven and bake for 8-10 minutes, until golden and ‘springy’ to the touch. Remove from the oven and leave for 5 minutes.
6. Place a clean tea-towel on the bench and top with a piece of baking parchment. Turn the sponge onto the baking parchment. Carefully remove the baking parchment from the sponge.
7. Roll up across its width enclosing the baking parchment as you go. Place on a wire rack and leave to get cold.
8. Unroll the sponge and spread with the strawberry jam and the whipped cream. Re-roll. Trim the edges. Dust with sifted icing sugar.
NOTES IN THE MARGINS
Super Swiss Roll
ZONE THE MIX Use a glass bowl - it’ll keep the batter at the right temperature. Whisk until you’re able to make a full figure of eight in the mix. Use a large metal spoon – the flattest you have. Hold your baking paper in place with few dots of mixture. Don’t pour the mix – ‘zone’ it and then join the mixture together for an even covering.MAKE ITS MEMORY Invest in an oven thermometer for accurate temperature readings. Sprinkle sugar on some baking paper so your sponge doesn’t stick to it. To release the sponge from the paper it was baked on, wet your hands and massage the back of the paper. Score a little wedge in the sponge and roll it to make its ‘memory’. Do this while it’s warm – it will remember that form and roll more easily later. Allow to cool. See the recipe card for Bettys Baking Secrets Week Three, Perfect Piping, for our tips about whipping cream.
CHEF’S PERK Apply your jam first – it’s a barrier to the cream which can dissolve your sponge. Loosen your jam by working it with a teaspoon so it spreads more freely and doesn’t tear the sponge. Zone it and join the dots (like you did with the sponge mix) for an even spread. Don’t spread to the edge – it will spill out when you roll. Whenever cutting cake use a serrated knife – saw and let the knife do the work. Remove the ends for a neat presentation – they’re the chef’s perk!
For more Bettys Baking Secrets, including our own recipes and secret tips for piping, visit www.bettys.co.uk/bettysbakingsecrets.
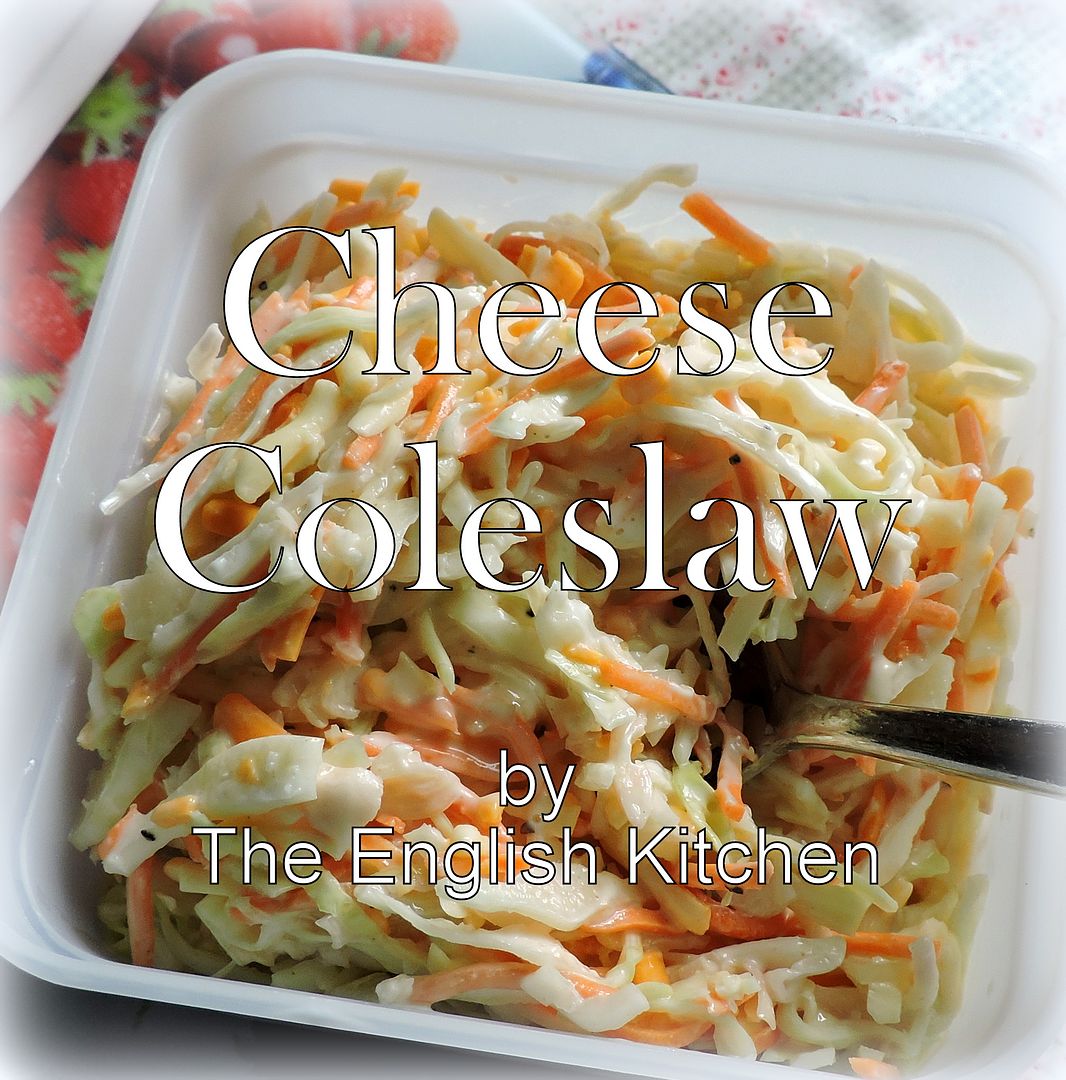
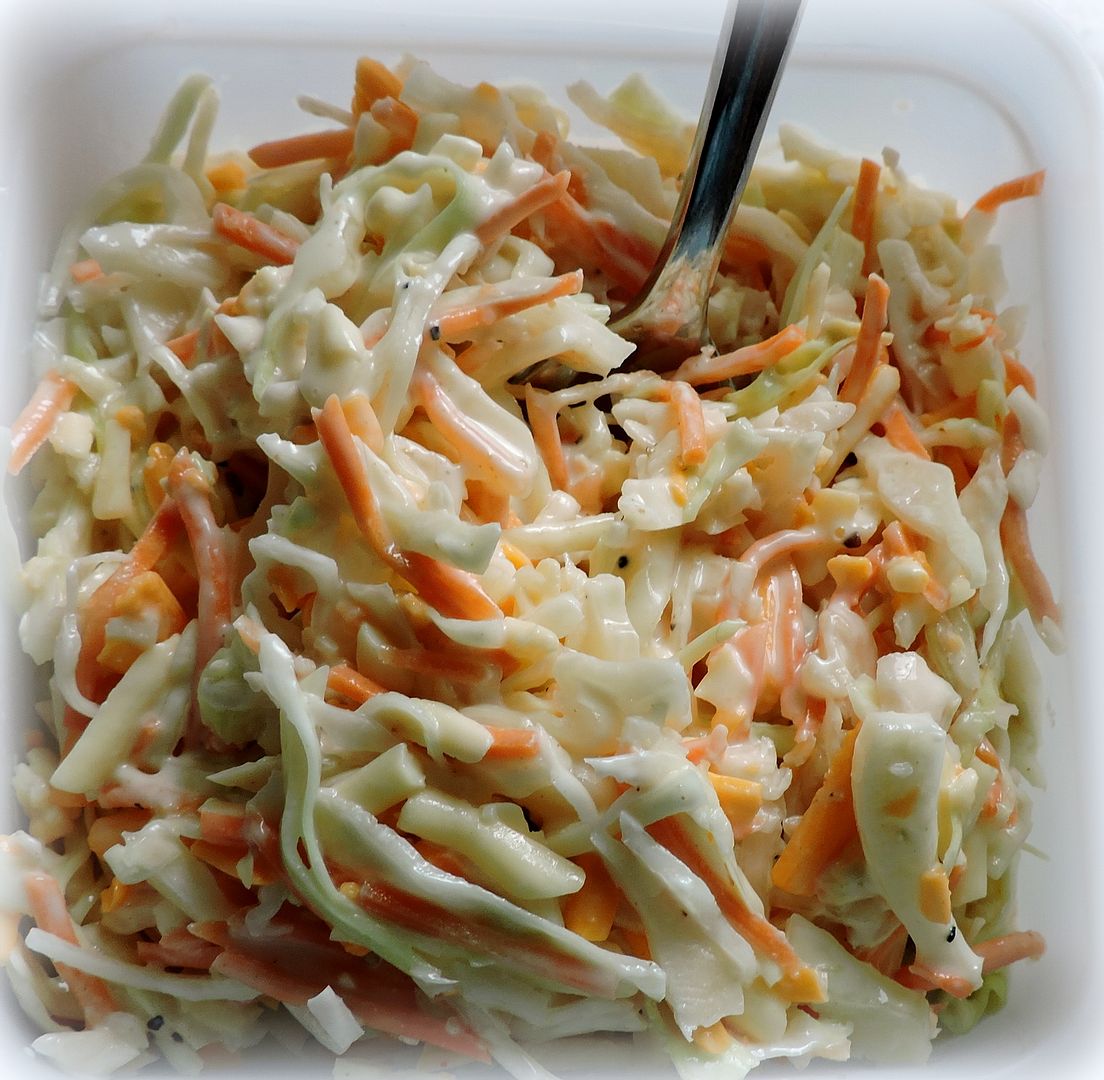
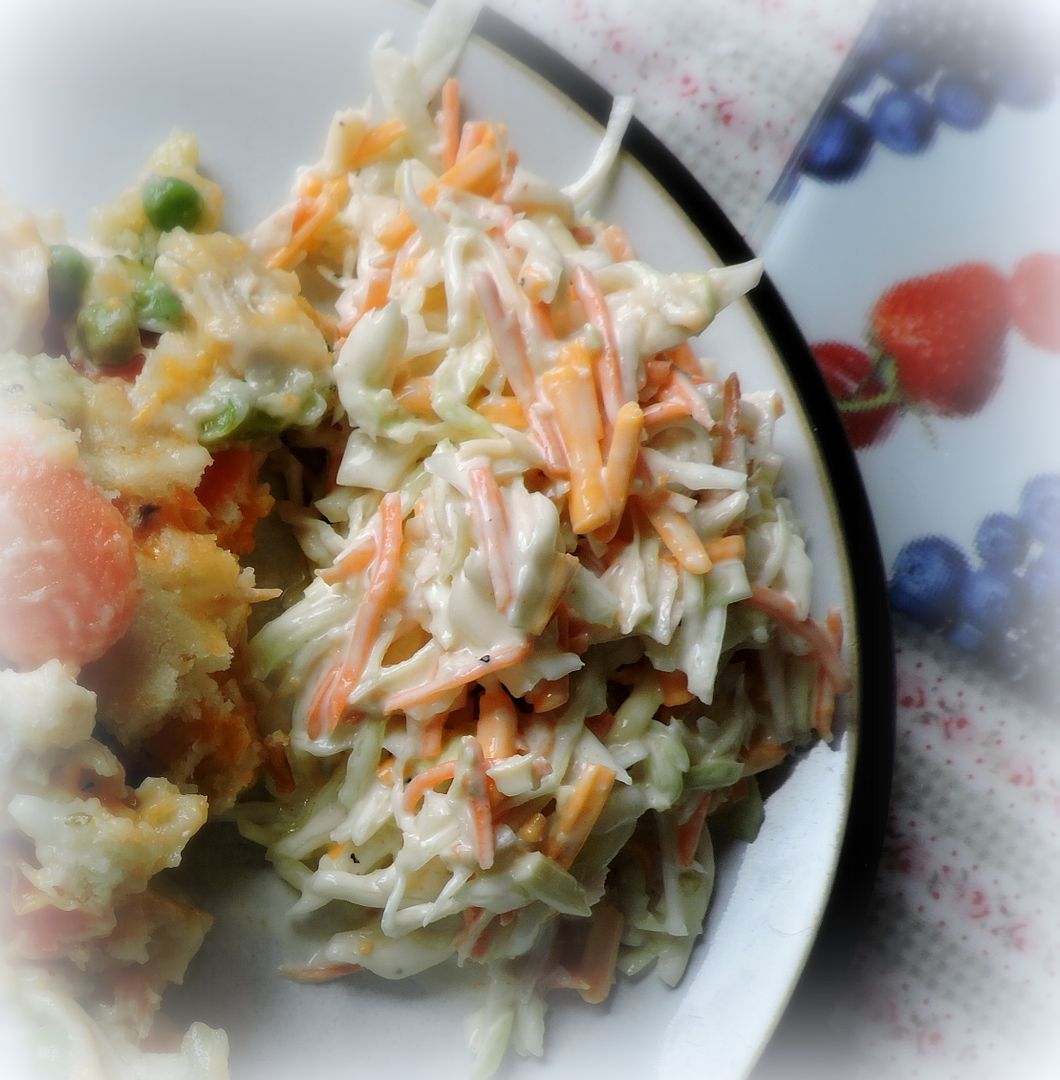
Cheese Slaw isn't something I had ever tasted before moving over here to the UK. I hadn't even really considered it. I think it was my friend Jo who mentioned it one day at work when I was working at the Manor and my interest was piqued.
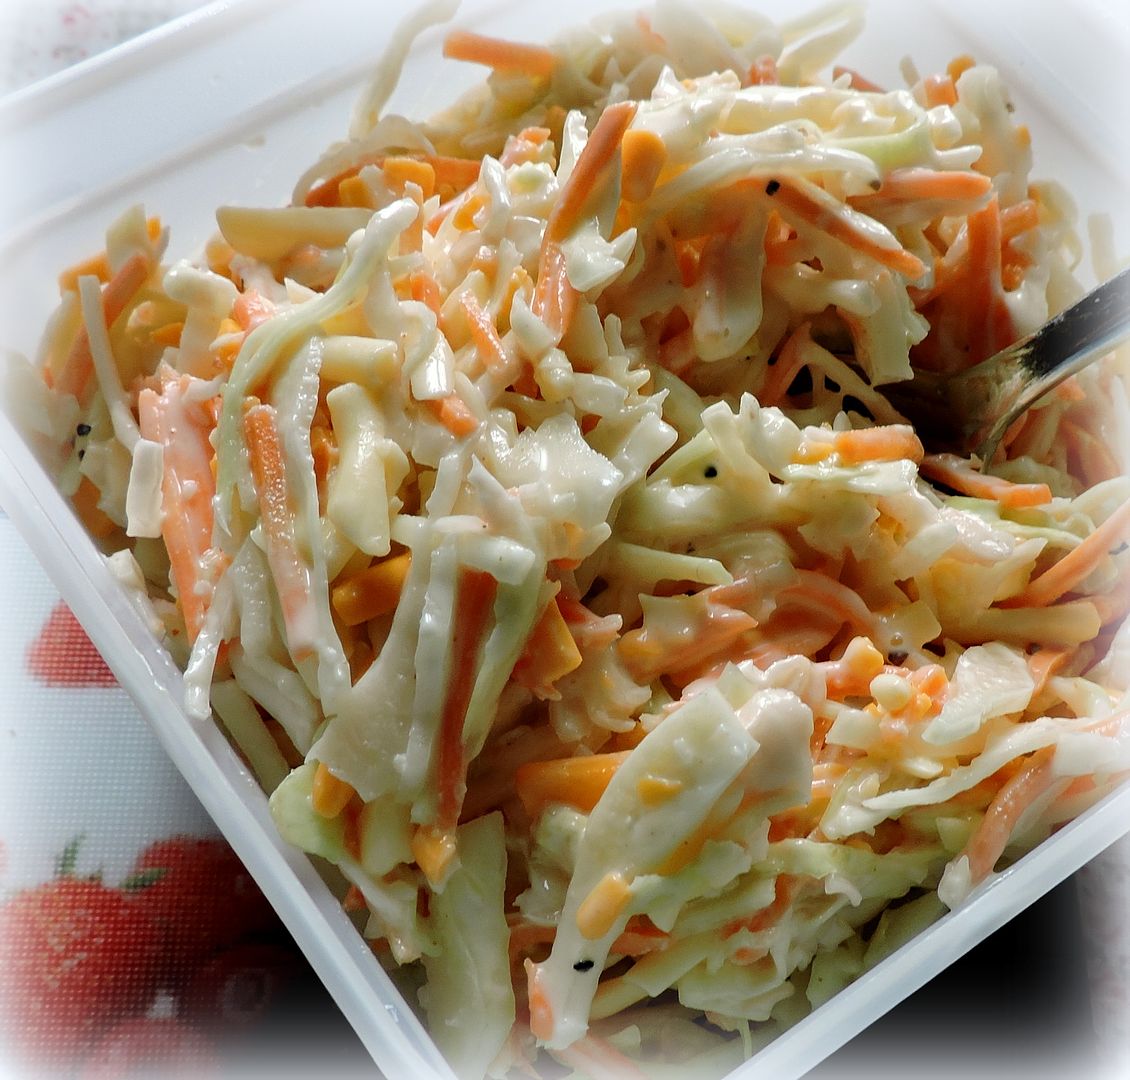
I made this the other day when we had the Missionary Zone Leaders over for supper. I always like to have some sort of salad when we feed the missionaries.
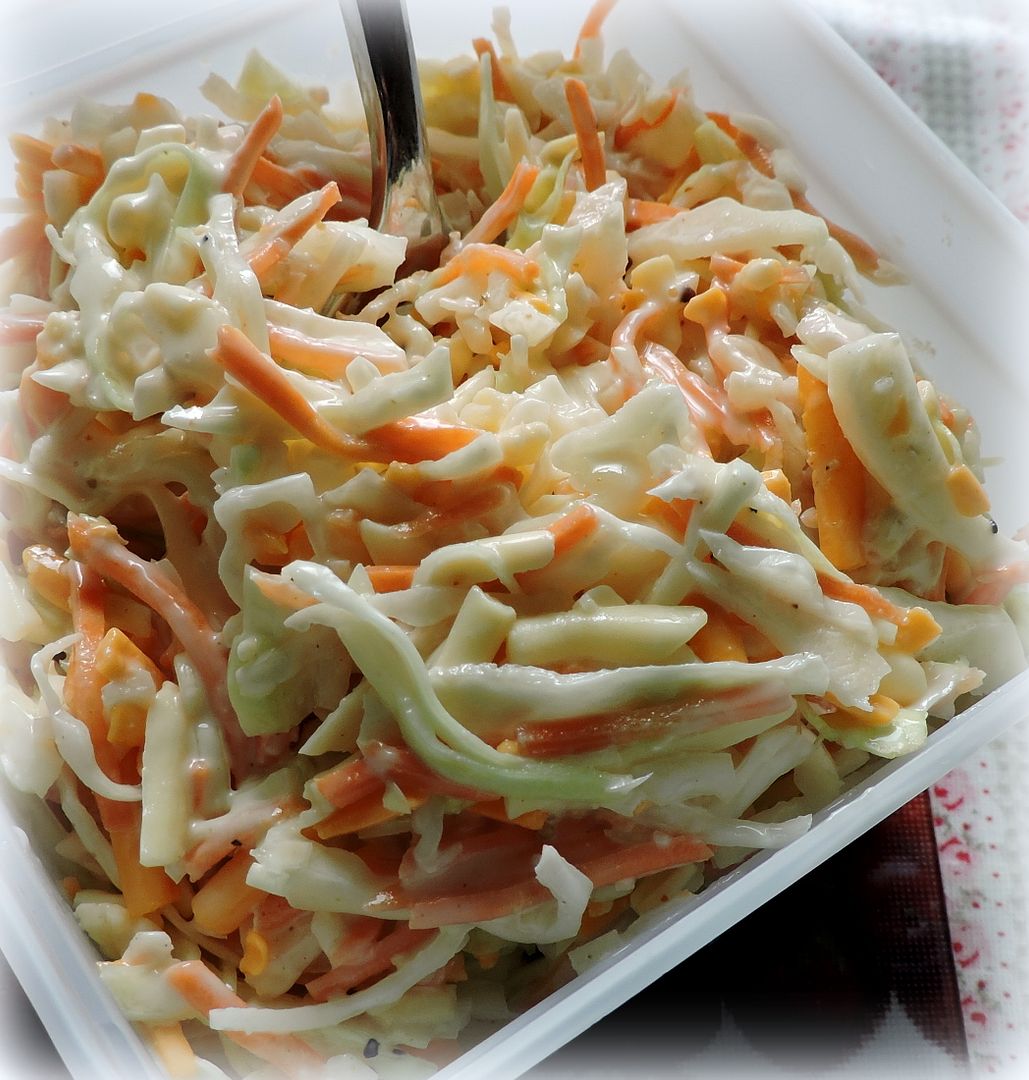
I didn't really get a lot of photos of it. My husband hates me taking food photos when we have people over. But trust me when I say this is delicious.
Bon Appetit!
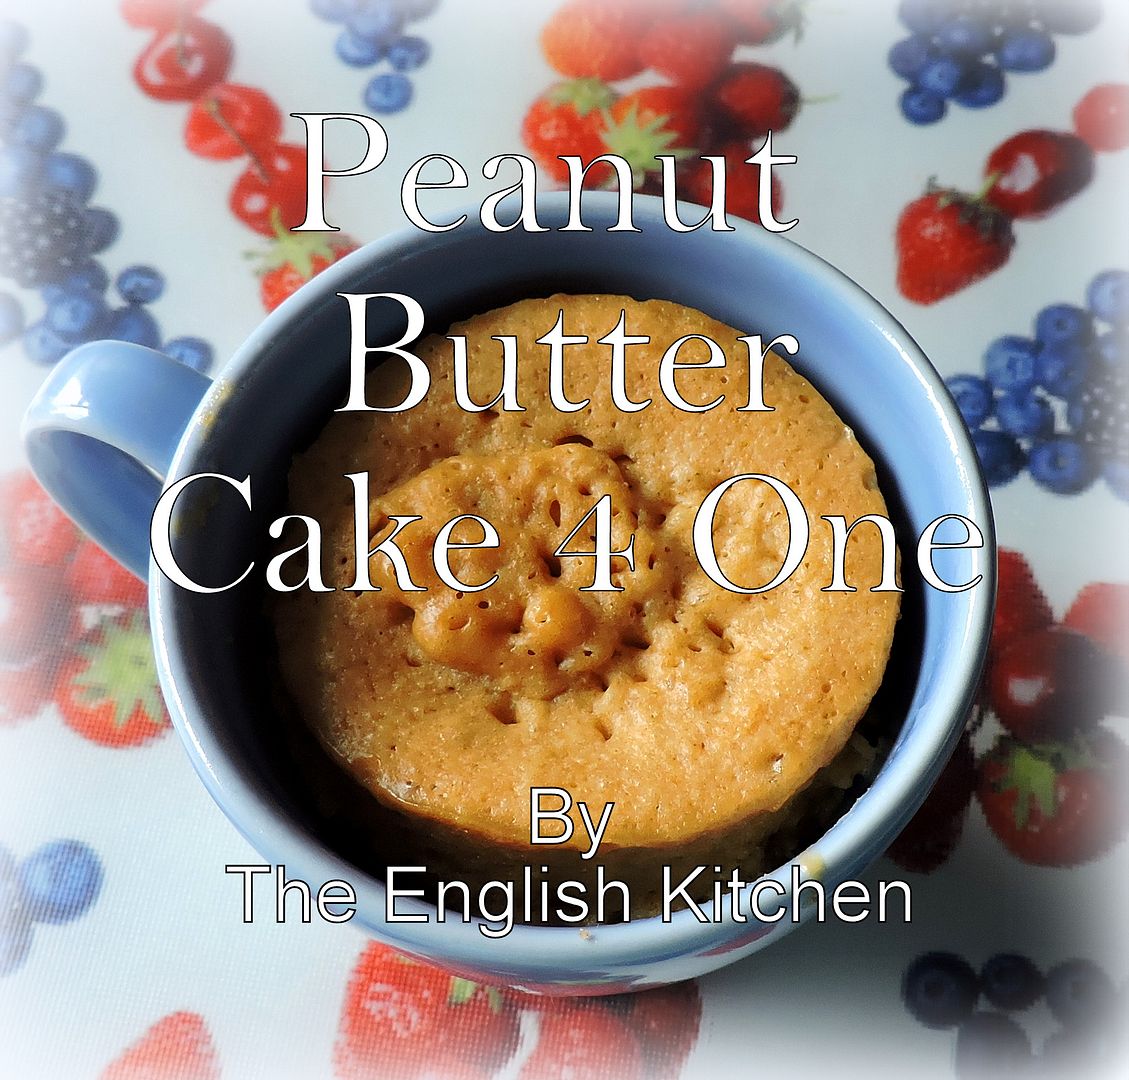
It's been almost a year since I was diagnosed as a Type 2 Diabetic and I would be lying to you if I didn't say that it has been a real struggle. Coping with this along with Diverticulitis, IBS and other health issues means that putting anything into my mouth is a bit like playing Russian Roulette. No fun. It definitely hasn't been easy. I have managed to keep the Diabetes under control and take myself back to pre-diabetic glucose levels . . . the other things I never know from one day to the next what is going to set things off. I just think I got a handle on it and bingo! Surprise, surprise, something else will trigger an attack.





Social Icons